Okta
Overview
This document describes the procedure to configure your organization's Okta application within the AdminX portal to use it as a passwordless authentication solution for your organization's Okta users. This integration will allow your users to log in to their Okta account leveraging their biometrics. The biometric options include Touch ID / Face ID and LiveID.
Before you Begin
You will need the following resources and privileges to complete this integration:
- Admin access to the following:
- AdminX portal: If your organization is not registered with the AdminX portal, visit the Sign Up page for your organization’s AdminX portal registration. The 1Kosmos representative will create an account for your respective organization within the AdminX portal. Ensure the email address used to log in to this portal is the same as the one used to log in to Okta.
- Okta Admin domain. You can visit the Okta Developer site for Okta Admin domain registration.
- Install on your mobile device:
- 1Kosmos mobile application (Compatible with iOS and Android devices). Visit the 1Kosmos for Android or 1Kosmos for iOS to download the application.
Assumptions
With the above prerequisites, you should now successfully be registered and be able to login to:
-
AdminX portal
-
Okta Admin domain
-
Installed and registered the 1Kosmos mobile application.
-
Launch the 1Kosmos mobile application and follow the on-screen instructions to register your app with the BlockID Platform to enroll your biometrics. Visit the Enroll Biometrics (Touch ID / Face ID and LiveID) section of the 1Kosmos mobile application User Guide for step by step understanding of the Biometrics Enrollment process within the 1Kosmos mobile application.
Perform the following tasks to enable this integration:
- Okta Admin domain configurations
- AdminX portal configurations
List of Topics:
- Okta Admin domain configurations
- AdminX portal configurations
- Okta Admin domain configurations for auto-generated SP configuration by AdminX portal
- Test the SAML Single Sign-On Connection
Okta Admin domain configurations
These configurations need to be performed before integrating your Okta application into the AdminX portal.
The following steps will be performed by your Okta administrator.
- Log in to your Okta site and navigate to the Admin console.
- Copy and save your Okta admin domain URL to use it while performing Okta integration in the AdminX portal. For example,
https://<your_domain>-admin.okta.com.
Create Okta API Token
You will also need an Okta API token to use while performing Okta integration into the AdminX portal.
1, In the Okta Admin console screen, navigate to Security > API > Tokens.
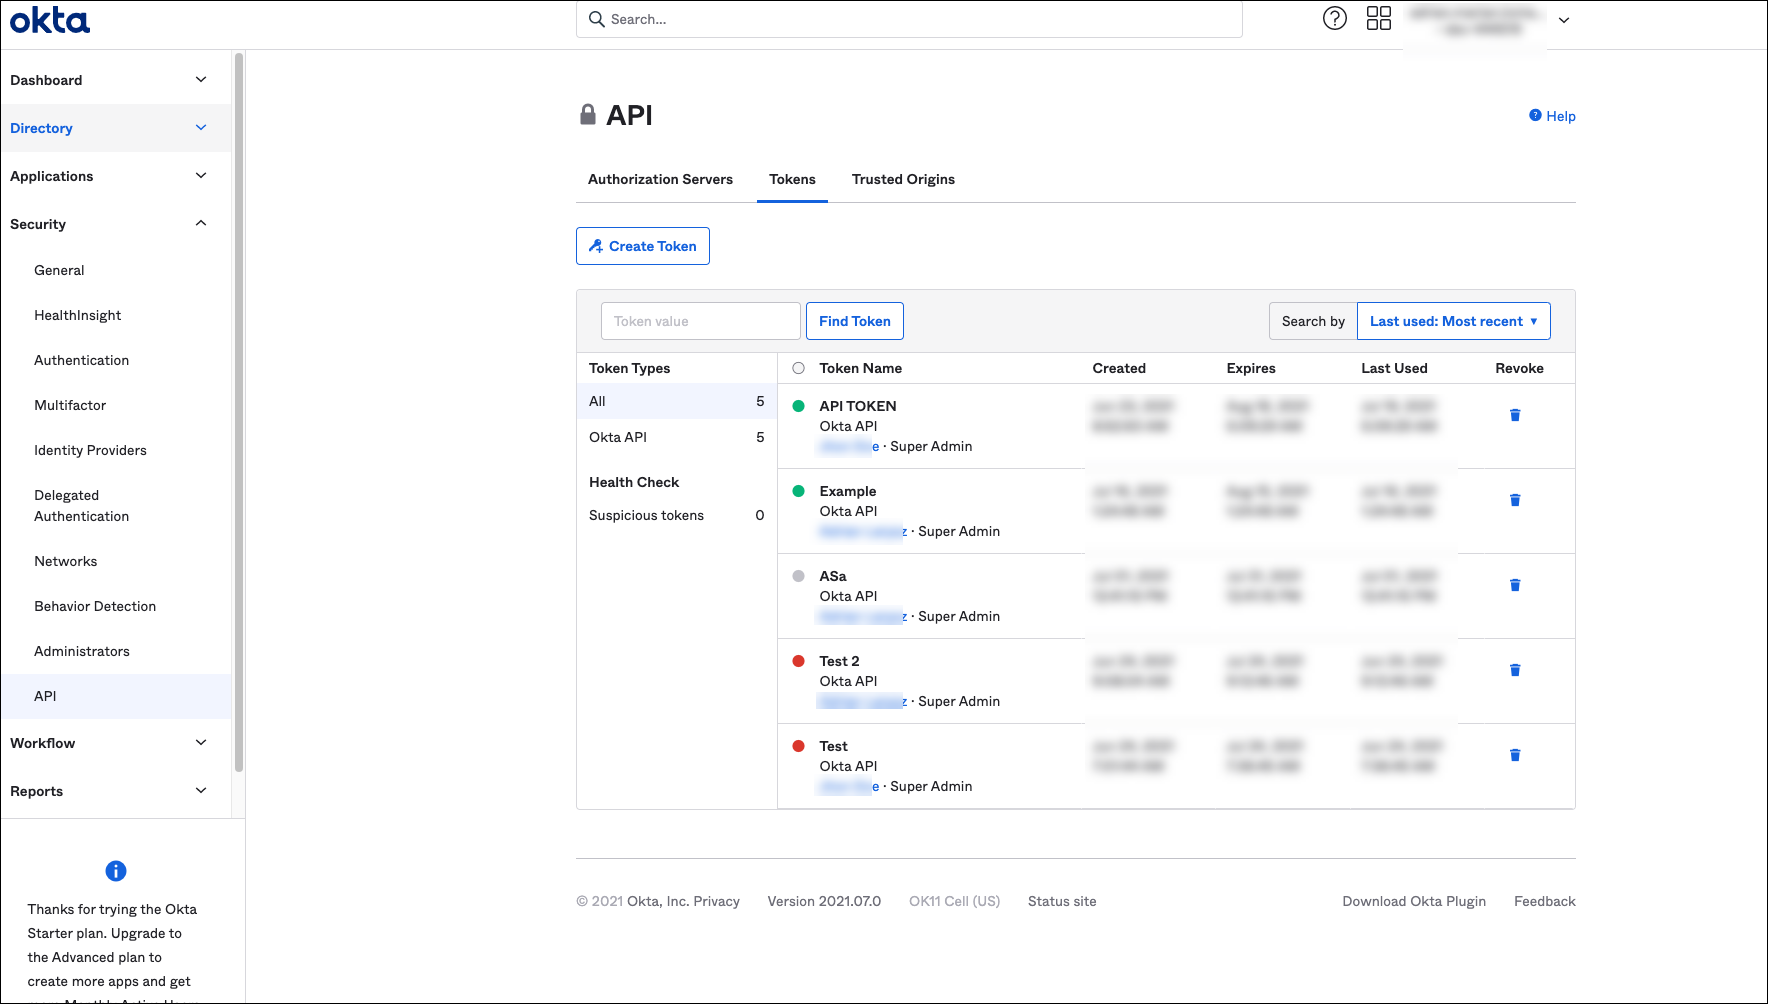
- In the Tokens tab, click Create Token.
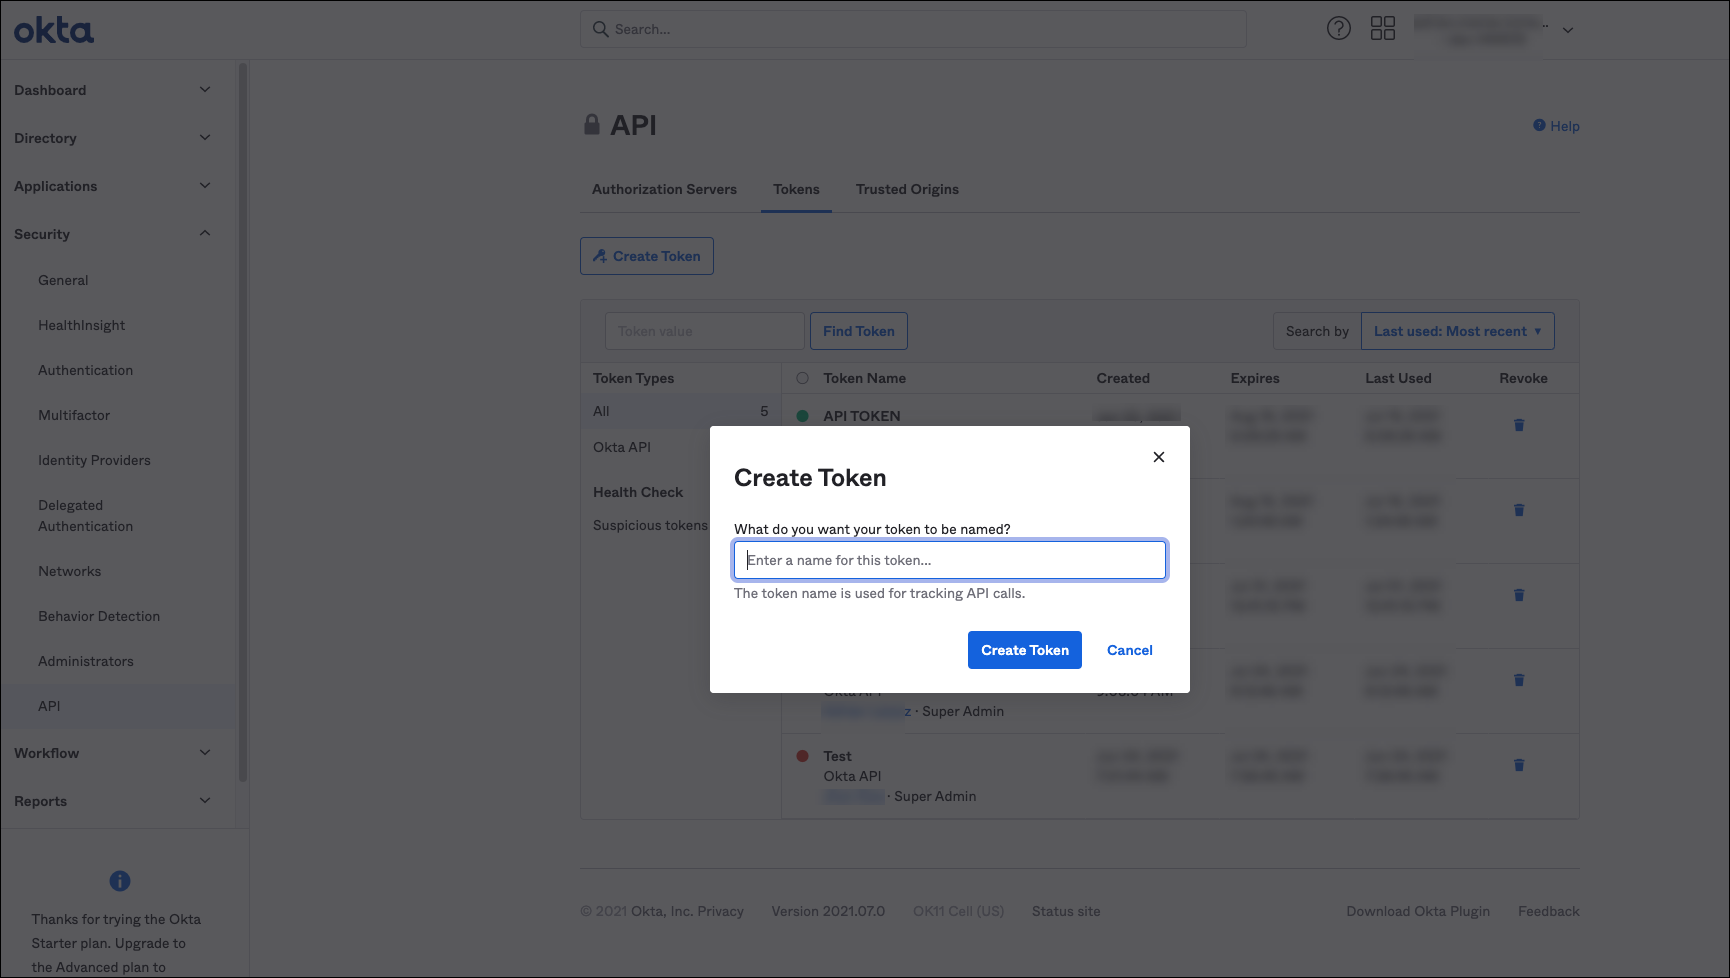
- In the Create Token dialog box:
- Enter the token name for the API and click Create Token. The Token created successfully! message is displayed with the newly created token value.
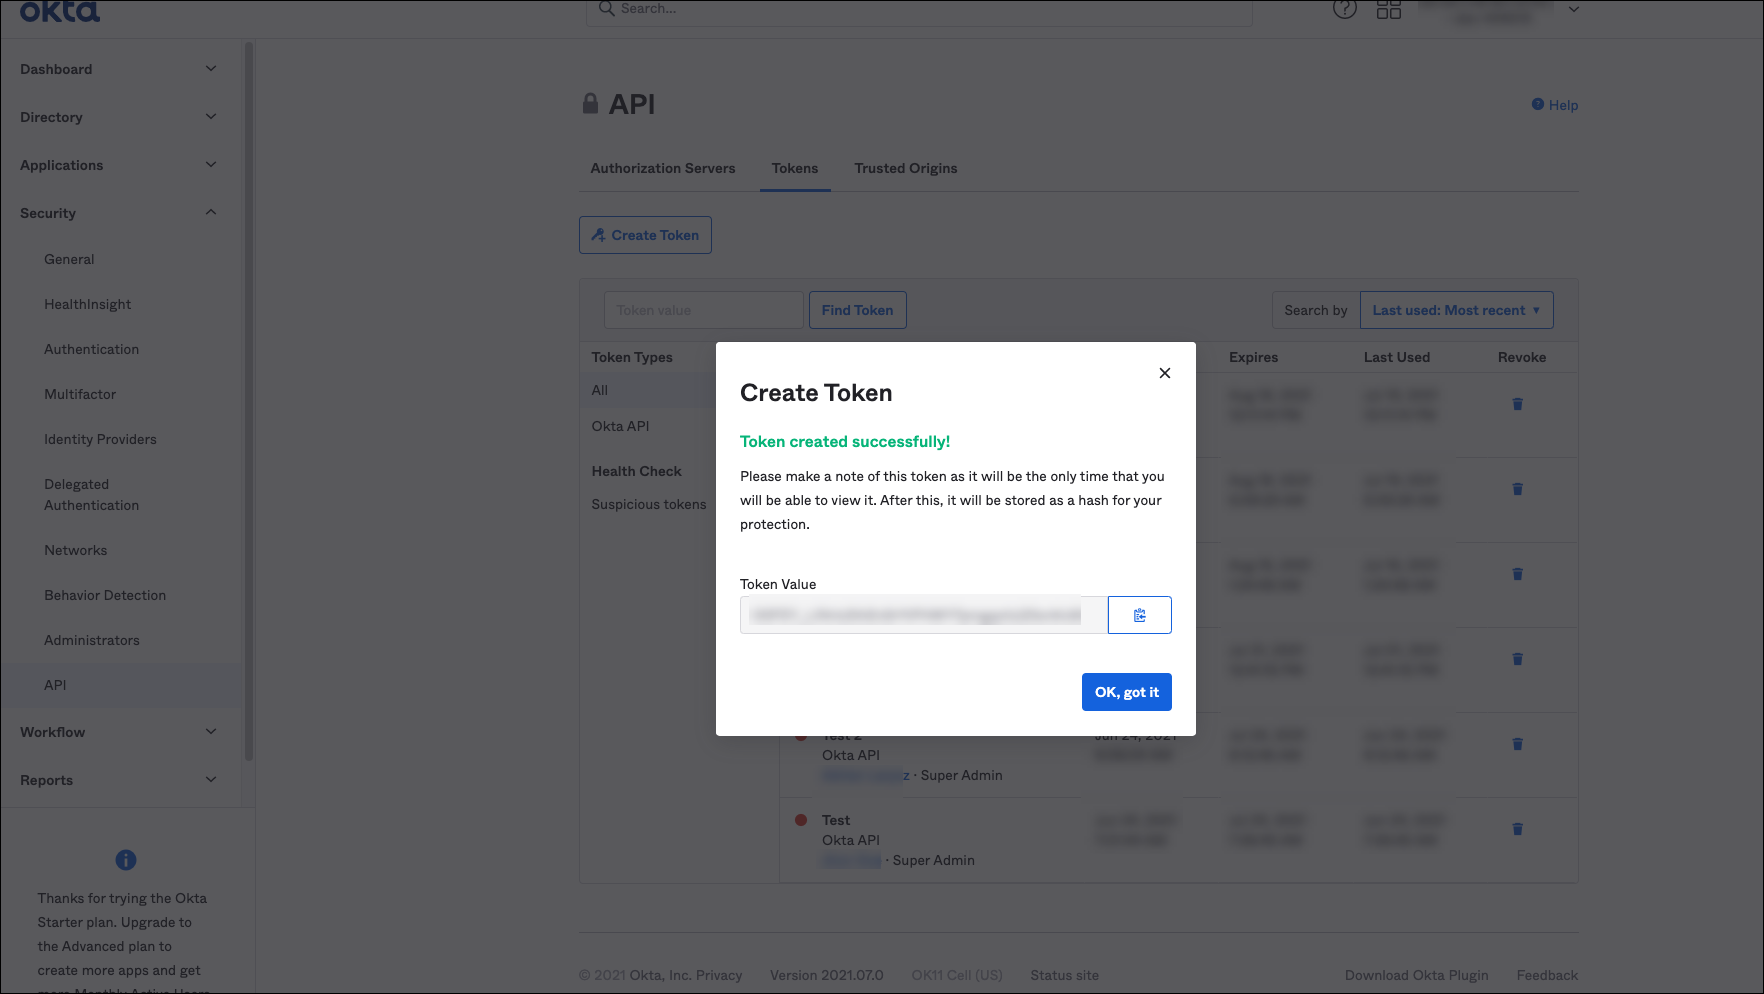
-
Click the Copy option for the token value to copy the token details and save it to use while performing Okta integration in the AdminX portal.
-
Click OK, got it.
AdminX portal configurations
This is a one-click app Okta integration which will automatically generate a Service Provider (SP) configuration in Okta with the name BlockID.
The following steps will be performed by your AdminX portal administrator. The credentials provided during one-click integration are one-time use only. BlockID does not store these credentials, thus it is recommended to change the passwords and revoke tokens after completion of the one-click integration. To perform more configurations to the Okta SP SAML integration, visit the Okta Admin console and perform the changes.
- Login to the AdminX portal, navigate to Applications > Add Application.
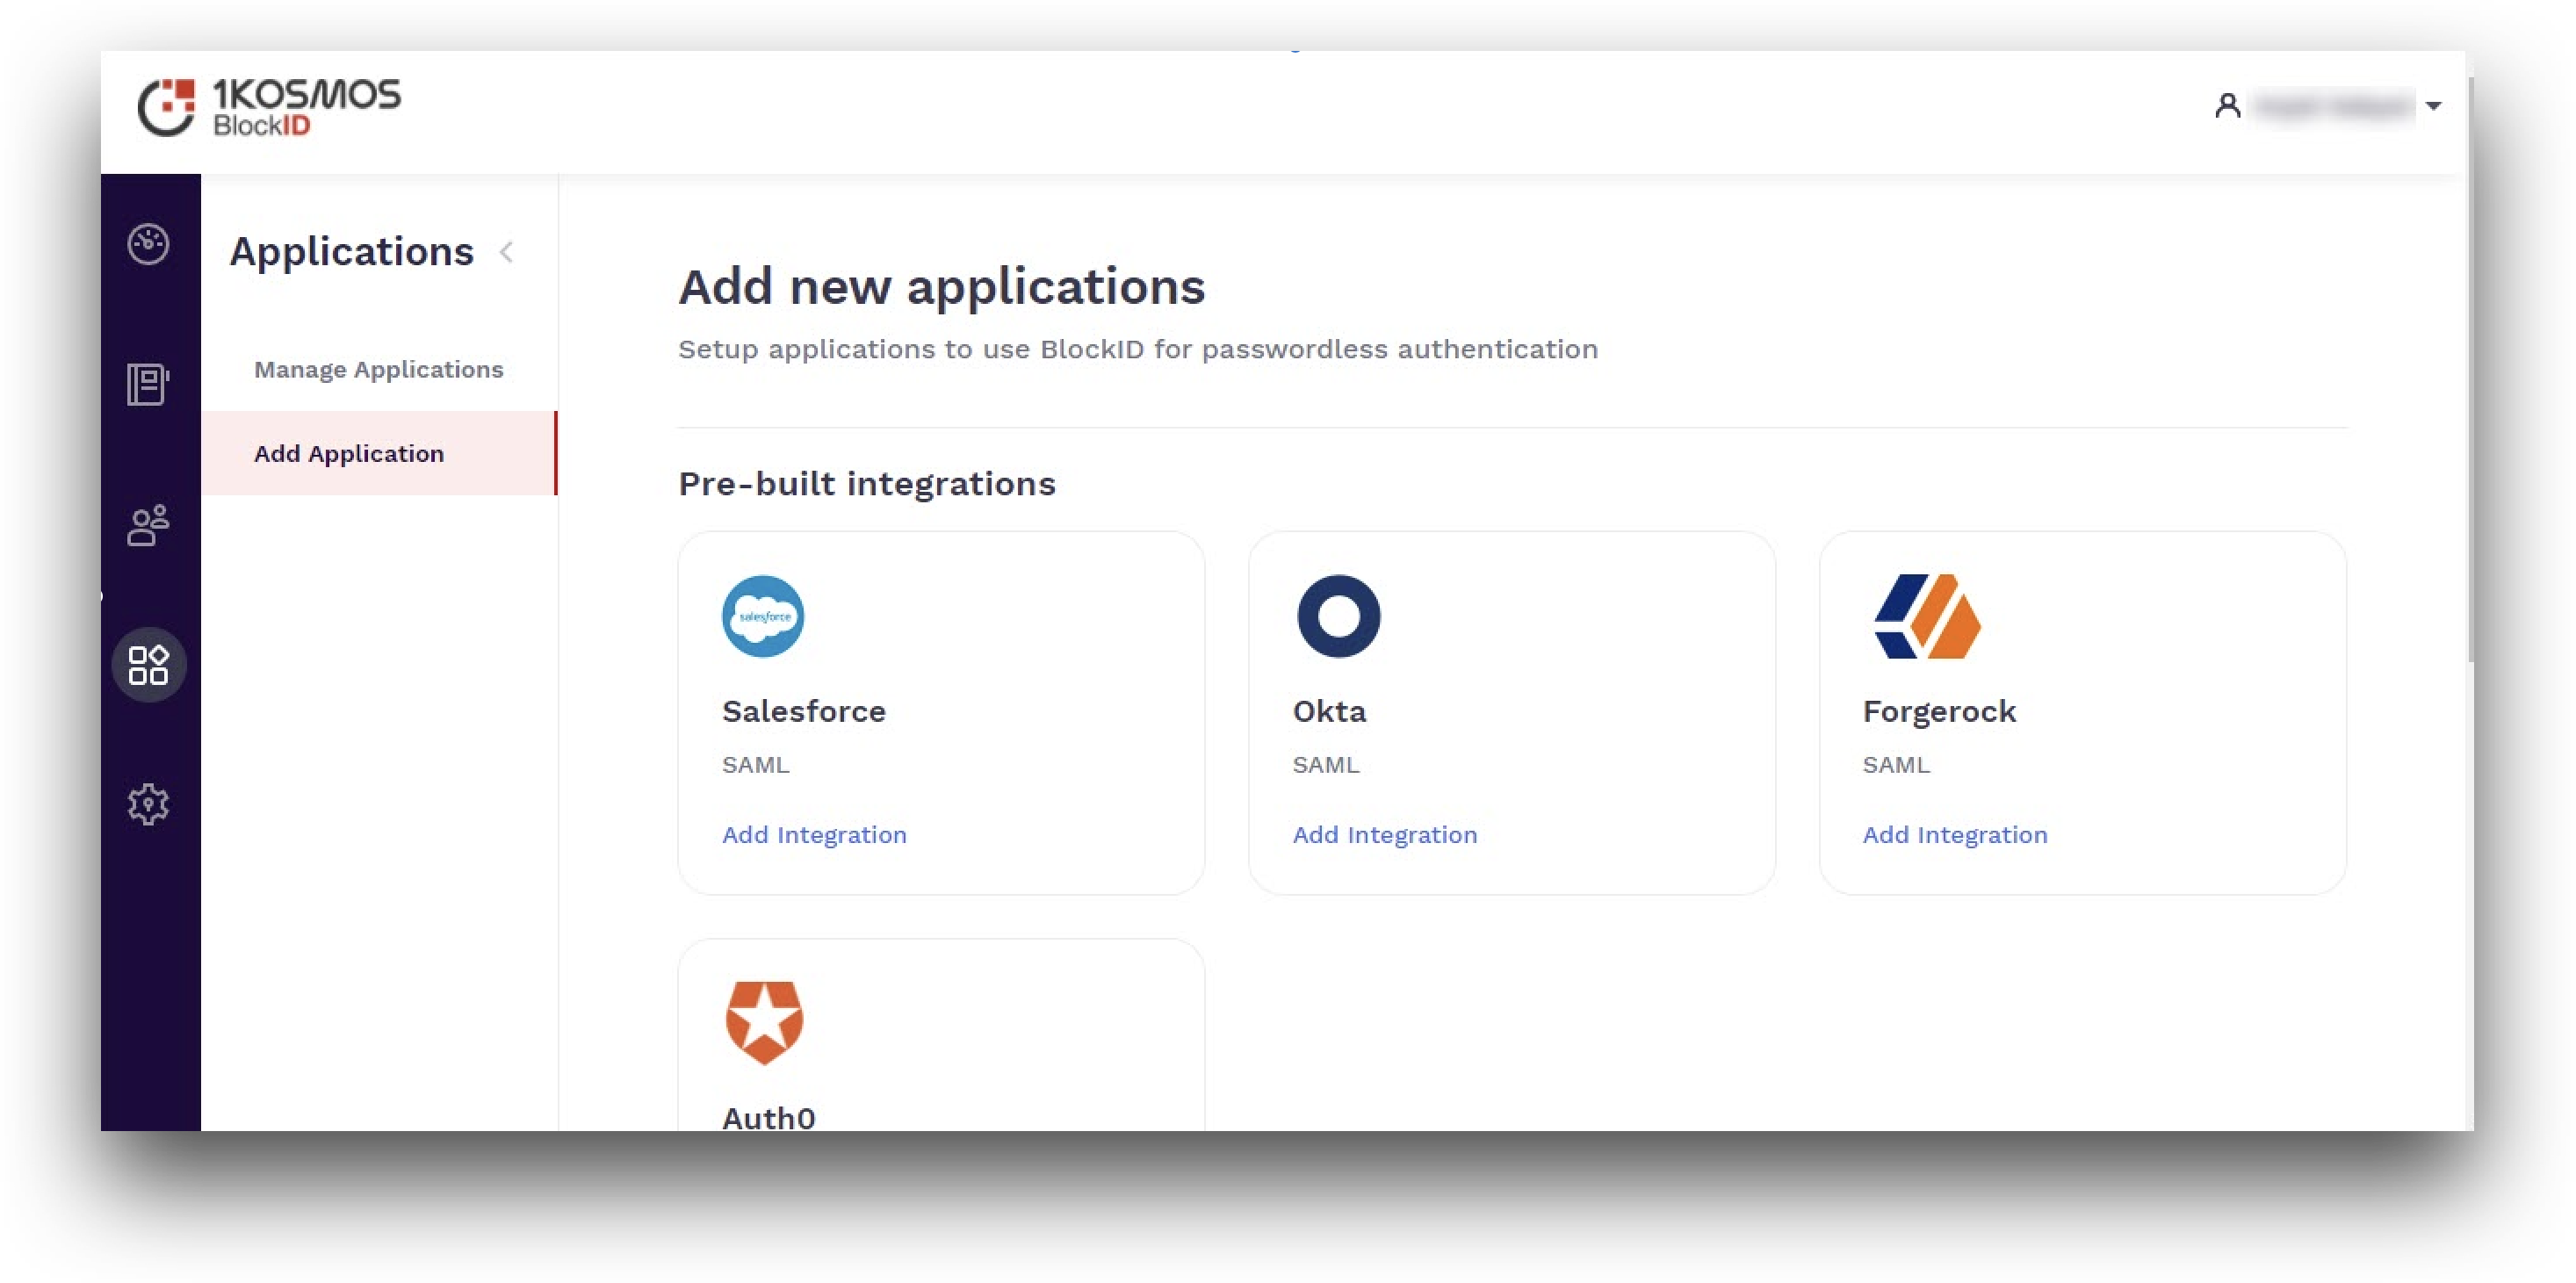
- In the Add new applications screen, click on the Add integration link for the Okta SAML option from the Pre-built integrations section.
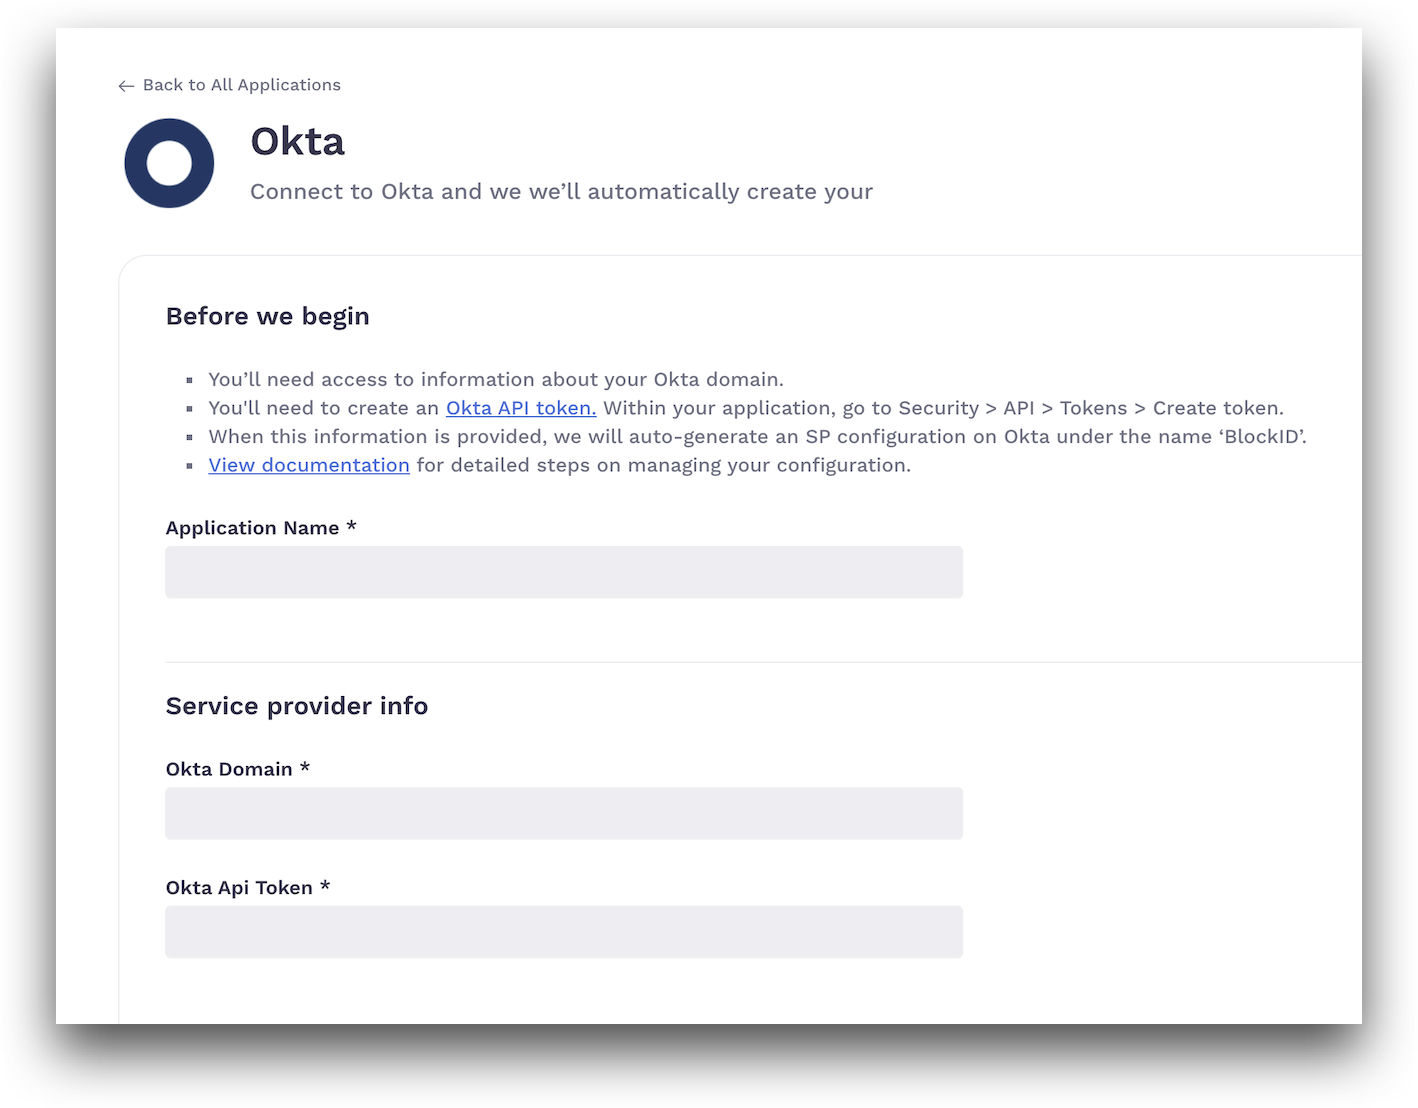
- In the Okta screen, enter the following values:
- Application Name: Enter the name for your Okta application.
- In the Service provider info section:
- Okta Domain: Enter your saved Okta admin domain URL as mentioned in the Okta Admin domain configurations topic.
- Okta Api Token: Enter the Okta API token created and saved described in the Okta Admin domain configurations topic.
- Click Connect. This will add your Okta application and automatically generate an SP configuration in Okta with the name
BlockID.
Okta Admin domain configurations for auto-generated SP configuration by AdminX portal
These are optional configurations that can be performed after creating the one-click app Okta integration into the AdminX portal.
The following steps will be performed by your Okta administrator.
Routing Rules allow you to add user criteria based on the user's location, device, email domain, attributes, to evaluate end-users before redirecting them to the identity providers.
- Log in to your Okta site and navigate to the Admin console.
- Navigate to Security > Identity Providers > Routing Rules > Add Routing Rule.
- In the Add Rule pop-up window, enter the following details:
- Rule Name: Enter the appropriate rule name.
- User’s IP is:
Anywhere. - User’s device platform:
Any device. - User is accessing:
Any application. - User matches:
Anything. In this, select the required condition available from the list and add value as per the selected option. For example, select the User Attribute option and add value as j.doe and save. Hence, a user whose name starts with j.doe will only be allowed to redirect to your Okta site and other users will not be able to access this Okta site as the BlockID Admin Console will restrict access.- Use this identity provider:
BlockID. The name got created for the auto-generated IDP created using the AdminX portal.
- Use this identity provider:
- Click Create Rule > click Activate.
Hence, whenever any user tries to sign in, the added active routing rule checks the criteria and allows users to access the identity provider’s site if the criteria match. Meanwhile, you can still log in to Okta using the Okta login screen by visiting {your-okta-domain}/login/default.
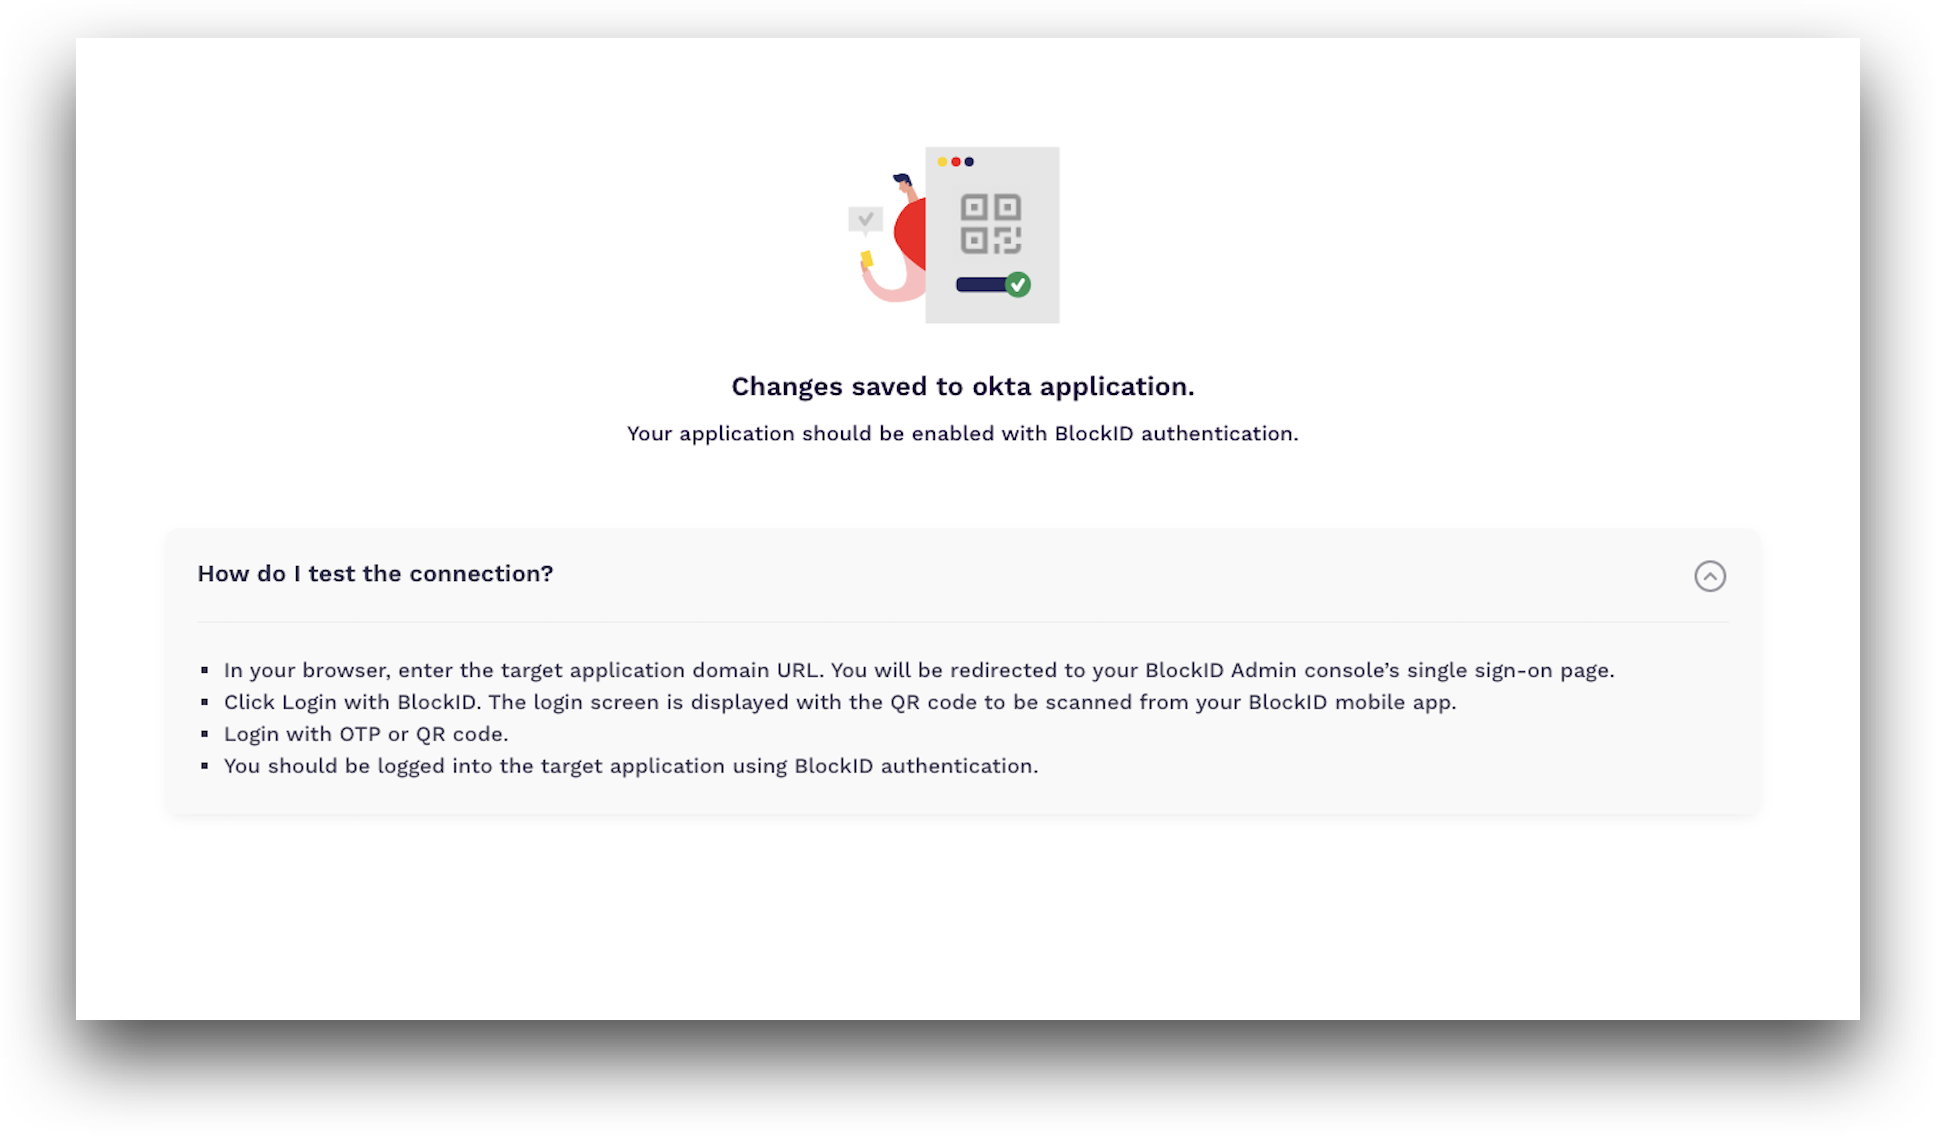
Test the SAML Single Sign-On Connection section
- In your browser, enter your Okta application's domain URL. You will be redirected to the AdminX portal login screen with the barcode to be scanned from your 1Kosmos mobile app.
- On the 1Kosmos mobile application’s Home screen, click
Scan QR. - Scan the QR code. The confirmation pop-up window is displayed asking to
Allow BlockID to access this device’s location?. - In the confirmation pop-up window, select
Allow only while using the app. The Authentication screen is displayed with thePlease authenticate using <Biometric_option> from 1kosmosmessage. - Click Authenticate and perform the appropriate authentication method. The pop-up window is displayed with
Thank you! You have successfully authenticated to Log Inmessage upon successful authentication. - You will be logged in to your organization’s Okta application.