Office365 Integration
Overview
Prerequisites
-
Office 365 tenant
-
Download Office365 metadata and store it locally:
- Download Office metadata and store it locally on your machine.
-
Microsoft AzureAD module for Windows Powershell
Integration Steps
Adding the ImmutableID Attribute to 1Kosmos
To get started we first need to add a new attribute to 1Kosmos:
-
Log in to your 1Kosmos tenant as a community administrator.
-
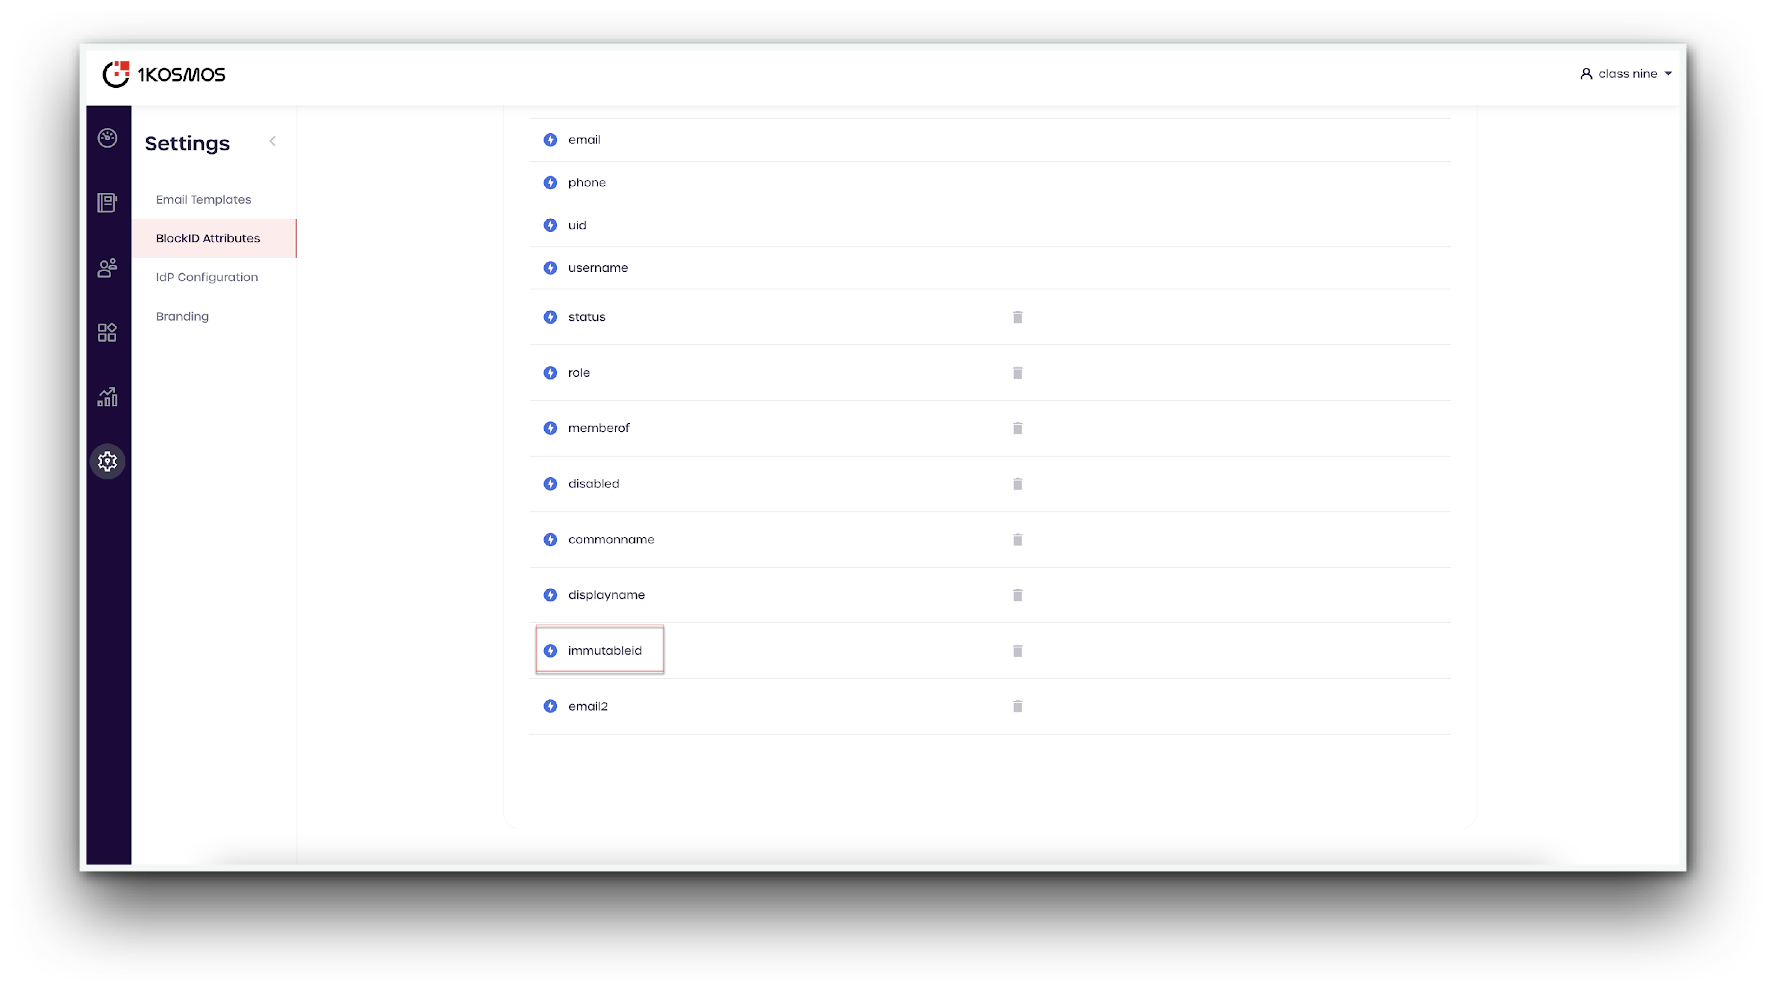
Navigate to Settings -> 1Kosmos Attributes
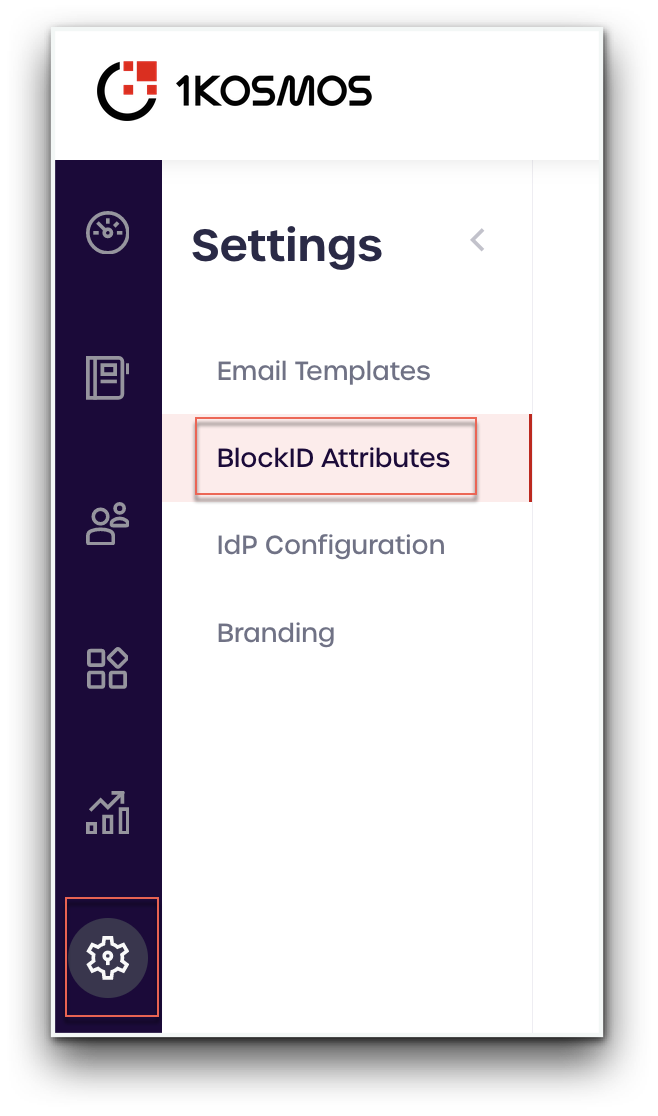
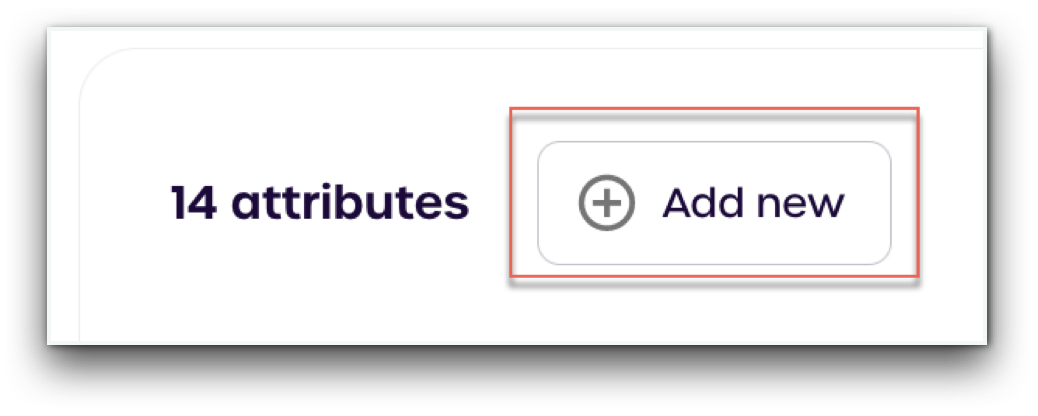
- Click "Add New"
-
Under name, type
immutableid -
Click Create
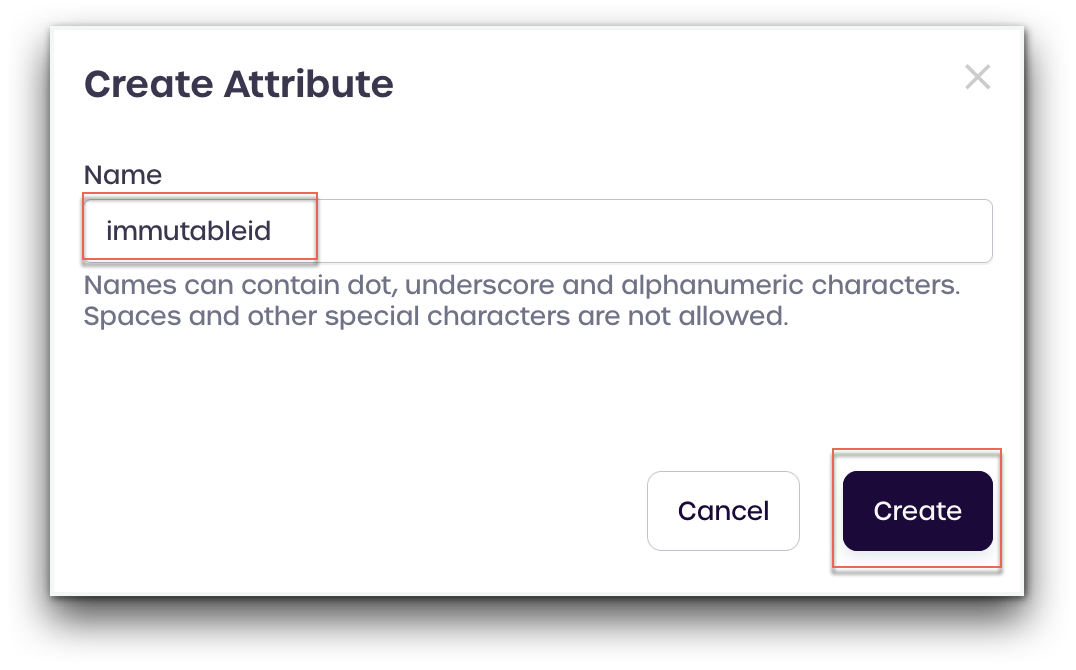
- Verify the
immutableidattribute has appeared under 1Kosmos Attributes
Add ImmutableID Attribute Mapping
Our next step is to map the the immutableid 1Kosmos Attribute to Active Directory:
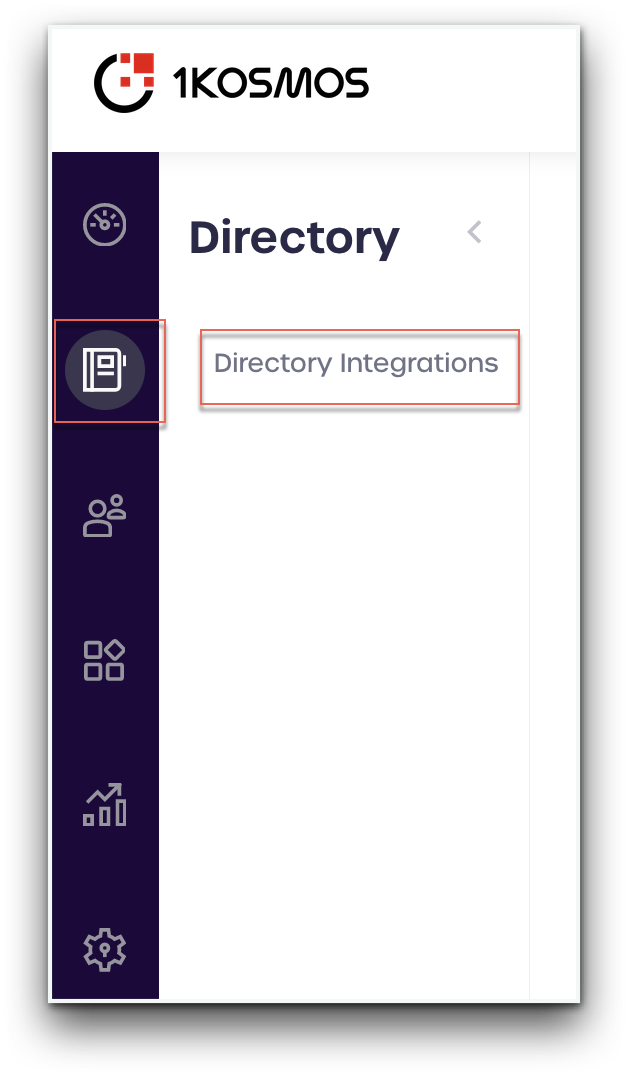
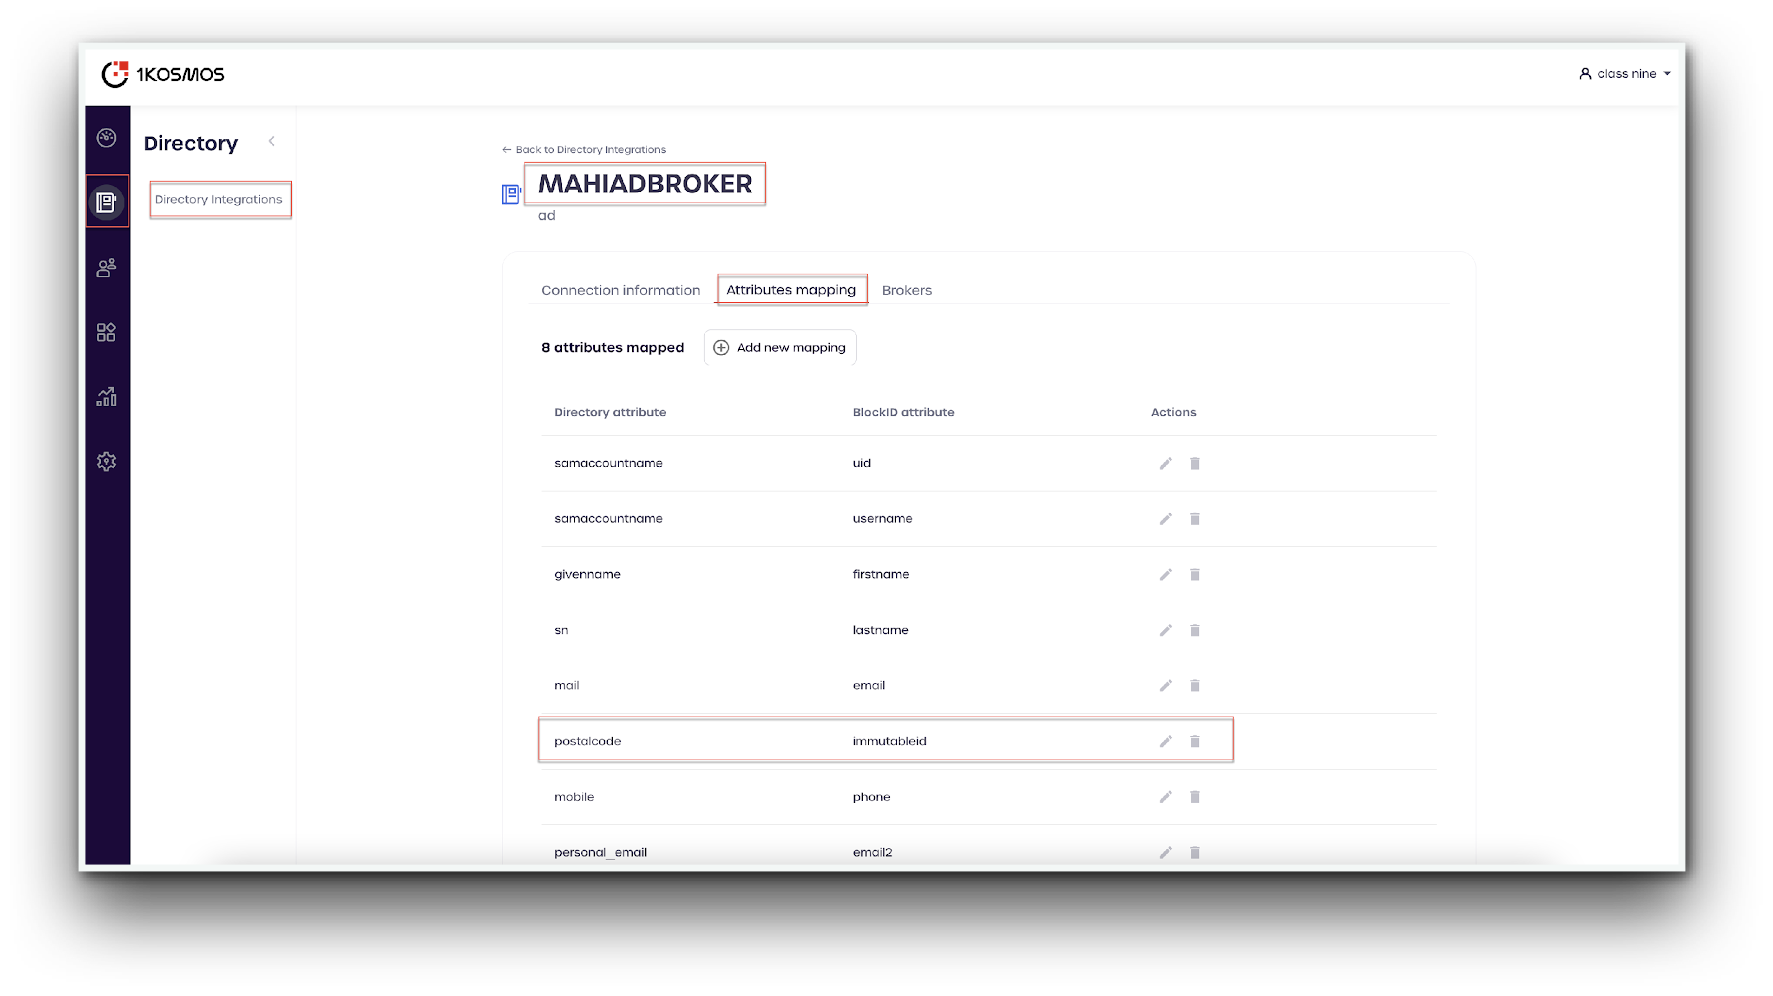
- Using the left-hand menu, navigate to Directory -> Directory Integrations
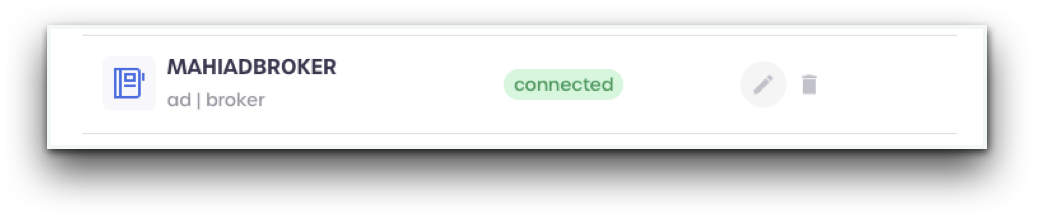
- Scroll to your AD or LDAP User Directory and click the edit icon to the right of the directory name
- Click on the Attributes mapping tab
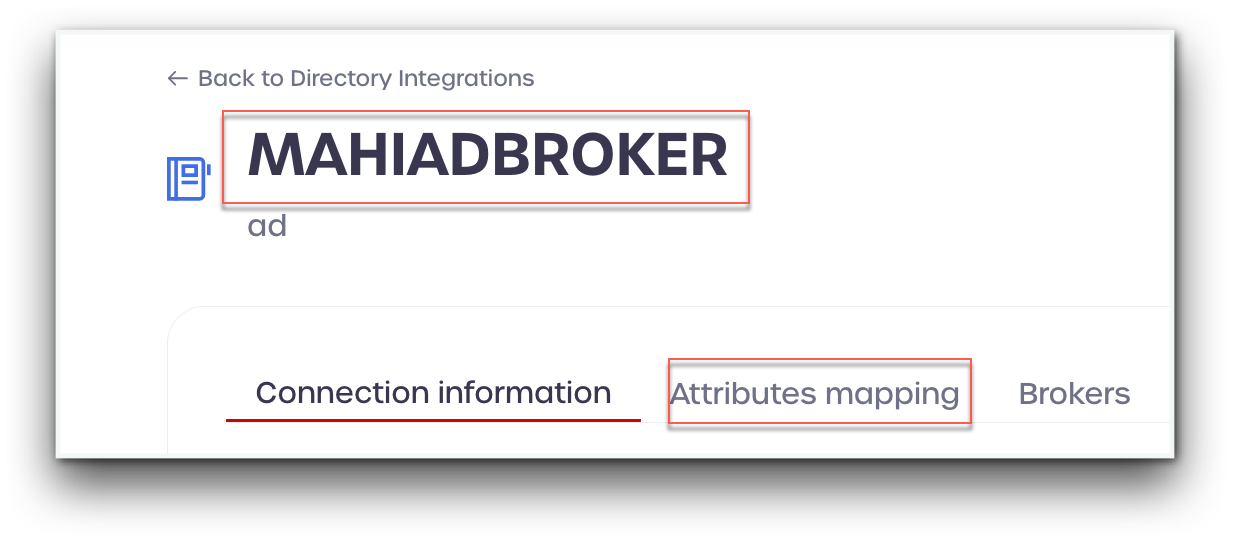
- Select Add new mapping
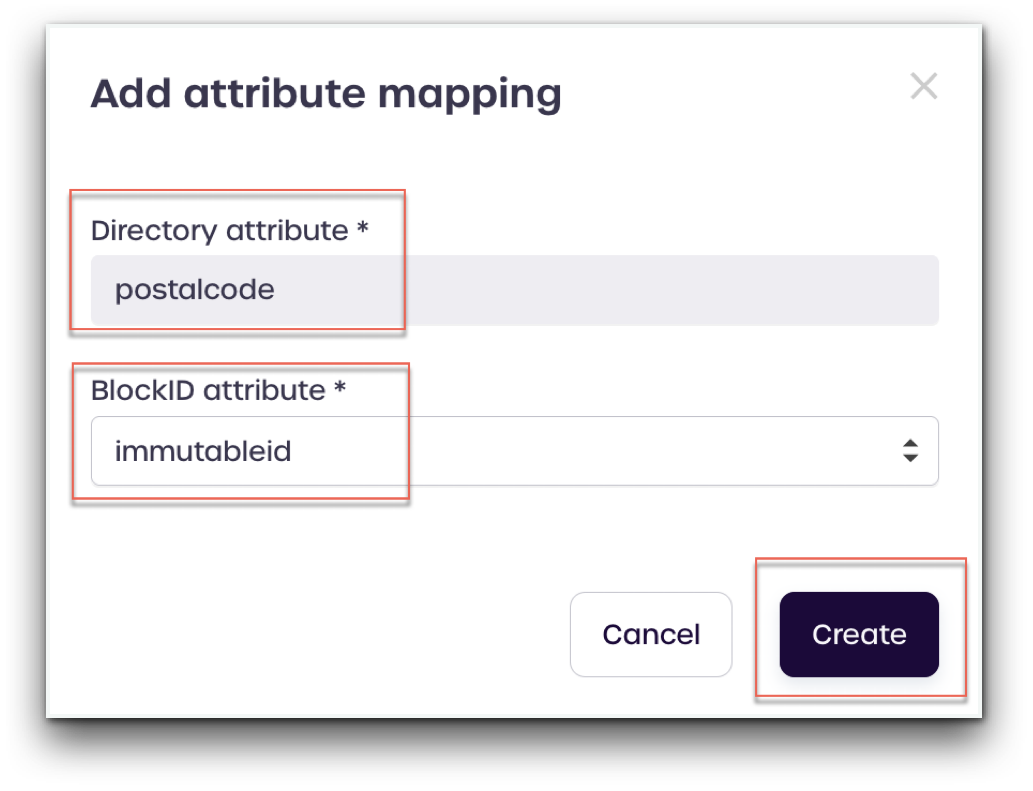
- Enter a Directory attribute name to map to your Active Directory infrastructure.
For this example we are using the postalcode Active Directory atttribute.
Enter the following details:
Directory attribute: postalcode
1Kosmos attribute : immutableid
- Click Create.
- Confirm that the attribute has appeared in the Attributes mapping section.
Setup Office365 in 1Kosmos
Adding Office365 as a Service Provider
To set up Office365 as a service provider, follow these steps:
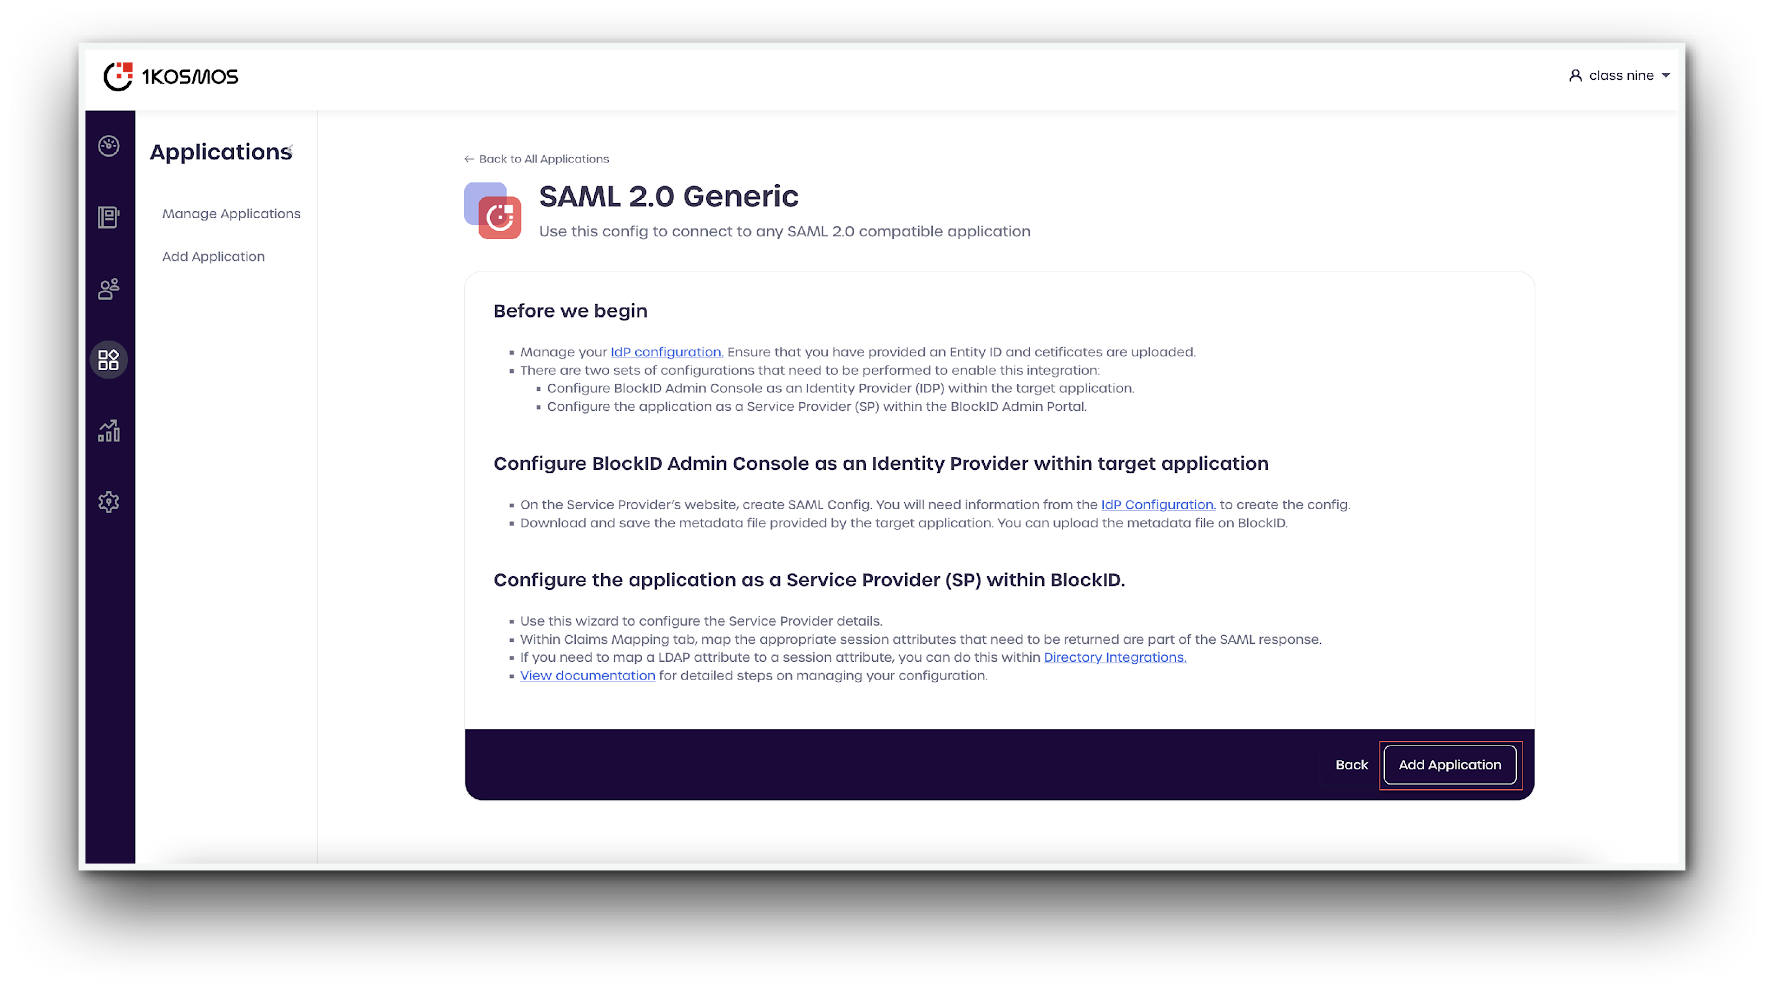
- Log in to your tenant as a community administrator and from the left-hand menu, navigate to Applications -> Add Application
- Scroll down to SAML 2.0 Generic and select Add Integration
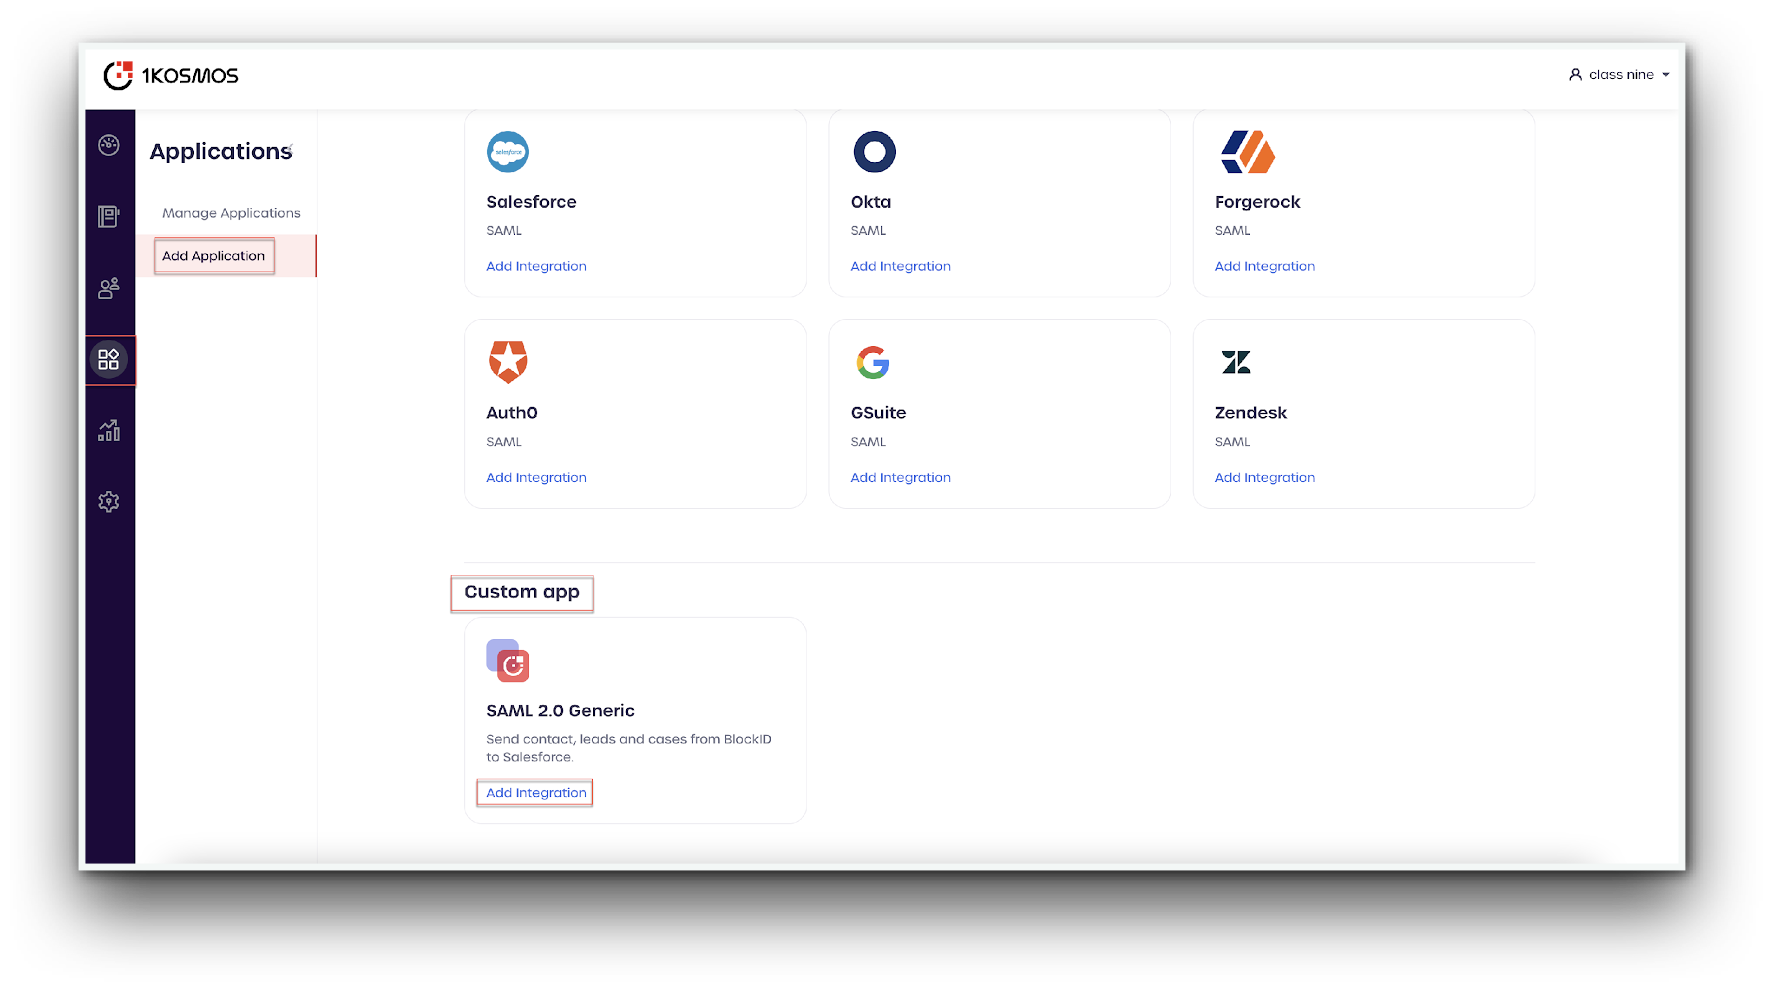
- After reviewing the displayed information, select Add Application
Step 1: Basic Settings
- Basic Settings Provide the following details:
Application Name: Office365 (or any other name of your choosing)
Instance: Production or Sandbox
Application access URL: https://login.microsoftonline.com/login.srf
- Click Next.
Step 2: SAML Settings
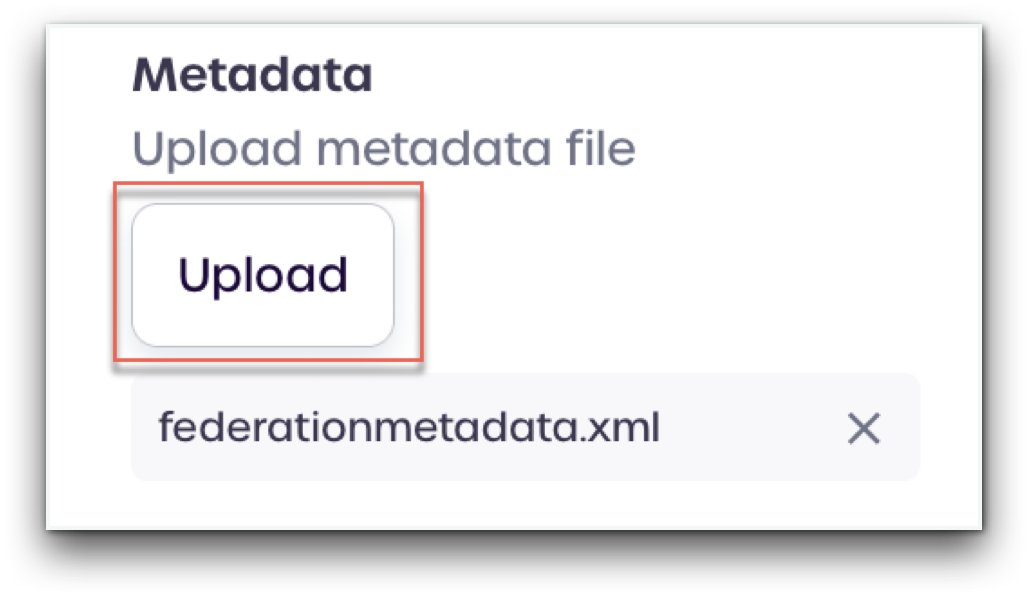
- Click Upload and select the Office metadata downloaded during the prerequisites.
- Under Assertion Statement (NameID)* select the following attributes from the drop-down menu:
Format: urn:oasis:names:tc:SAML:2.0:nameid-format:persistent
Value: immutableid
- Under Claims Mapping select Add new and enter the following attributes:
Attribute: email
Format: http://schemas.xmlsoap.org/ws/2005/05/identity/claims/mail
-
Click Create.
-
Select Next to advance to the next page.
Step 3: Advanced Options
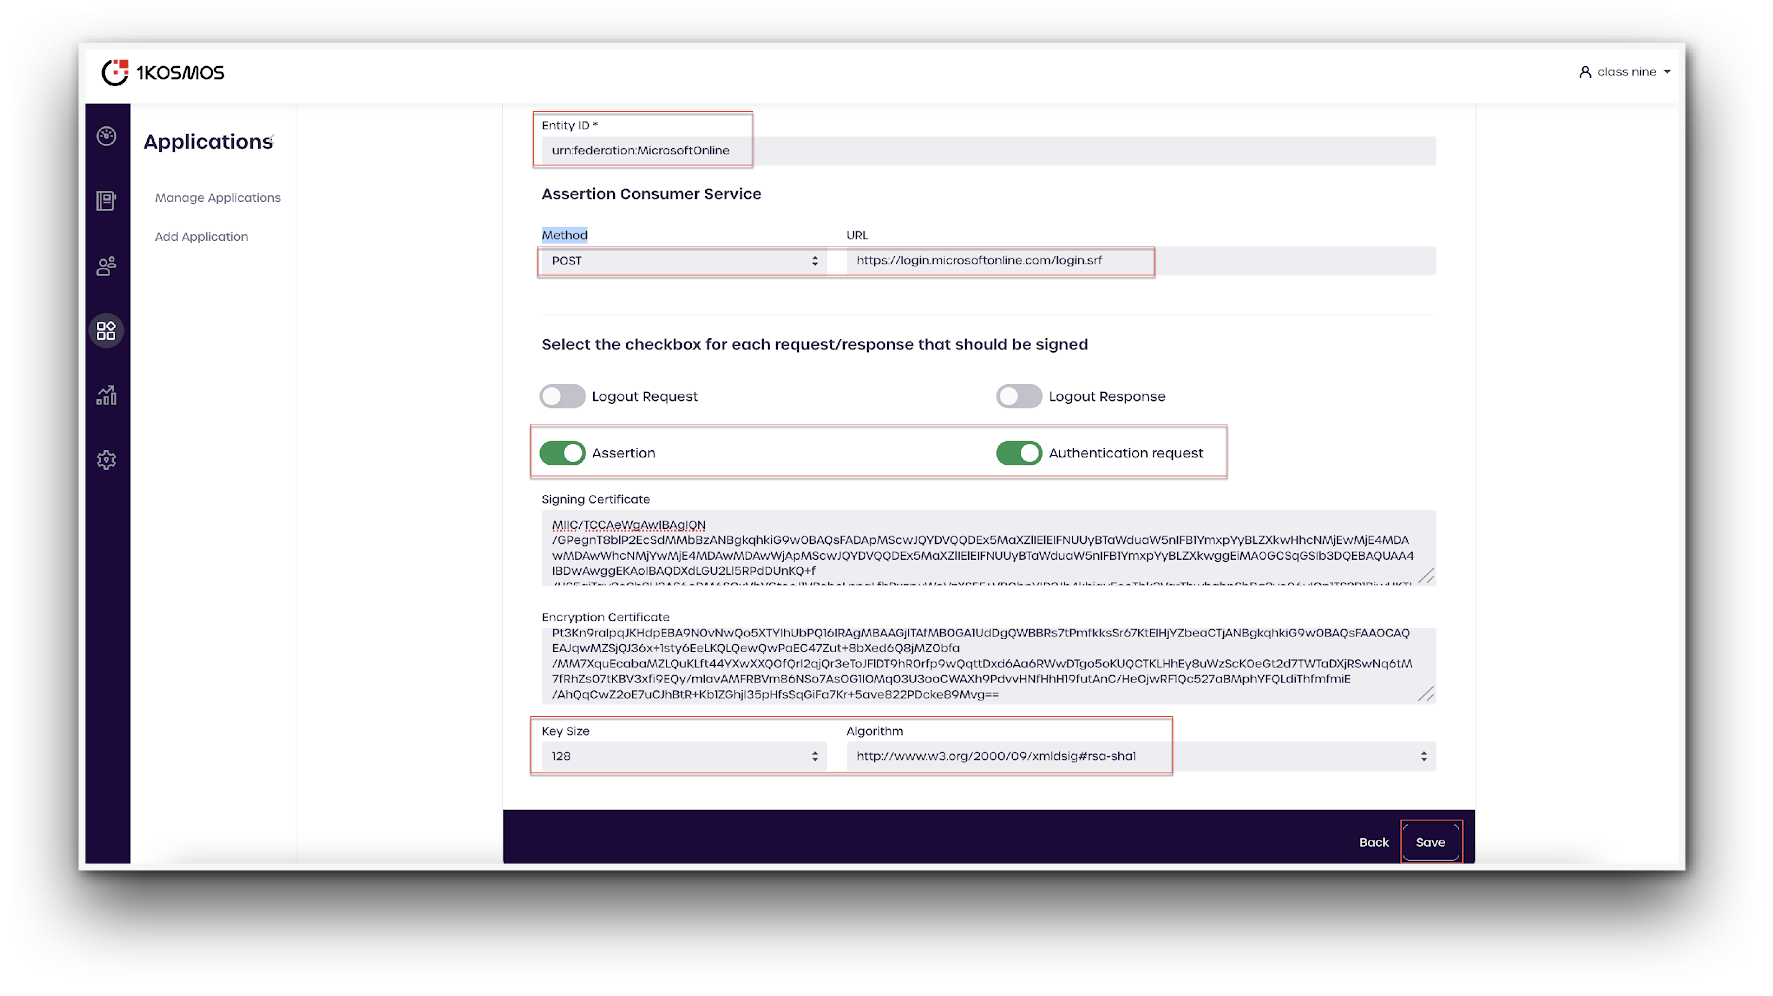
Advanced Options will display several details that will have been populated by the uploaded metadata.
- Confirm all the details below:
Entity ID: urn:federation:MicrosoftOnline
Assertion Consumer Service:
Method: POST
URL: https://login.microsoftonline.com/login.srf
- Confirm the following details:
Assertion and Authentication request switches are activated.
Signing Certificate and Encryption Certificate boxes are populated
Key Size: 128
Algorithm: http://www.w3.org/2000/09/xmldsig#rsa-sha1
- Click Save.
Setup 1Kosmos in Office365
Ensure that the AzureAD module has been installed for Windows Powershell has been installed before continuing.
To configure Office365 with 1Kosmos tenant, follow these steps:
- Launch Windows Powershell and connect to the Azure AD domain you wish to federate with the following command:
Connect-MsolService

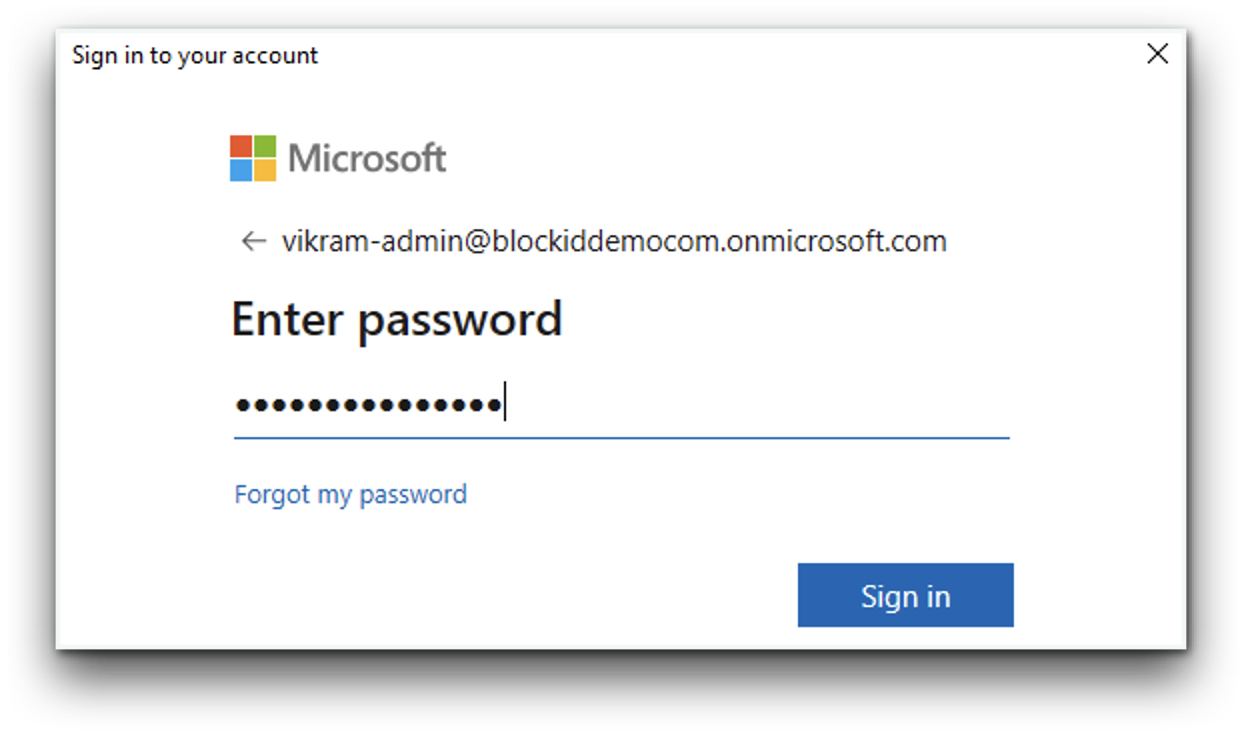
- The Microsoft login page will launch. Enter the Administrator credentials for the domain.
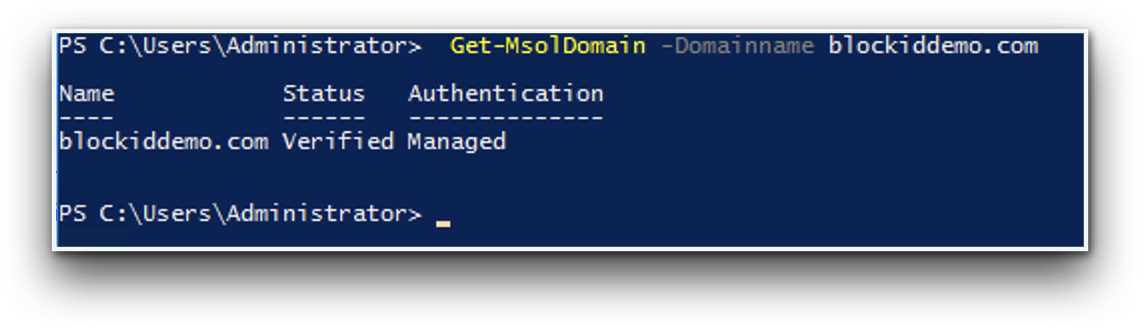
- After successfuly signing-in, enter the following command to check the status of our domain:
Get-MsolDomain -Domainname <domain name>
Enter your domain in place of <domain name>
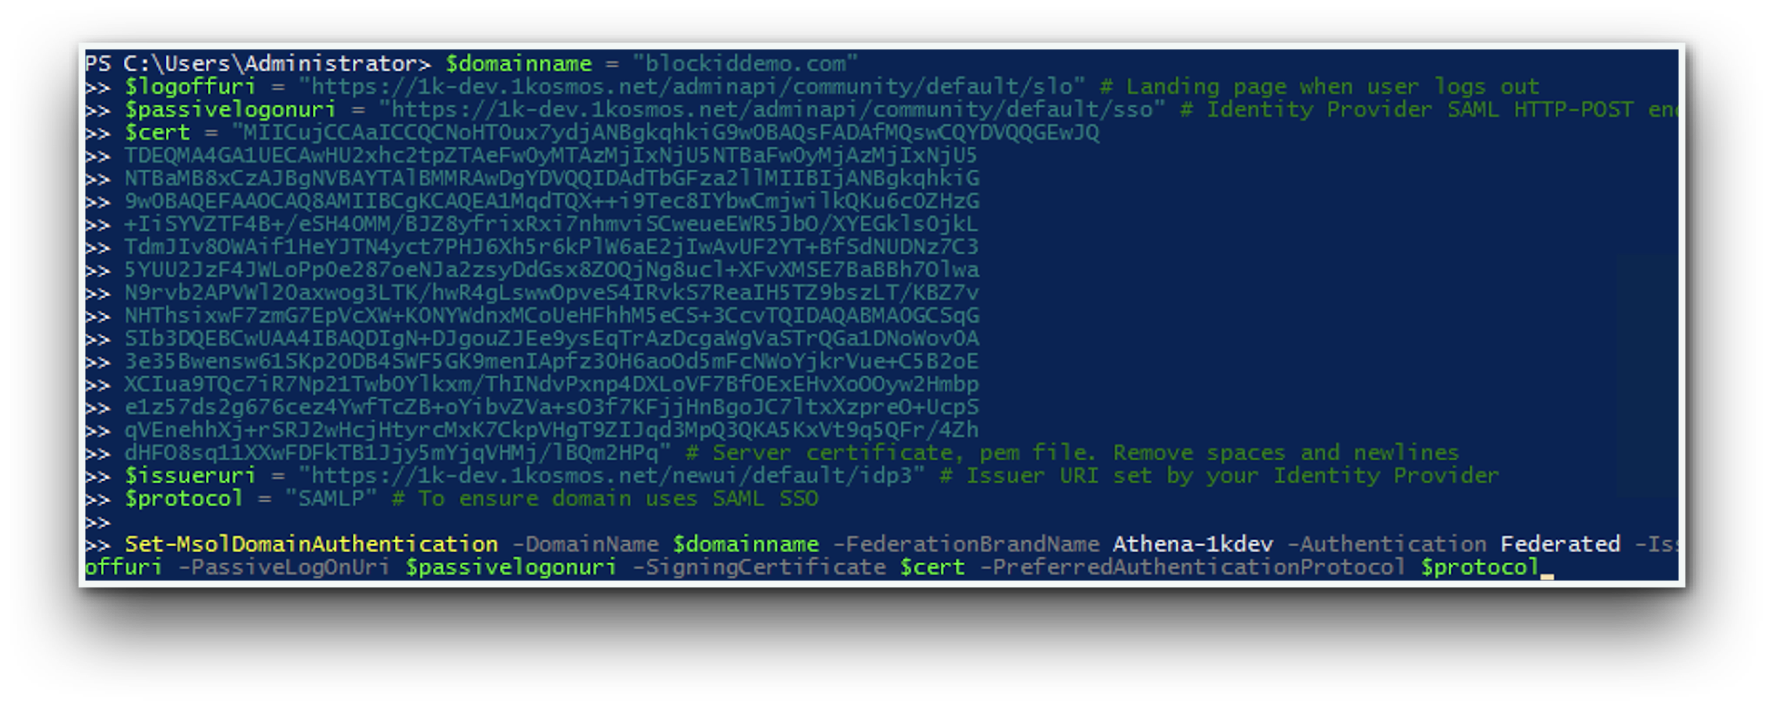
- Enter the following information
This example contains information that you will need to replace with details from your own domain
$domainname = "blockiddemo.com"
Enter your domain name.
$logoffuri = "https://1k-dev.1kosmos.net/adminapi/community/default/slo"
Enter the landing page to direct your users to after they sign out of your application.
$passivelogonuri = "https://blockid-trial.1kosmos.net/adminapi/community/default/sso"
Enter your identity provider SAML HTTP-POST endpoint
$cert = "MIICujCCAaICCQCNoHT0ux7ydjANBgkqhkiG9w0BAQsFADAfMQsw CQYDVQQGEwJQTDEQMA4GA1UECAwHU2xhc2tpZTAeFw0yMTAzMjIxNjU5NTBaFw0yMjAzMjIxNjU5NTBaMB8xCzAJBgNVBAYTAlBMMRAwDgYDVQQIDAdTbGFza2llMIIBIjANBgkqhkiG9w0BAQEFAAOCAQ8AMIIBCgKCAQEA1MqdTQX++i9Tec8IYbwCmjwilkQKu6c0ZHzG+IiSYVZTF4B+/eSH40MM/BJZ8yfrixRxi7nhmviSCweueEWR5JbO/XYEGkls0jkLTdmJIv8OWAif1HeYJTN4yct7PHJ6Xh5r6kPlW6aE2jIwAvUF2YT+BfSdNUDNz7C35YUU2JzF4JWLoPp0e287oeNJa2zsyDdGsx8ZOQjNg8ucl+XFvXMSE7BaBBh7OlwaN9rvb2APVWl20axwog3LTK/hwR4gLswwOpveS4IRvkS7ReaIH5TZ9bszLT/KBZ7vNHThsixwF7zmG7EpVcXW+K0NYWdnxMCoUeHFhhM5eCS+3CcvTQIDAQABMA0GCSqGSIb3DQEBCwUAA4IBAQDIgN+DJgouZJEe9ysEqTrAzDcgaWgVaSTrQGa1DNoWov0A3e35Bwensw61SKp20DB4SWF5GK9menIApfz30H6aoOd5mFcNWoYjkrVue+C5B2oEXCIua9TQc7iR7Np21Twb0Ylkxm/ThINdvPxnp4DXLoVF7BfOExEHvXoOOyw2Hmbpe1z57ds2g676cez4YwfTcZB+oYibvZVa+sO3f7KFjjHnBgoJC7ltxXzpreO+UcpSqVEnehhXj+rSRJ2wHcjHtyrcMxK7CkpVHgT9ZIJqd3MpQ3QKA5KxVt9q5QFr/4ZhdHFO8sq11XXwFDFkTB1Jjy5mYjqVHMj/lBQm2HPq"
Server certificate .pem file. Remove all spaces and newlines.
$issueruri = "https://blockid-trial.1kosmos.net/newui/default/idp3"
Issuer URI set by your Identity Provider
$protocol = "SAMLP"
To ensure domain uses SAML SSO.
- Next, run the following command to set the configuration for your Azure AD domain:
Set-MsolDomainAuthentication -DomainName $domainname -FederationBrandName AdminX-1kdev -Authentication Federated -IssuerUri $issueruri -LogOffUri $logoffuri -PassiveLogOnUri $passivelogonuri -SigningCertificate $cert -PreferredAuthenticationProtocol $protocol
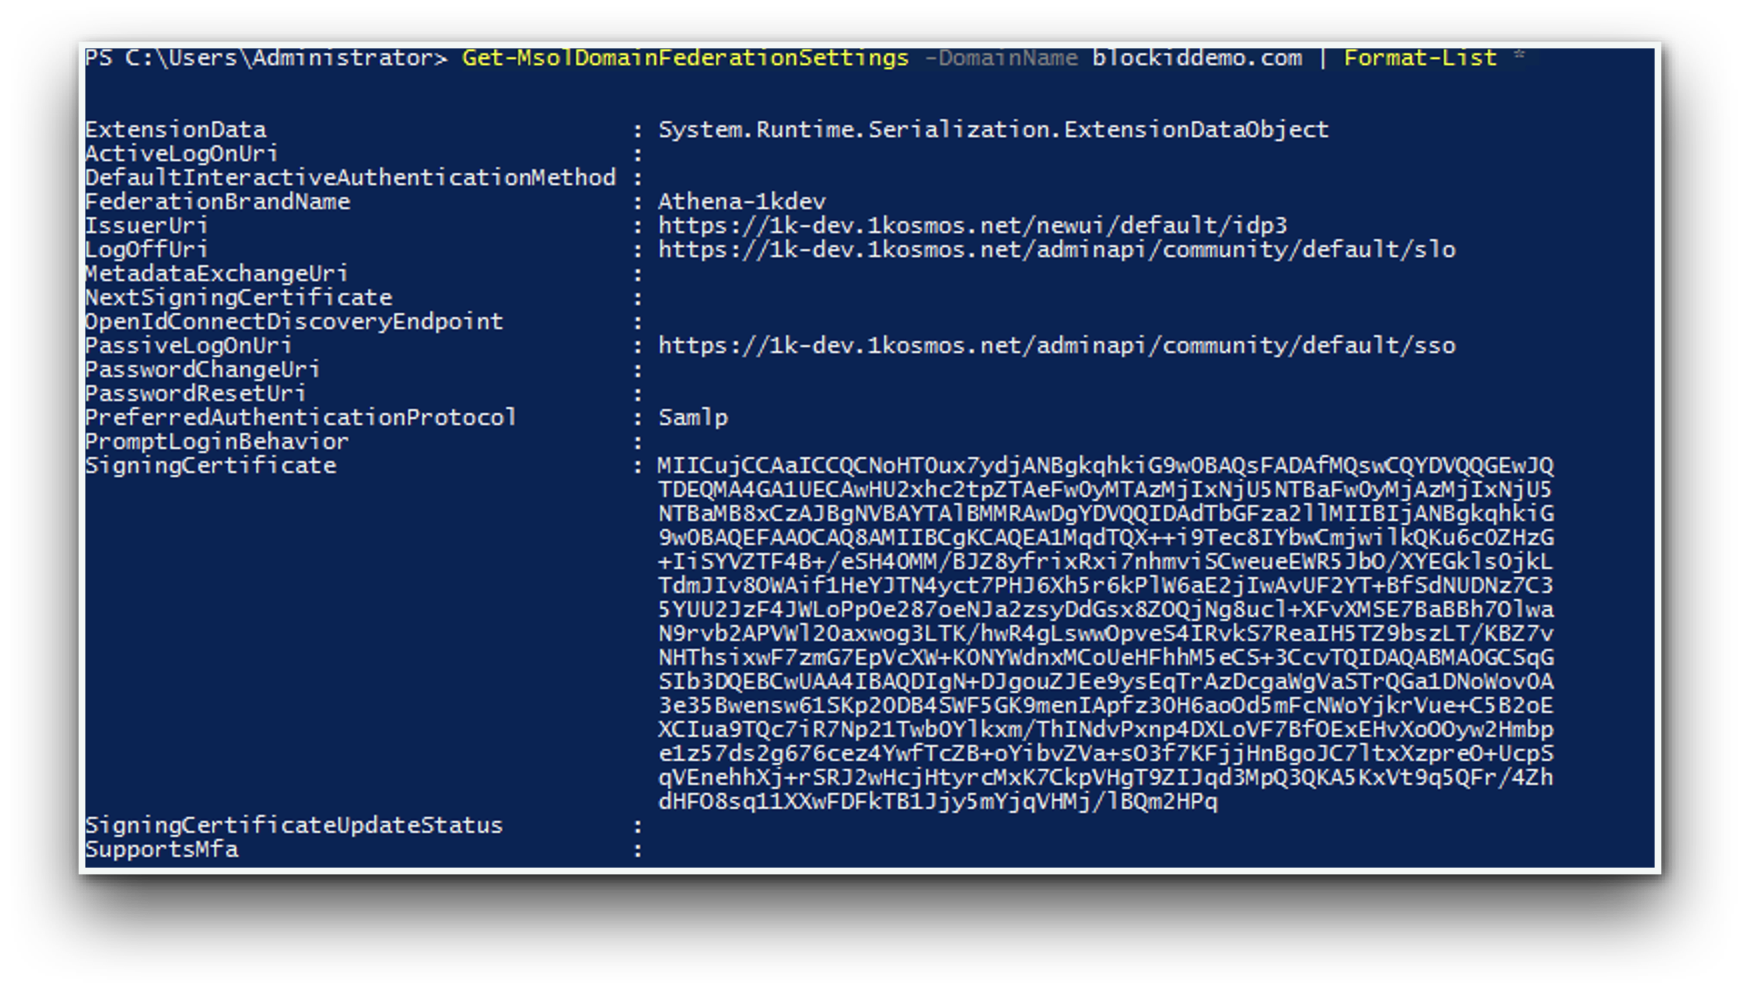
- Run the following commands to retrieve SSL configuration for your Azure AD domain and validate the information is correct:
Get-MsolDomainFederationSettings -DomainName <domain name> | Format-List
Testing Office365 Integration
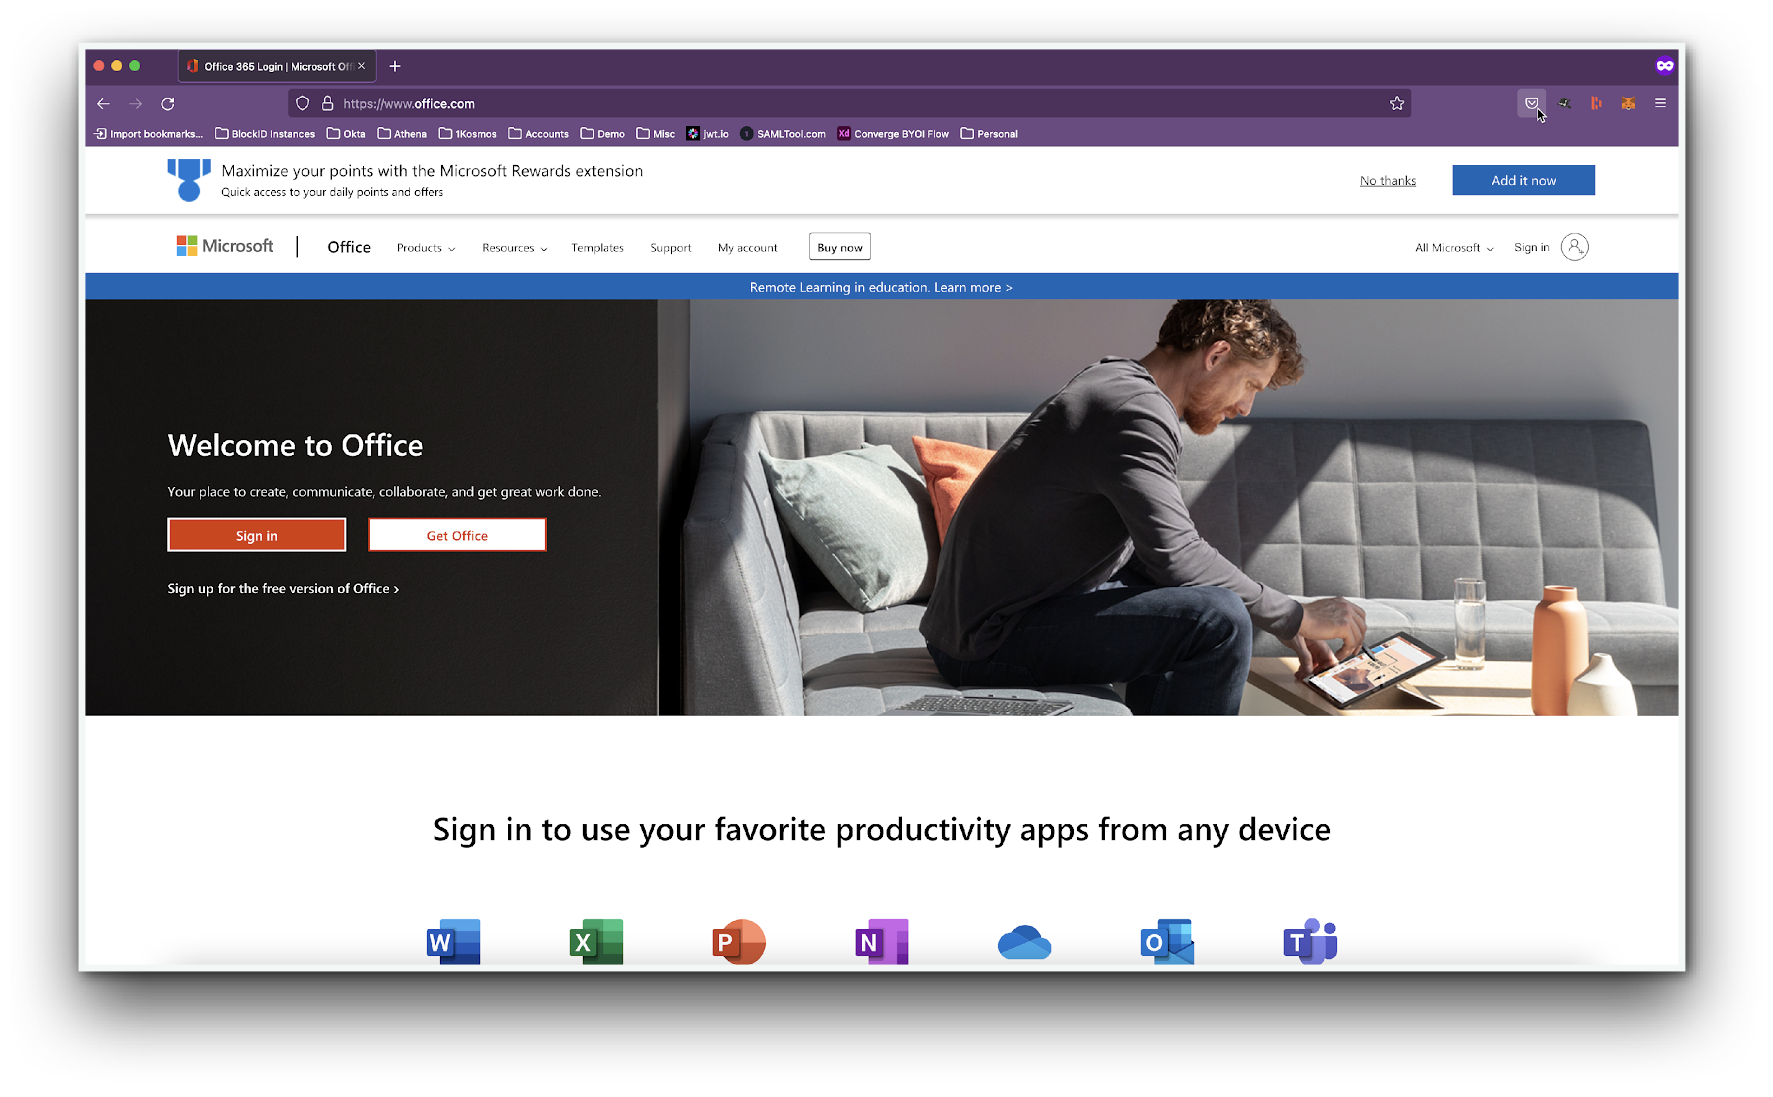
Next, we are going to test our Office365 integration to ensure everything is working.
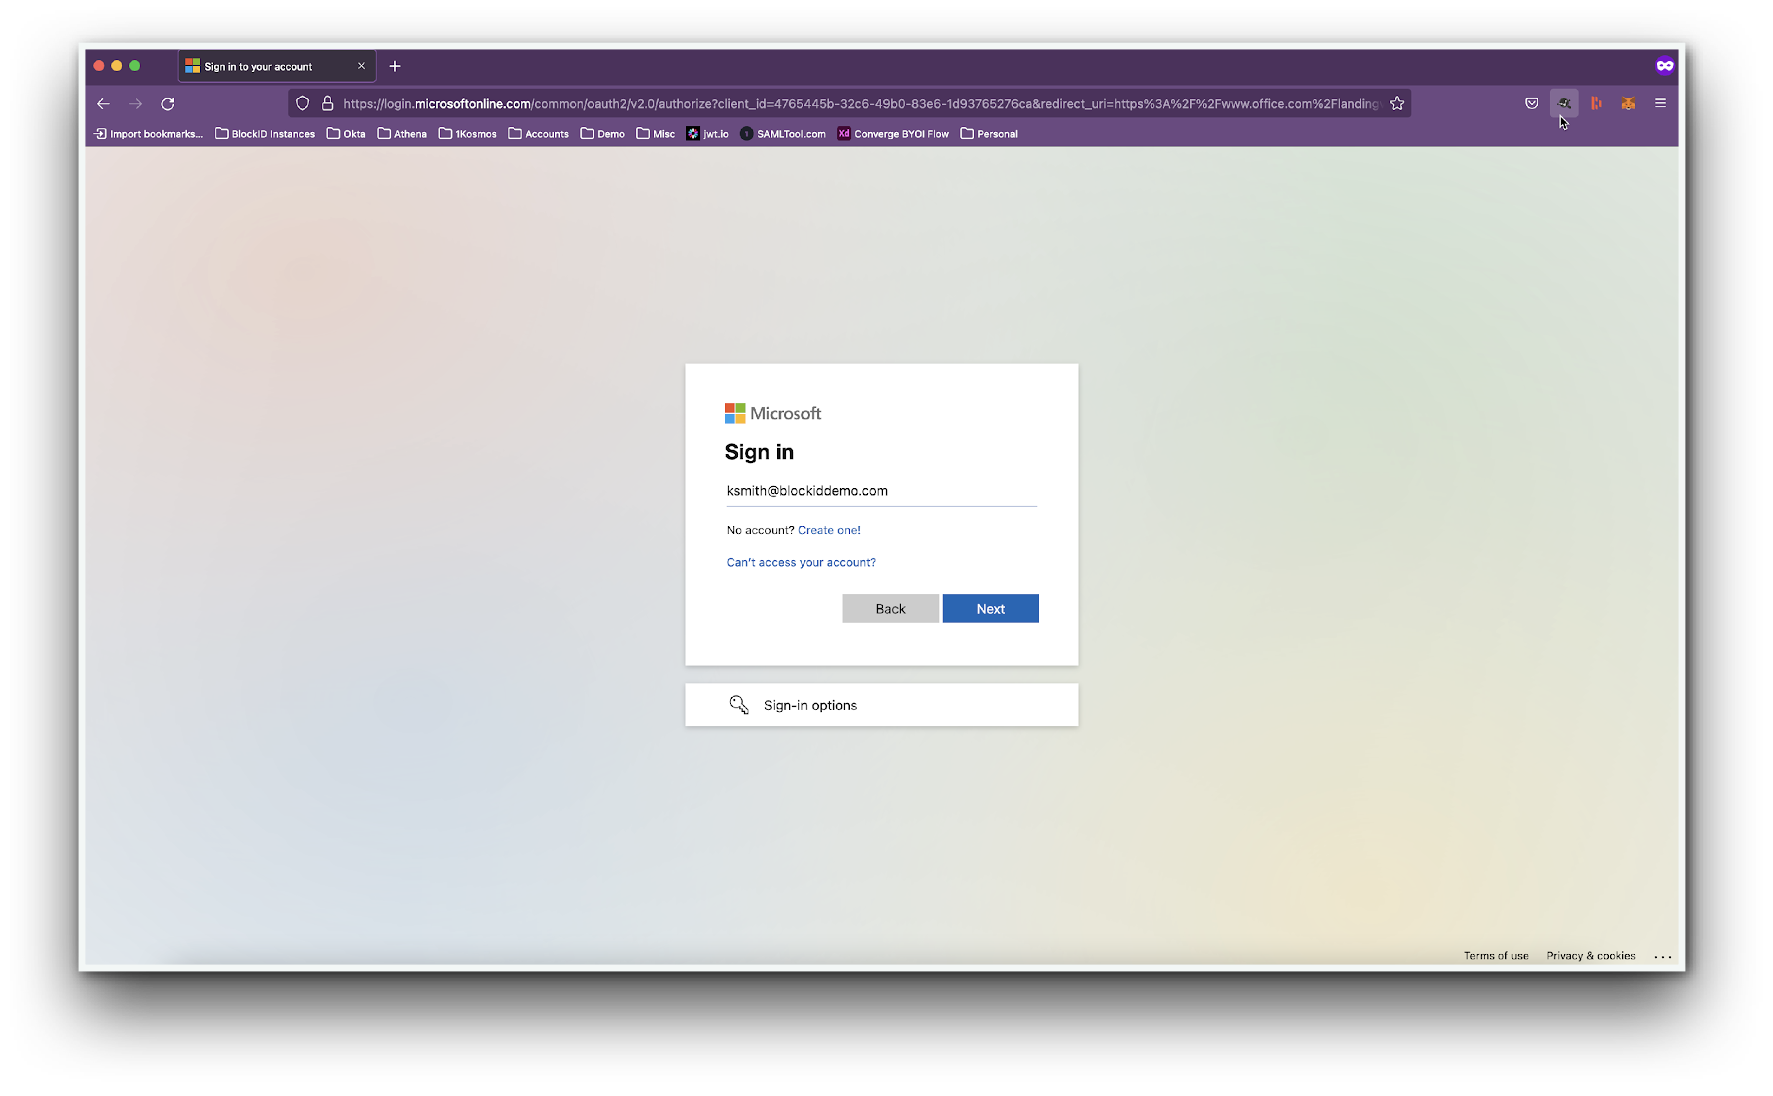
- Open a web browser and navigate to https://www.office.com and select Sign-in
- You will be redirected to the Microsoft sign-in page. Enter your user email address and click Next
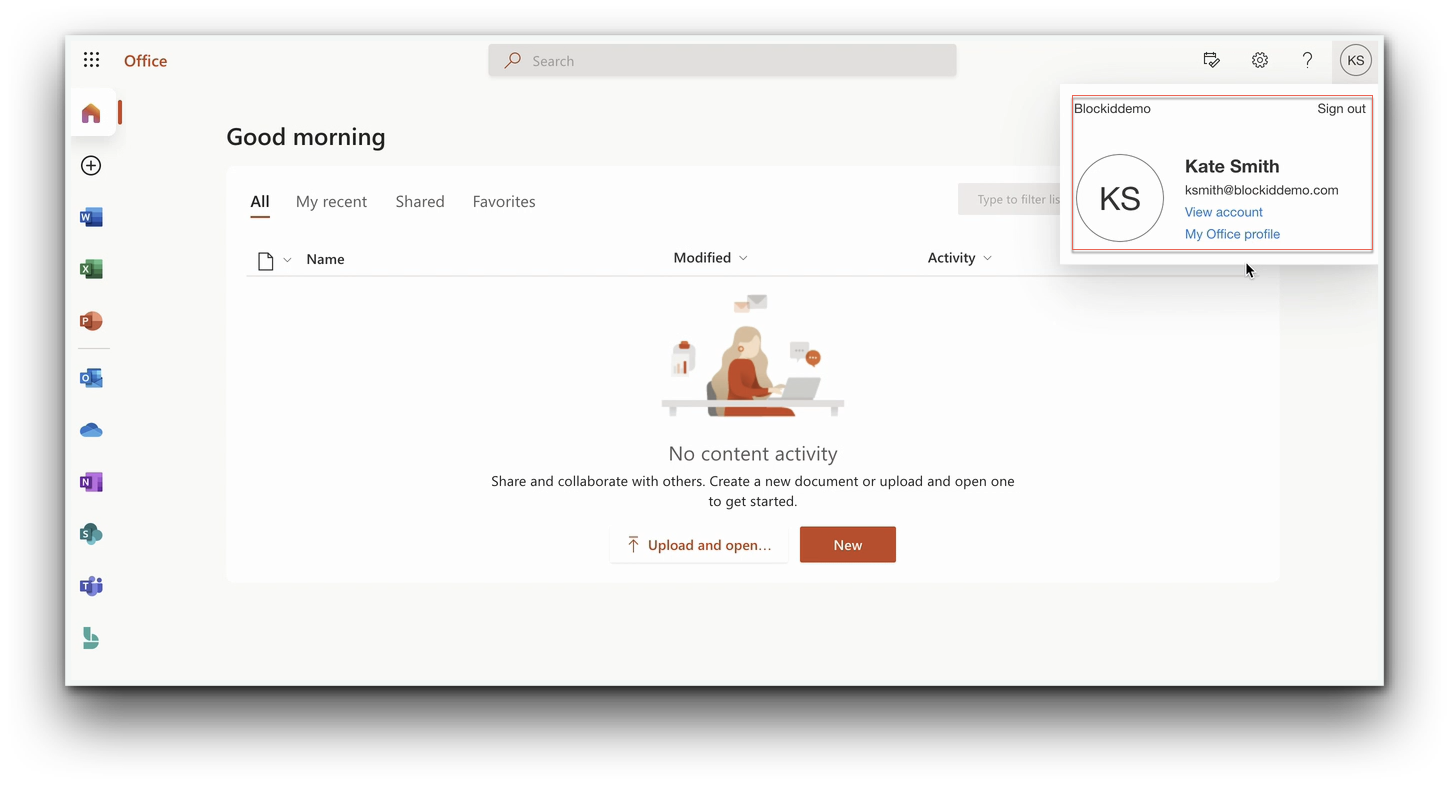
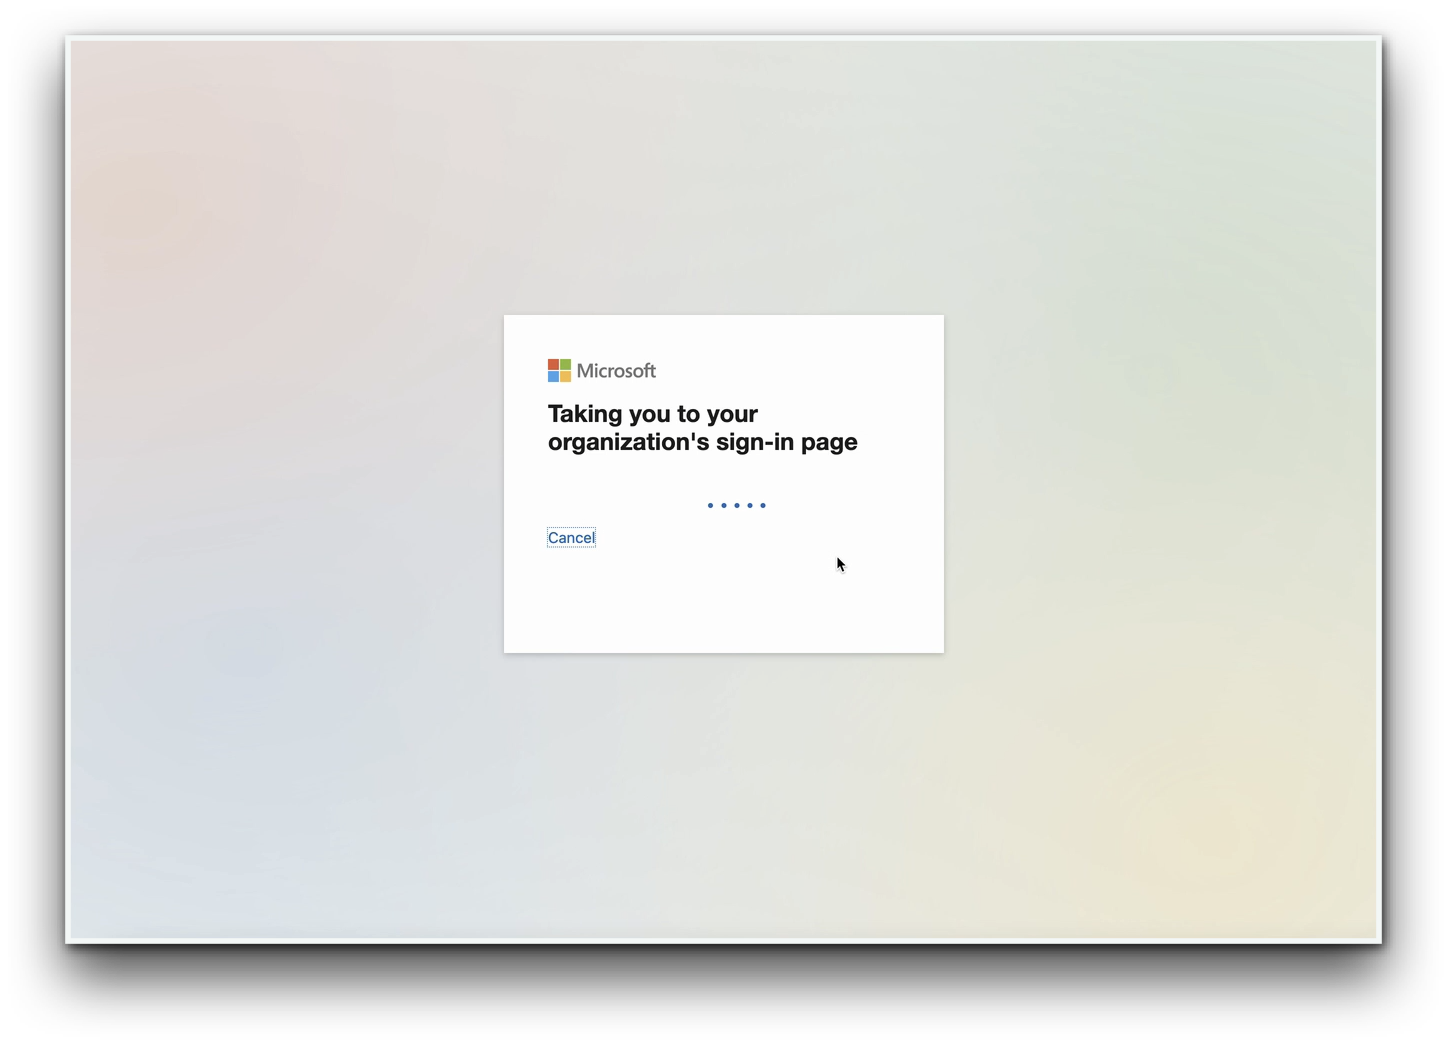
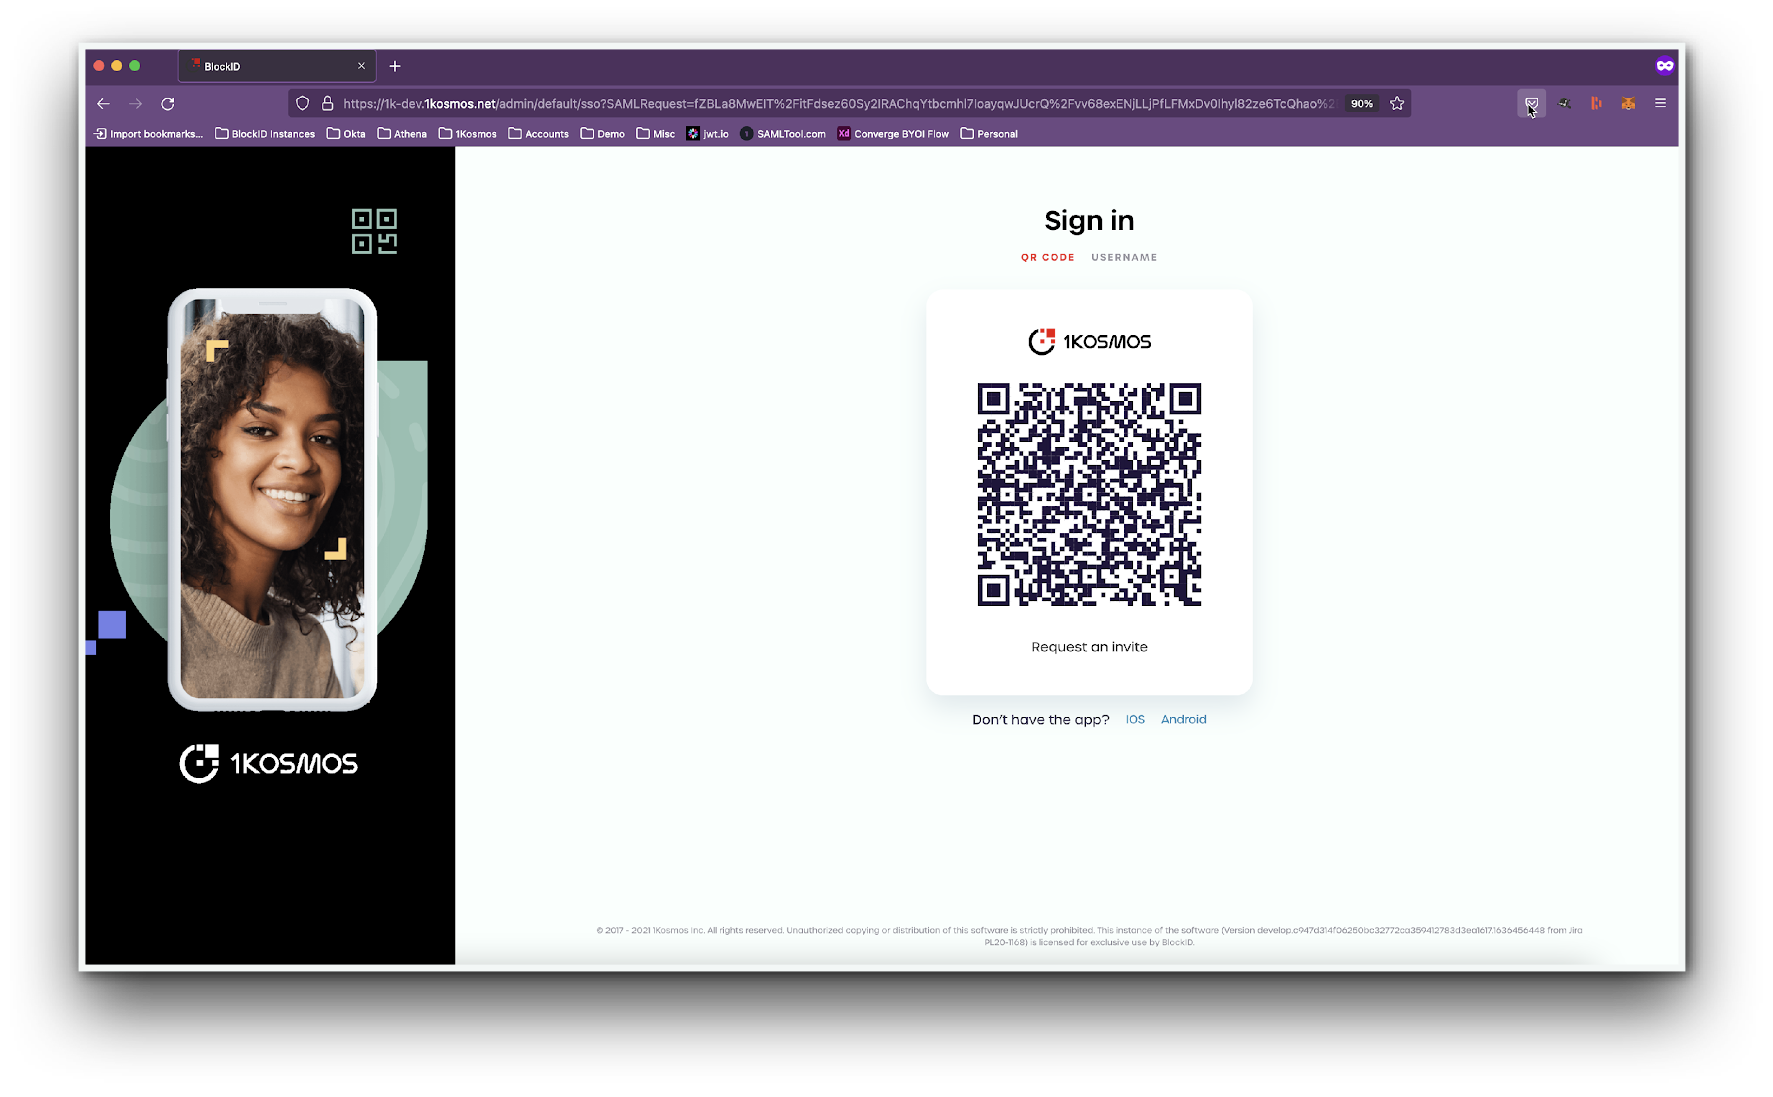
- After a quick loading message, users will will be redirected to the 1Kosmos Login Page.
- Scan the QR code using the 1Kosmos mobile application.
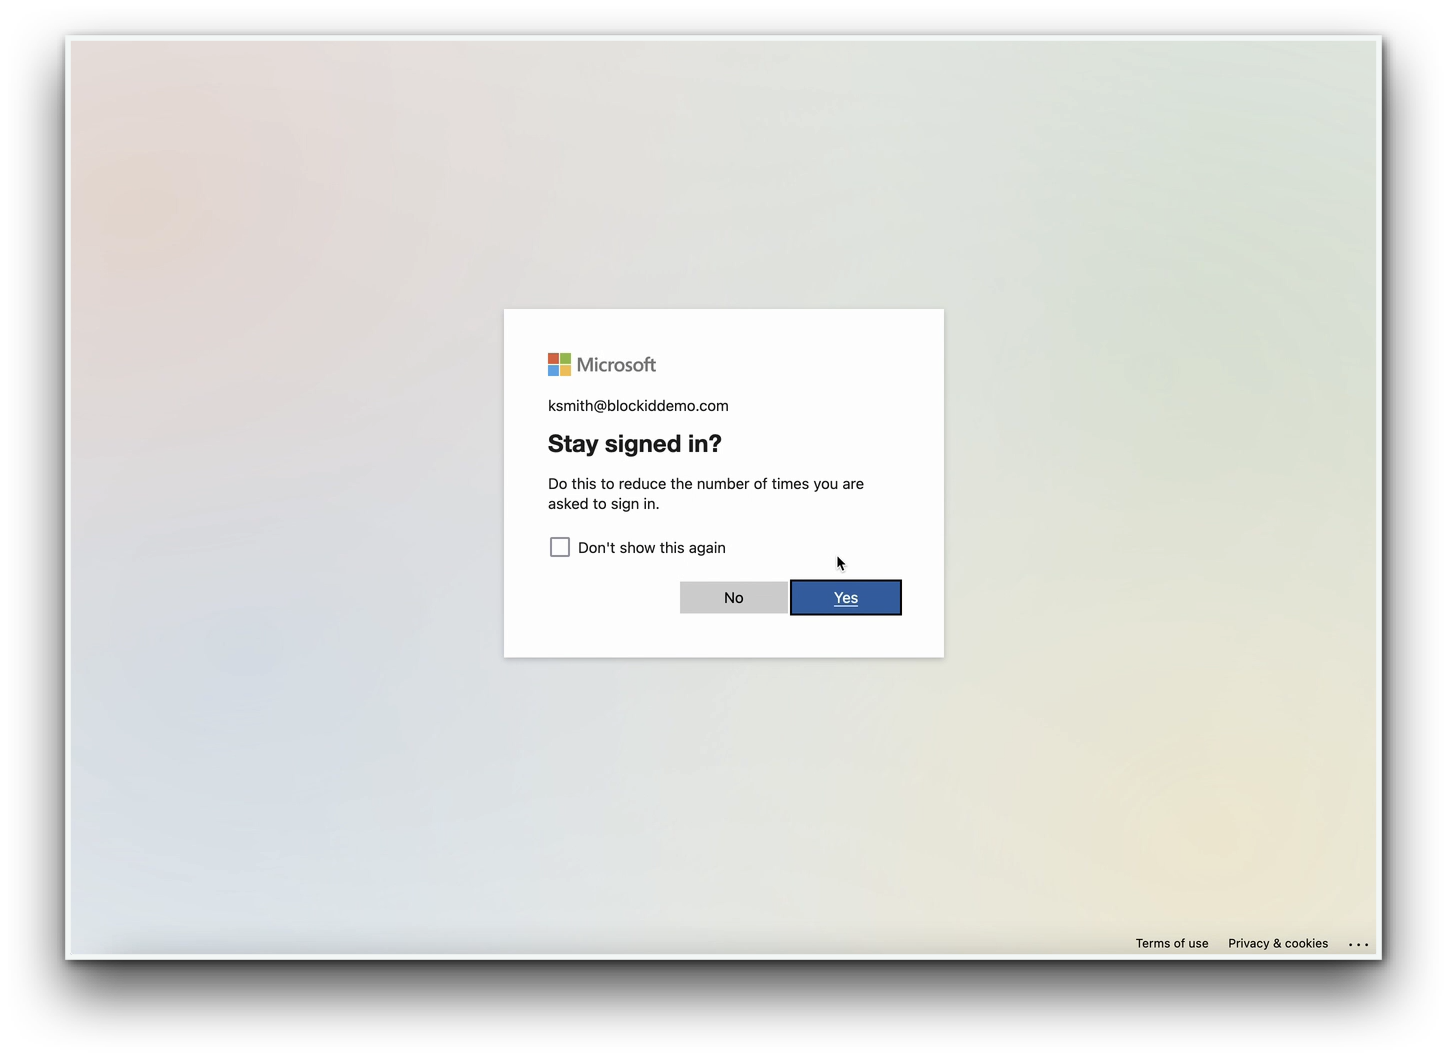
- After successful authentication through the mobile application, the user is redirected to the Office365 portal.
Select Yes when asked if you wish to stay logged in.
- That's it! Your user account will now be fully logged in to the Office365 environment.