OneLogin
This document describes the procedure to configure your organization's OneLogin application within the AdminX portal to use it as a passwordless authentication solution for your organization's OneLogin users. This integration will allow your users to log in to their OneLogin account by leveraging their unique biometrics for passwordless authentication. Biometric options include Touch ID / Face ID and LiveID.
IdP Configuration in AdminX
To get started, navigate to your AdminX portal and log in as a tenant or community administrator. Access the IdP Configuration screen by selecting Settings -> IdP Configuration.
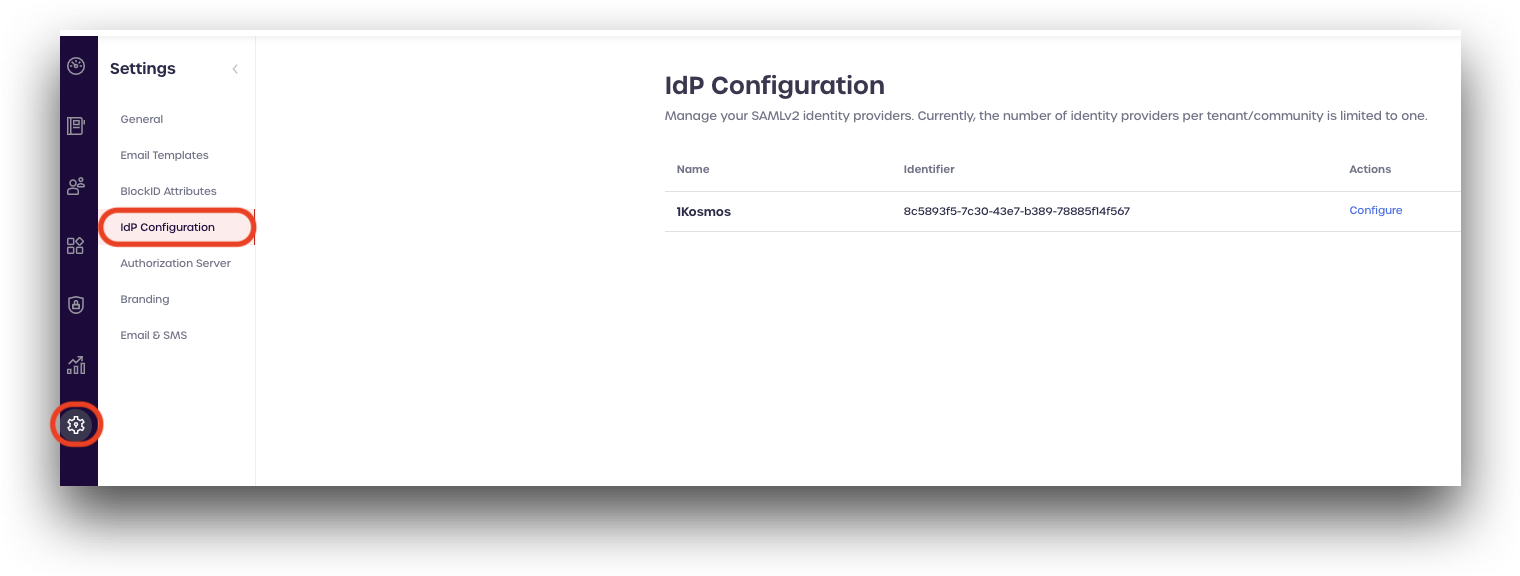
Copy Configure.
From the Configure Identity Provider screen, make a note of the following fields, as these will need to be entered in the OneLogin portal momentarily.
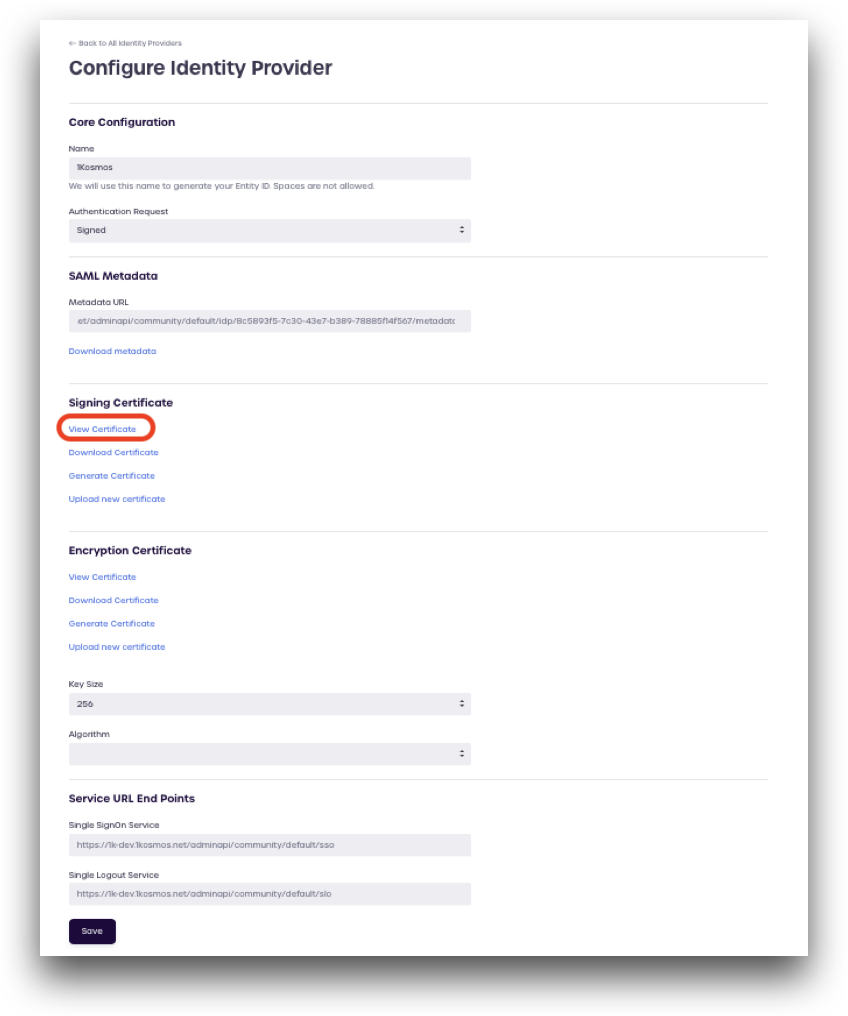
Core Configuration
- Make a note of your IdP Name
- Example:
1Kosmos
- Example:
Signing Certificate
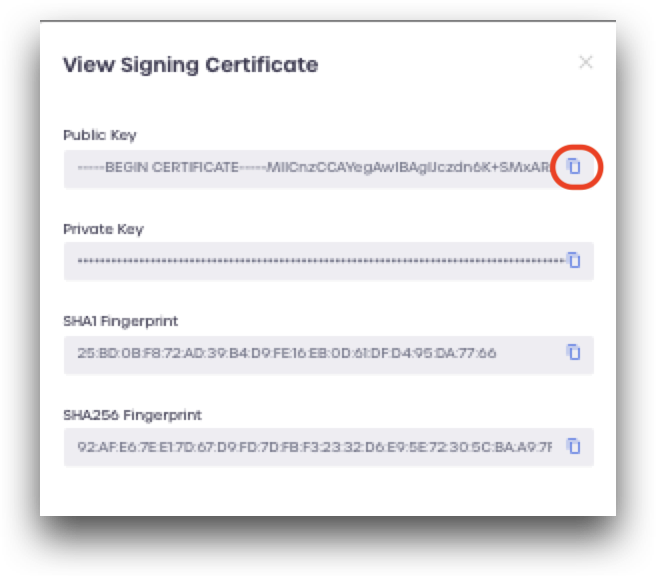
- View the Signing Certificate by clicking View Certificate
- Copy the Public Key, which should look similar to the dummy example below:
-----BEGIN CERTIFICATE-----
MIICnzCCAYegAwIBAgIJczdn6K+SMxARMA0GCSqGSIb3DQEBBQUAMA8xDTALBgNV
BAsTBHNhbWwwHhcNMjIwNDE5MTA1NTM3WhcNMjUwNDE5MTA1NTM3WjAPMQ0wCwYD
VQQLEwRzYW1sMIIBIjANBgkqhkiG9w0BAQEFAAOCAQ8AMIIBCgKCAQEA1LK77n08
MIuxaXirl1aRPu22174ePdBoG+c/AAaiqKZkfhgl/ZZKBnWB1BFZ1POUm7mZ1E+t
eZyWddIq3ZCa5BlWy+XHwVa0JqinT+C+tmT1nWsj/p3m3FZd0YLfosl28IfRyL/o
m3UjQAXnugJMtxmDI0VvgjejK1XFkHJJMe1OwZrAgcT8vlXNIgewH7kosrfisbms
SvCEVpvgBdwI97LwykB/Rzk8eFChpb/o5dDTsQNxWM4i/DdmxqCD1VYz4ieaeHxQ
WoQTsyc2crETcxoJW1Z46th+liKwrDc9uy7yBUVldOUAD1lMvgKOmbNeAuh+mZbh
n0biXDJzc2hdBQIDAQABMA0GCSqGSIb3DQEBBQUAA4IBAQAnYKKZehOofu7f0Sxt
m40YtS3V/EIbQfKHtoHYmtE07BqWceofmGuYri4EpEdVOrlL2mAW1QO1icNYTKEF
wREQAtcN5kJJa9dVLGgZdwRtCkIWgfE1N2+PFVZ9nfhVQ/GWf1S8B4q4ivY2pC6M
3qVXcx8ytN+jdLlKfgoHbQMeo/PhxqZDbGiKqYFe3xJq281zV+9mY0nC6FLkFYbP
ttFxPY6dU+8IPOq5wy6DapNklFIvoj8mKkQC8FpgpMCpqqDBtHs7k7ufLq2eAZBe
Bs8Thxva0axFOLcjetCBJKYSCBaEVlnNwCPid+1/qIUhVscw4wype1oVjryqcim8
0ovO
-----END CERTIFICATE-----
Encryption Certificate
- Download the Encryption Certificate by clicking Download Certificate
Service URL End Points
-
Copy the Single SignOn Service URL
- Example:
https://blockid-trial.1kosmos.net/adminapi/community/default/sso
- Example:
-
Copy the Single Logout Service URL
- Example:
https://1k-dev.1kosmos.net/adminapi/community/default/slo
- Example:
OneLogin Configuration
Next, navigate to your OneLogin portal and log in as an Administrator.
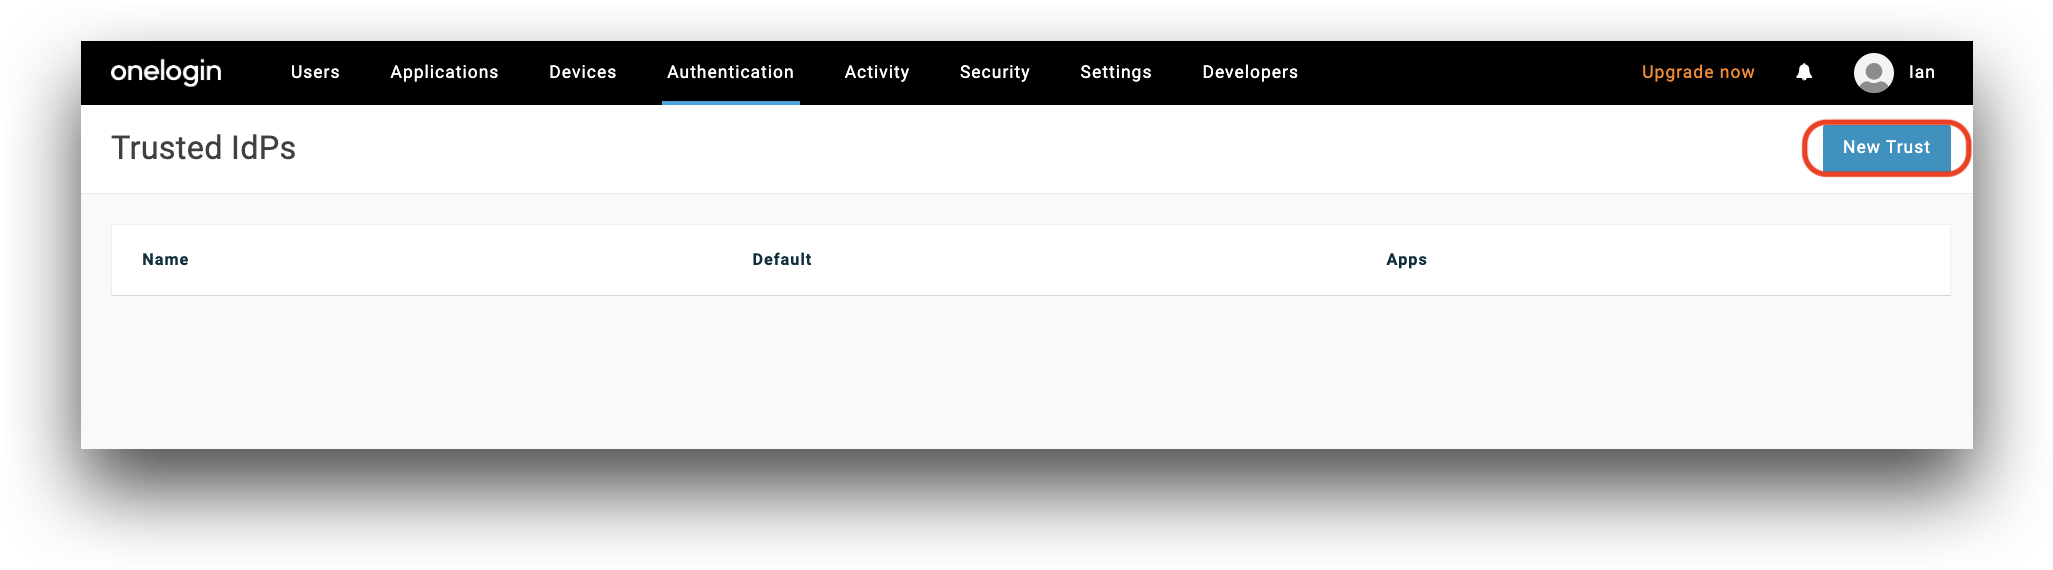
Using the top menu, select *Authentication -> Trusted IdPs.
From the Trusted IdPs page, click New Trust.
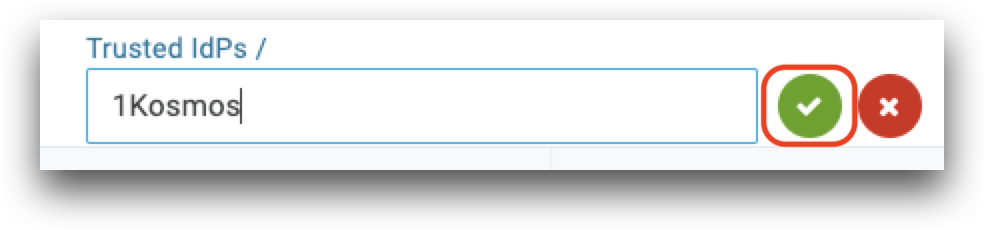
Enter a name to use and click the green check mark to save.
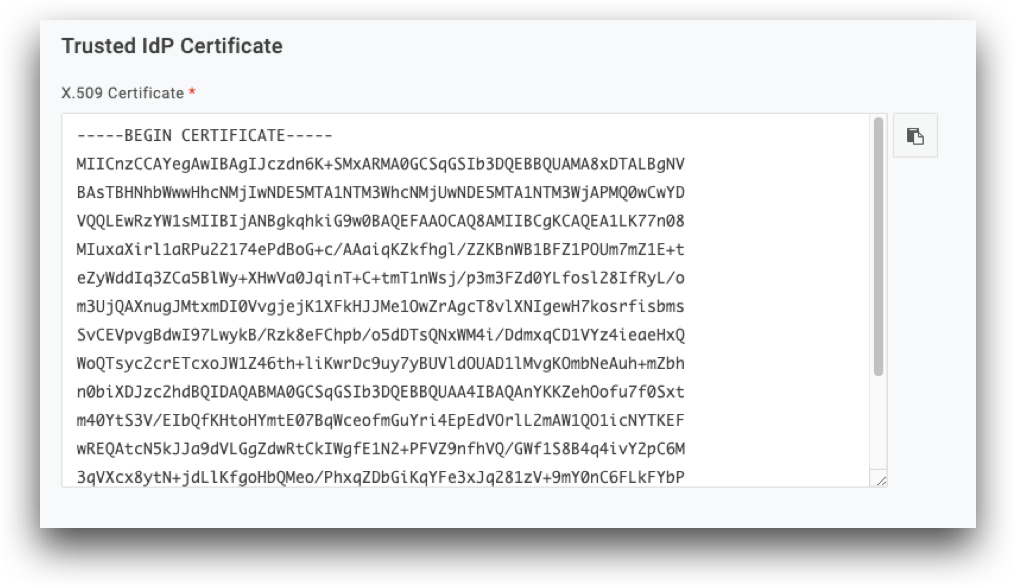
Scroll down to Trusted IdP Certificate and paste the Signing Certificate Public Key copied from your AdminX portal.
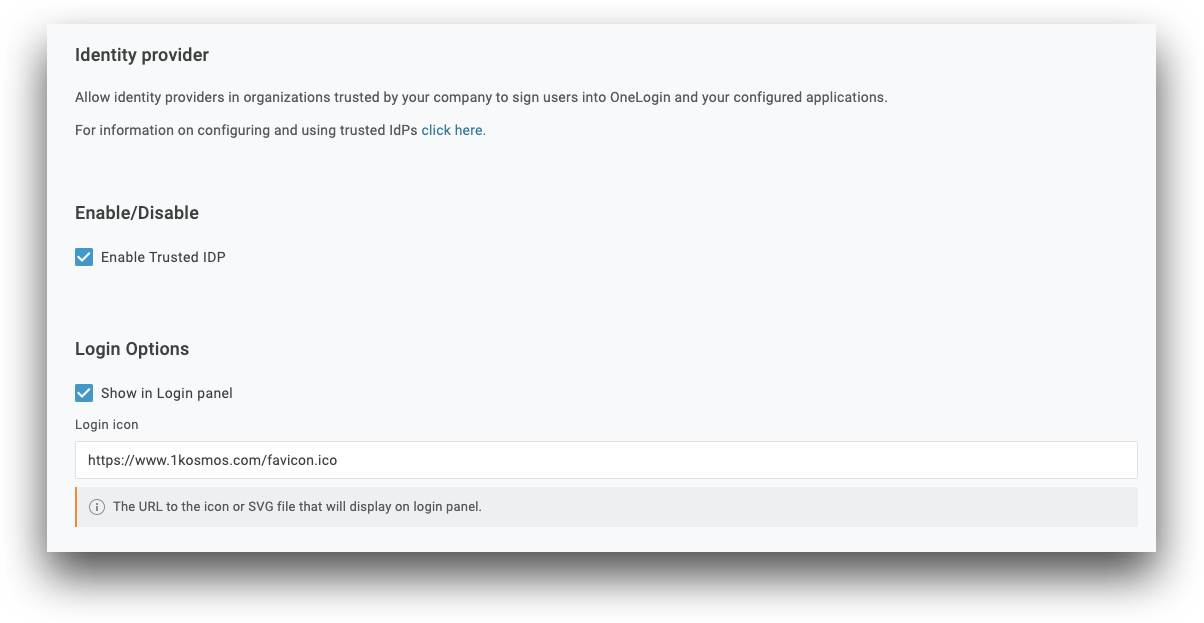
After pasting the certificate, return back to the top of the page and edit the following fields:
Enable/Disable
- Check the box for Enable Trusted IDP
Login Options
- Check the box for Show in Login panel
- Enter a url containing an icon to use, such as
https://www.1kosmos.com/favicon.ico
Configurations
-
Issuer: Enter the same IdP Name you entered in AdminX, under Core Configurations
-
Check the box for Sign users into OneLogin
-
Check the box for Sign users into additional applications

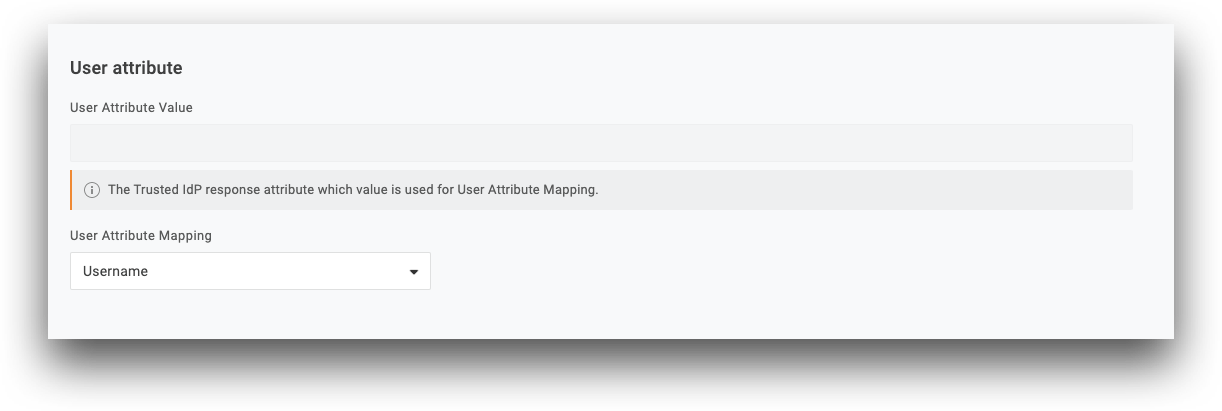
User Attribute
- User Attribute Mapping: select Email from the drop-down menu
SAML Configurations
-
IdP Login URL: enter your Single SignOn Service URL from the AdminX portal
- Example:
https://blockid-trial.1kosmos.net/adminapi/community/default/sso
- Example:
-
IdP Logout URL: enter your Single Logout Service URL from the AdminX portal
- Example:
https://blockid-trial.1kosmos.net/adminapi/community/default/slo
- Example:
-
Copy the SP Entity ID as we will need this later back in AdminX
- Example:
https://<tenant>.onelogin.com/sp/0615712b-0ccc-4aea-90c3-5cd1e7cb0000
- Example:
-
Copy the SP Logout URL for use in AdminX
- Example:
https://<tenant>.onelogin.com/saml/logout/0615712b-0ccc-4aea-90c3-5cd1e7cb0000
- Example:
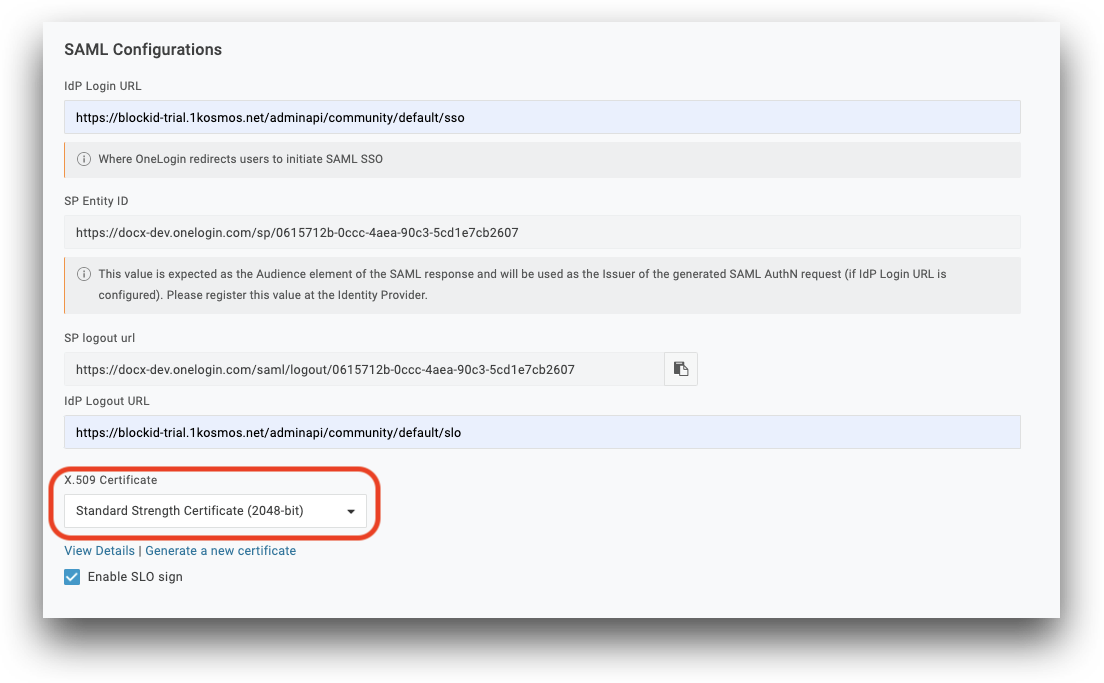
- X.509 Certificate:
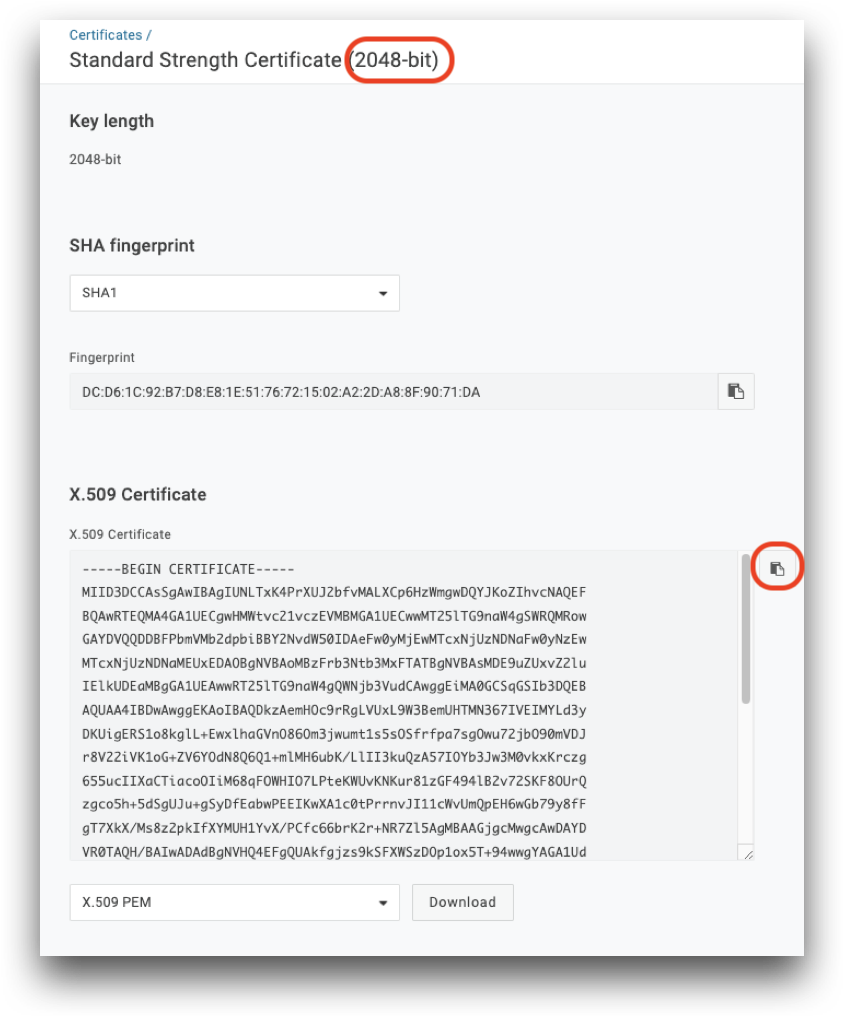
- Select Standard Strength Certificate (2048-bit) from the drop-down menu
- Click View Details to view the new 2048-bit certificate
- Download the X.509 Certificate for use in AdminX
Click Save when finished. The next step requires returning to AdminX to add and integrate OneLogin as a SAML application now that all the prerequisite configuration has been completed.
Adding OneLogin as a SAML Application in AdminX
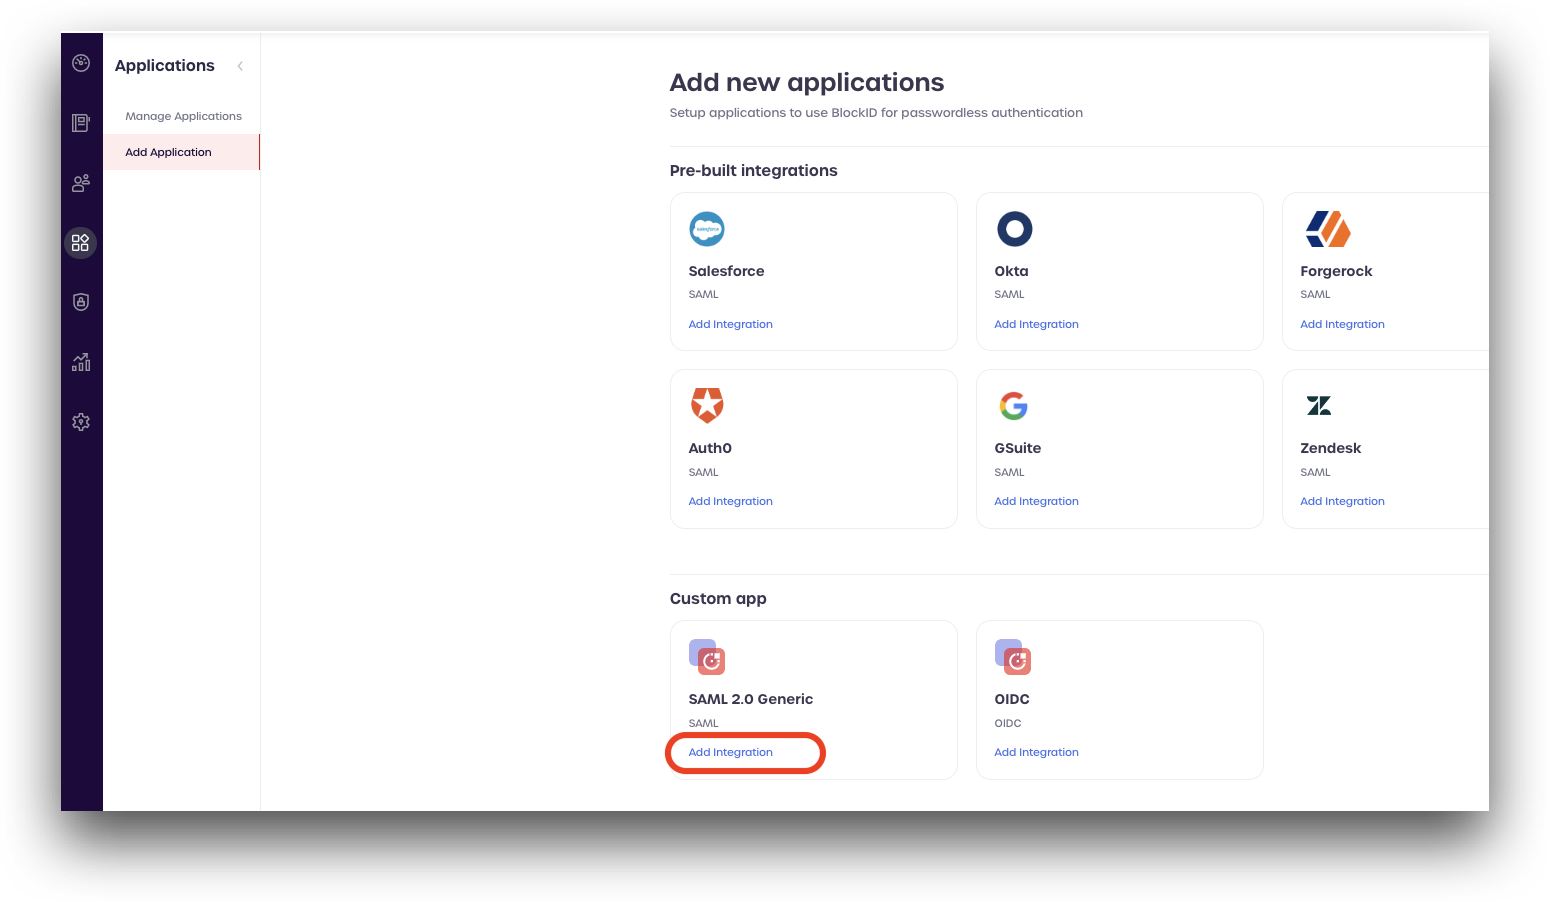
Return to your AdminX portal and log in as a tenant or community administrator. Navigate to Applications -> Add Application.
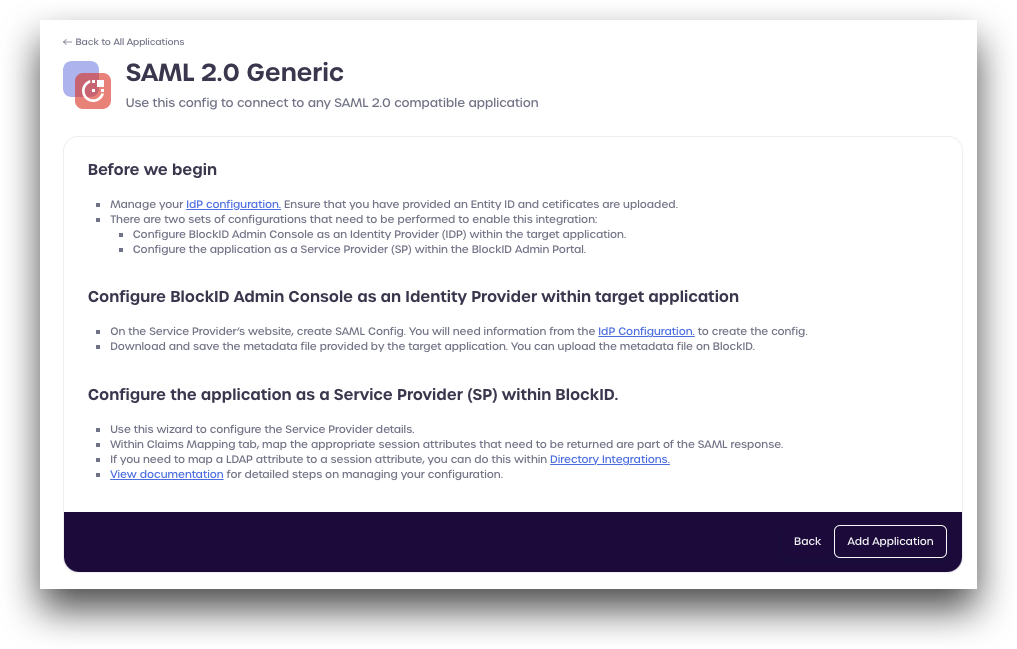
Locate the SAML 2.0 Generic card located near the bottom, under Custom App, and click the Add integration link.
Review the displayed information. Click Add application to continue.
Step 1: Basic Settings
Enter the following details:
-
Application Name: Enter a name to use
- Example:
OneLogin
- Example:
-
Instance
- Example:
Production
- Example:
-
Application Access URL: Enter your Onelogin access URL
- Example:
https://<tenant>.onelogin.com/portal
- Example:
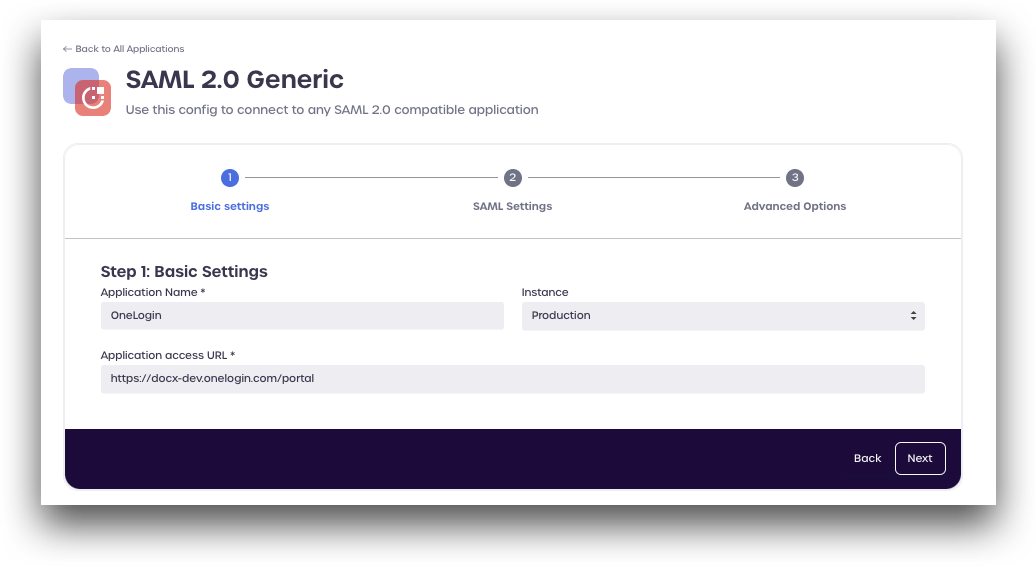
Click Next to continue.
Step 2: SAML Settings
Enter the following SAML details:
-
Assertion Statement (NameID)
- Format:
urn:oasis:names:tc:SAML:1.1:nameid-format:unspecified - Value:
email
- Format:
-
Claims Mapping
- Click Add new
- Attribute:
email - Format
Username
- Attribute:
- Click Create
- Click Add new
-
Repeat the process for the following fields
- Attribute:
firstnameFormat:first_name - Attribute:
lastnameFormat:last_name
- Attribute:
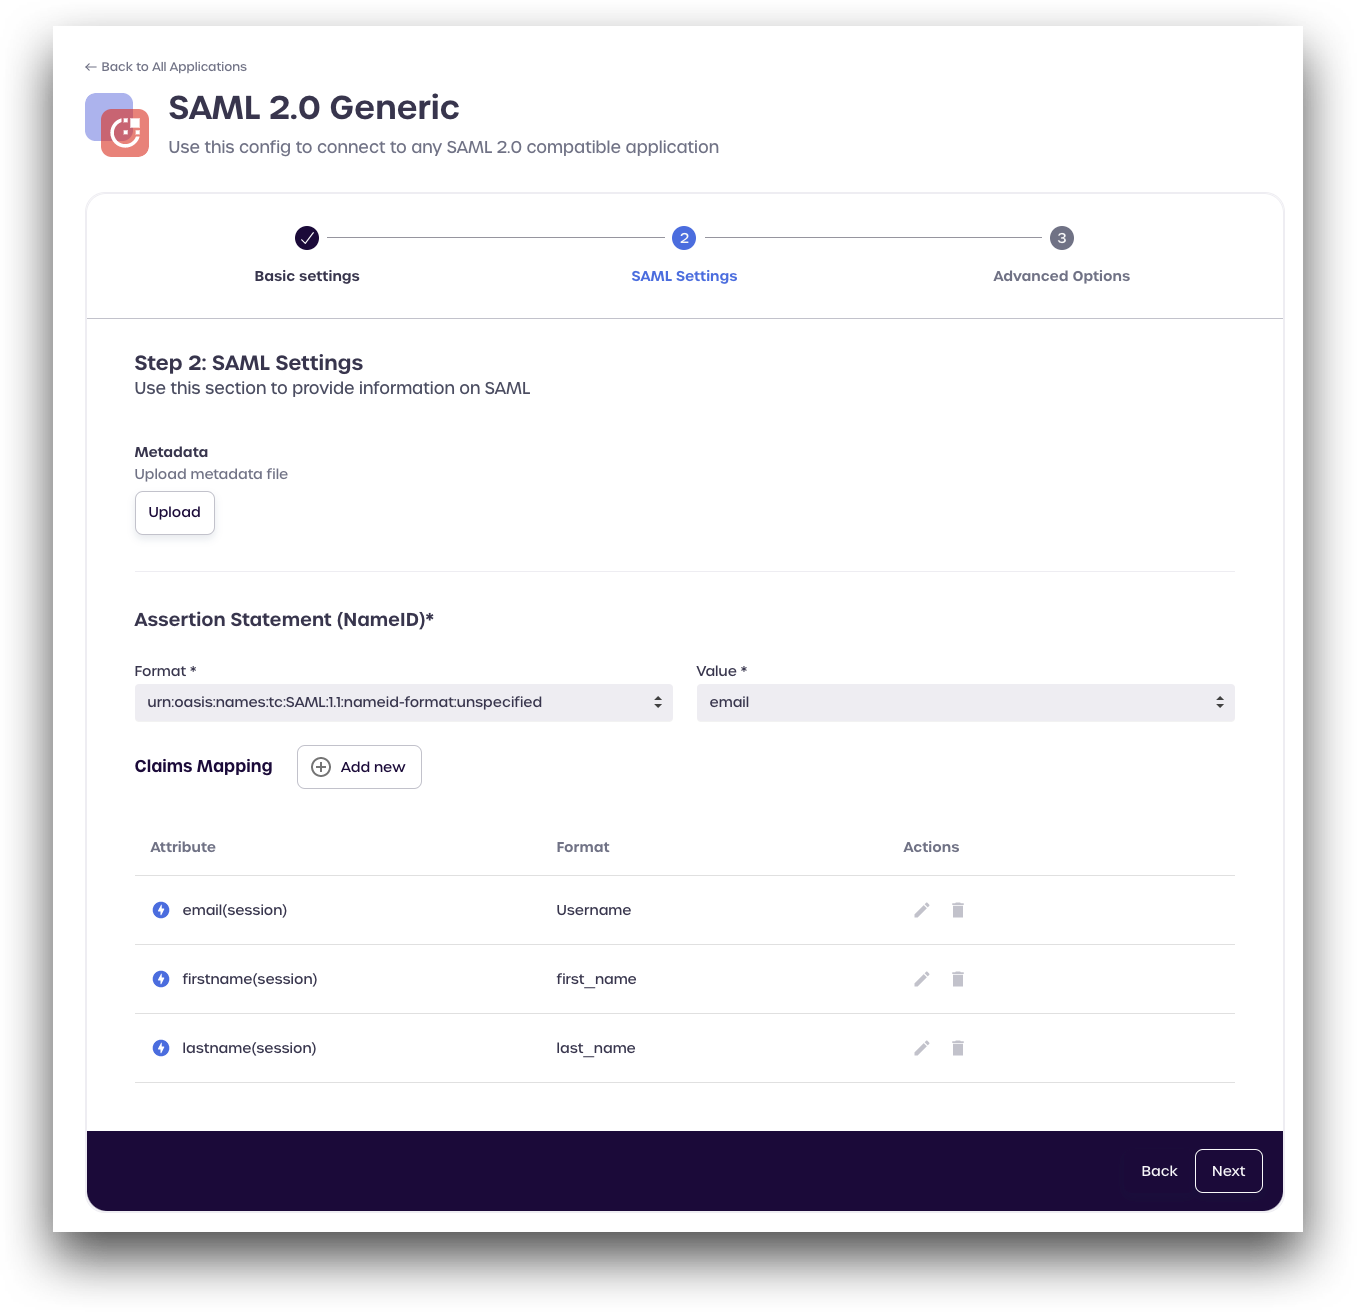
Click Next to continue
Step 3: Advanced Options
Enter and select the following details:
- Entity ID: Enter the SP Entity ID from the OneLogin SAML Configurations section above
- Example:
https://<tenant>.onelogin.com/sp/0615712b-0ccc-4aea-90c3-5cd1e7cb0000
- Example:
In the Assertion Consumer Service section, perform the following steps:
- Method:
POST - URL: Enter the SAML assertion Consumer service URL
- Example:
https://<tenant>.onelogin.com/access/idp
- Example:
In the "Select the checkbox for each request/response that should be signed" section, perform the following steps:
- Enable the Assertion option
Configure certificate details:
- Signing Certificate: Upload the signing certificate downloaded from the OneLogin SAML Configurations portal
- Signing Algorithm: Select
RSA-SHA256from the drop-down menu
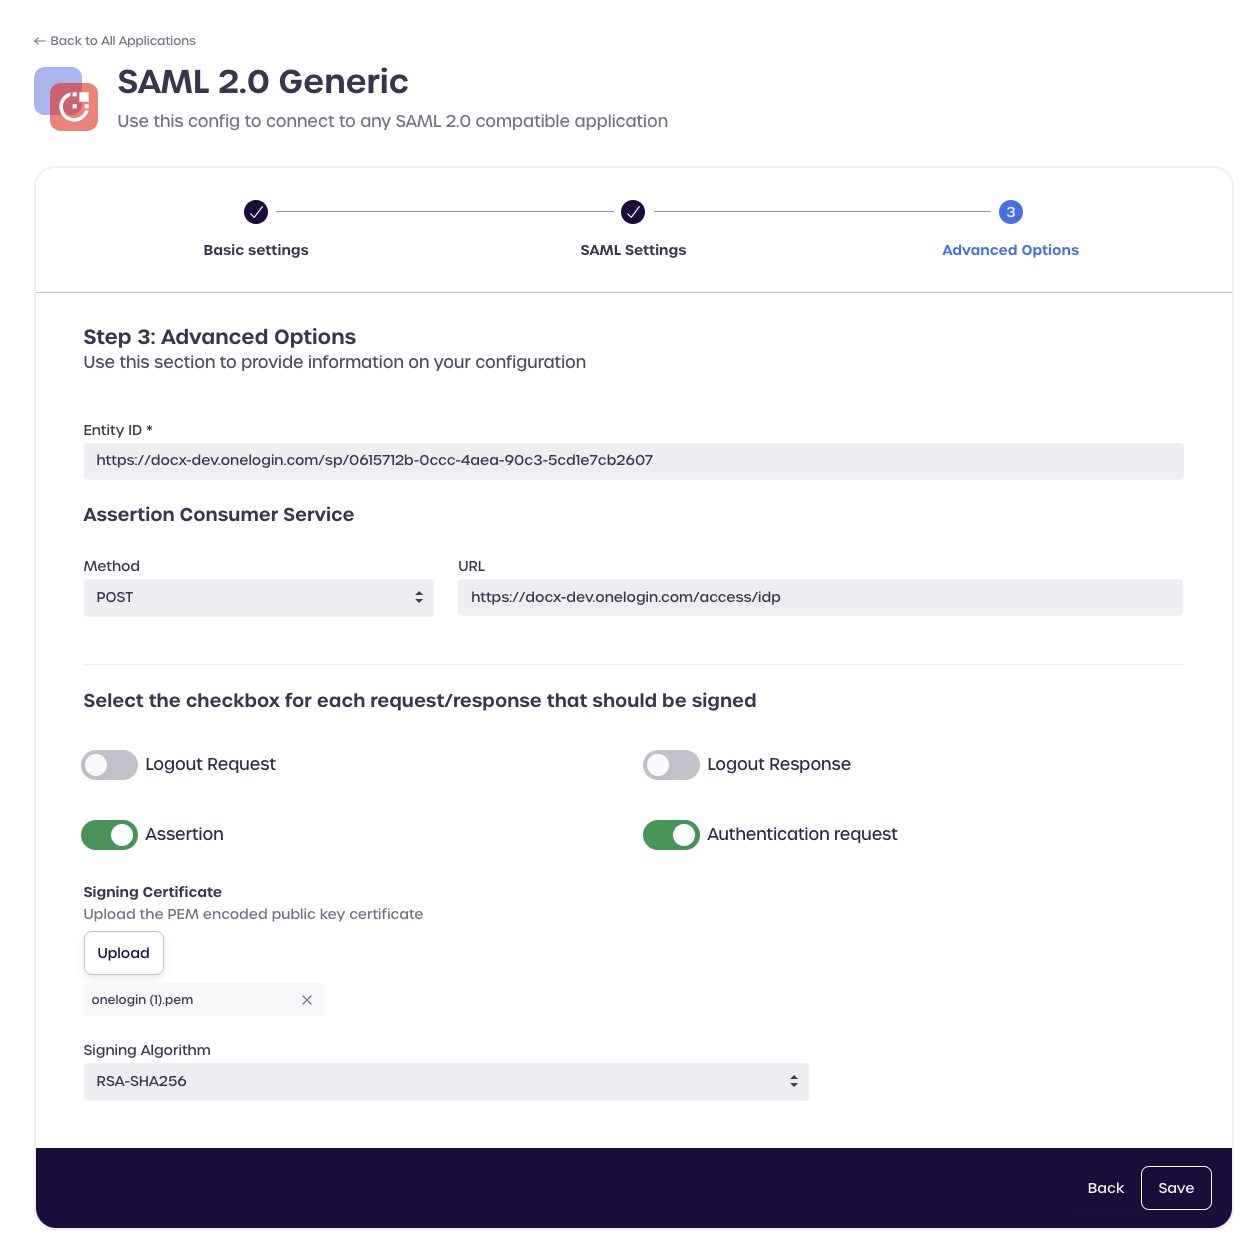
Click Save to complete your OneLogin SAML integration.
Testing your OneLogin SAML Integration
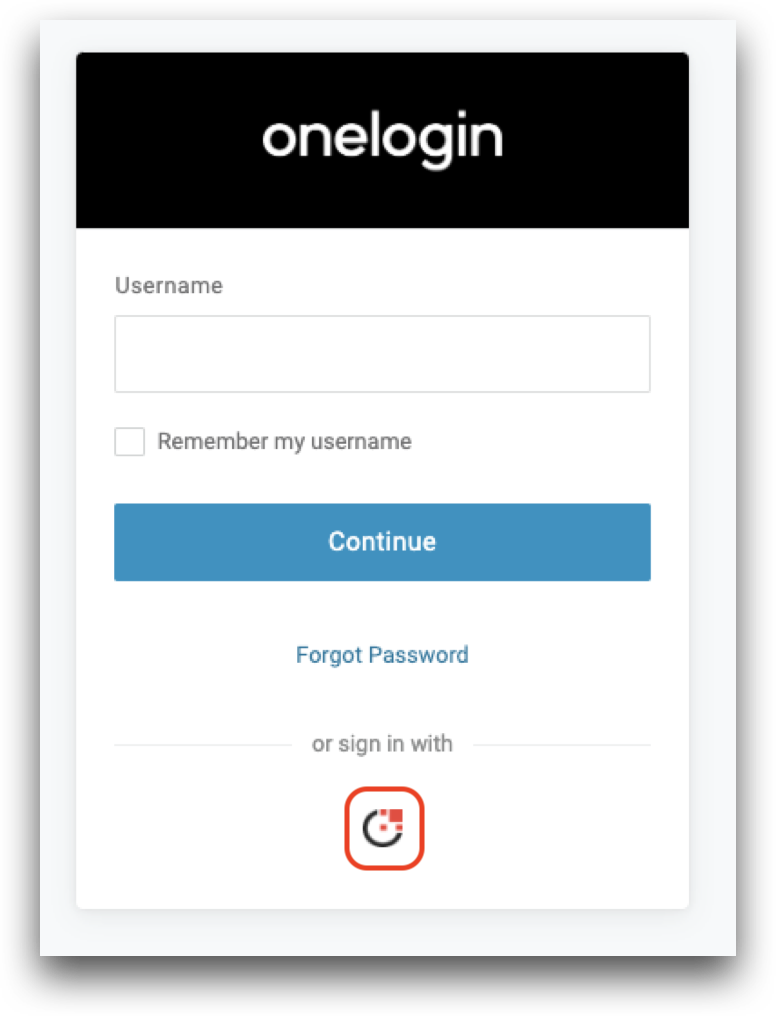
To test your OneLogin SAML integration, completely logout of the OneLogin portal. Navigate to the login page for your OneLogin tenant. Ensure that your email is not already selected, as shown.
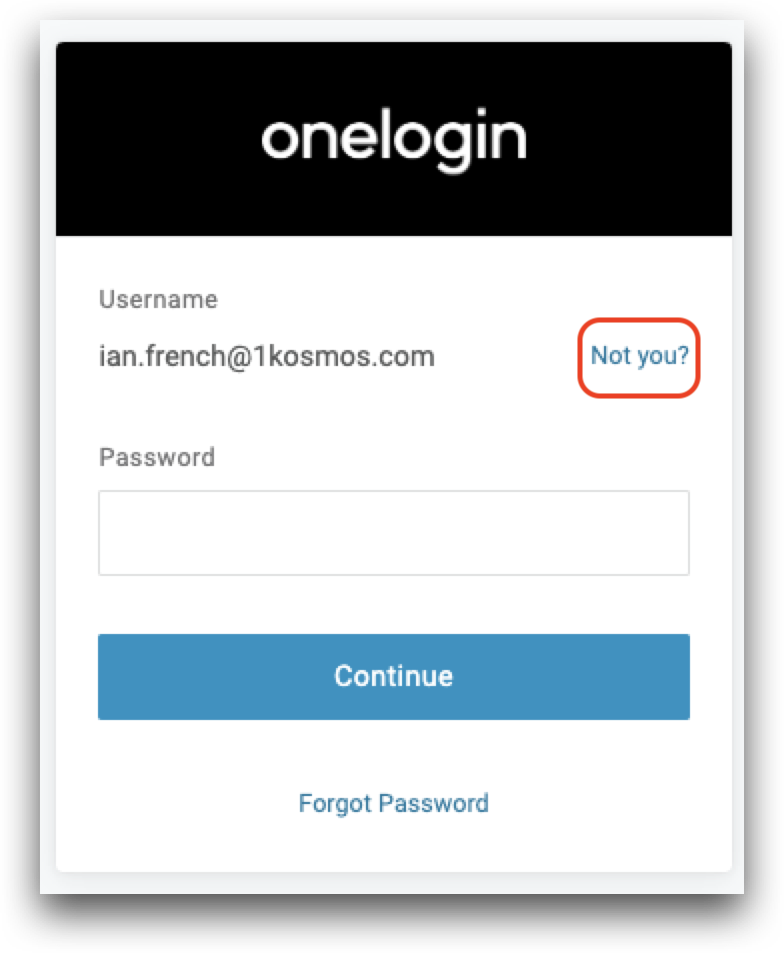
After completely logging out you should see the icon you selected while configuring OneLogin [Login Options]{#loginoptions} above.
Click the icon. You will be redirected to the 1Kosmos AdminX portal for user login.
Login with 1Kosmos. After successful authentication you will be returned to the OneLogin portal as an authenticated user.