Resetting Account Passwords
Community administrators can now define how end users reset their forgotten passwords— via AdminX or the Mobile App — using the new Authentication > Reset Password menu in the AdminX interface.
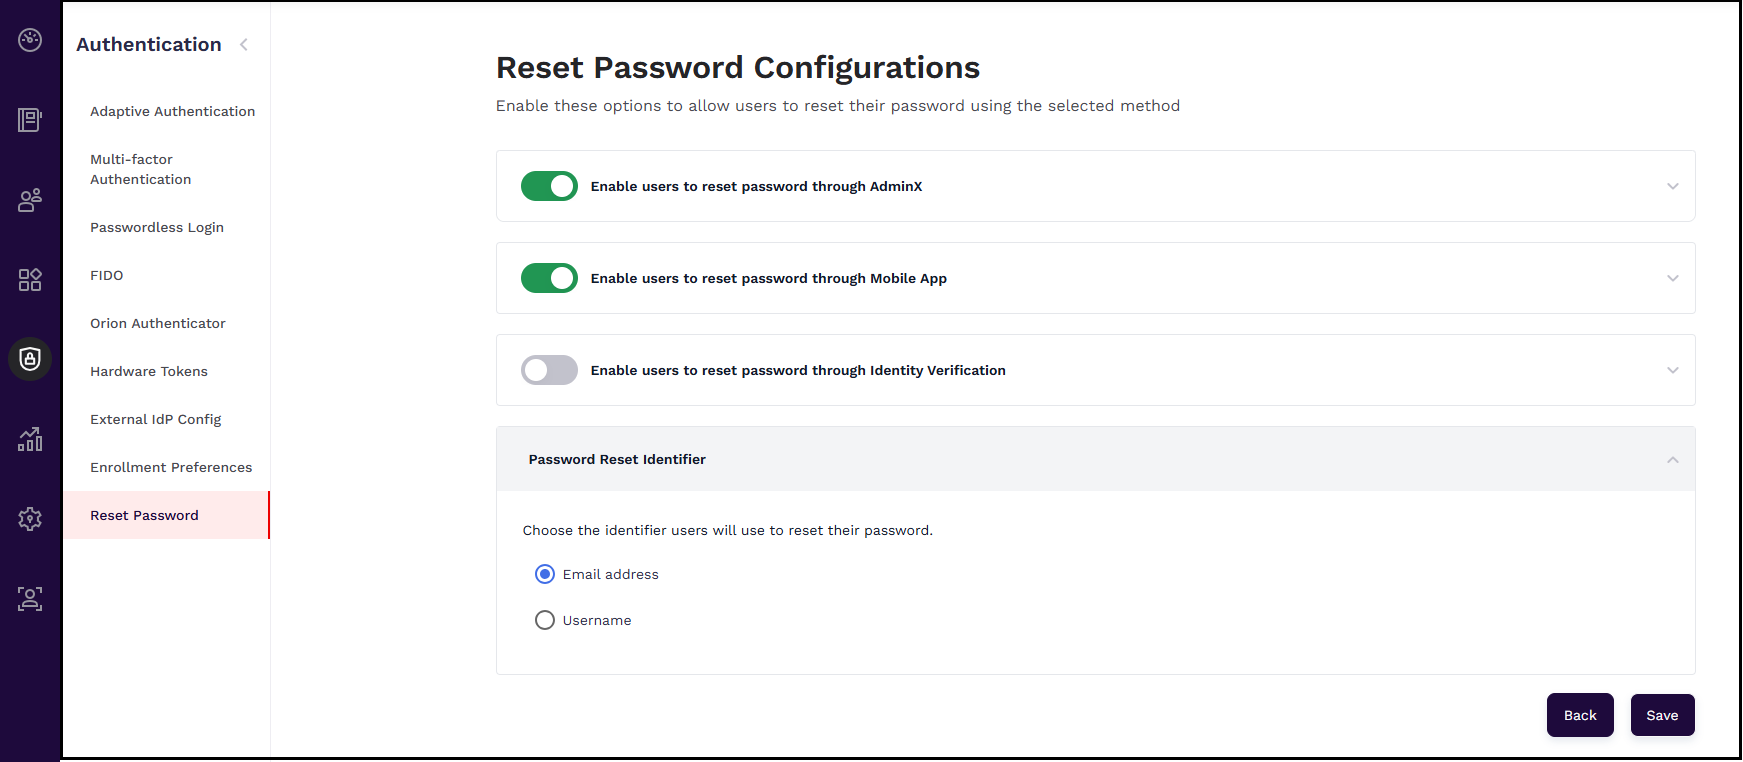
On the Reset Password page, administrators can configure the following options:
- Enable users to reset passwords through AdminX - Select this option to allow password resets via a link sent by email or a passcode sent to the user's mobile device, along with the email link.
- Enable users to reset passwords through Mobile App - Select this option to allow password resets directly within the mobile app.
Although mobile-based password resets are supported in the current implementation, this new feature requires that the Enable users to reset passwords through Mobile App setting be explicitly enabled in AdminX for mobile resets to function.
Configuring Reset Password Settings
To configure the reset password settings, follow these steps:
-
Log in to your tenant as a community administrator.
-
Navigate to Authentication > Reset Password.
-
In the Reset Password Configurations page that appears, enable the mode in which you want to reset the password. The following settings are available to select:
-
Enable users to reset password through AdminX
- Reset password with link sent to e-mail.
- Reset password with link sent to e-mail and passcode sent to registered phone.
-
Enable users to reset password through Mobile App
-
Enable users to reset password through Identity Verification
-
-
Select the identifier that users will use to reset the password. The following values are available to select:
-
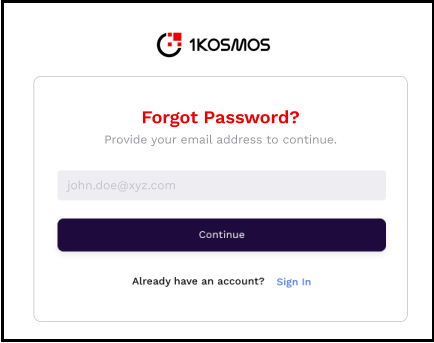
Email address - Selecting this option will display the email address field on the Forgot Password? screen allowing users to specify their email address for which they must receive the reset password email link.
-
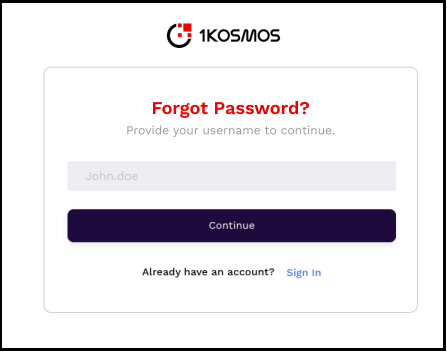
Username - Selecting this option will display the Forgot Password? screen with a username field, allowing users to enter their username. A password reset link will then be sent to the email address associated with that username.
-
-
Click Save.
Resetting Passwords Using the AdminX Interface
If you want to use the AdminX interface to reset a password, you can choose one of the following methods:
- Resetting Passwords Using Email Link
- Resetting Passwords Using Email Link and Passcodes
Resetting Passwords Using Email Link
To reset the password using the Email link, follow these steps:
-
Open your tenant URL for which you want to reset the password.
-
Navigate to the USERNAME tab to enter your name and click Next.
-
In the Choose an authentication method screen, Select Password & OTP.
-
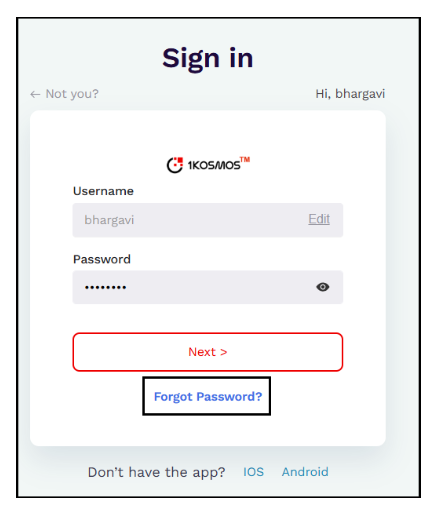
In the login screen, click the Forgot Password? link.
-
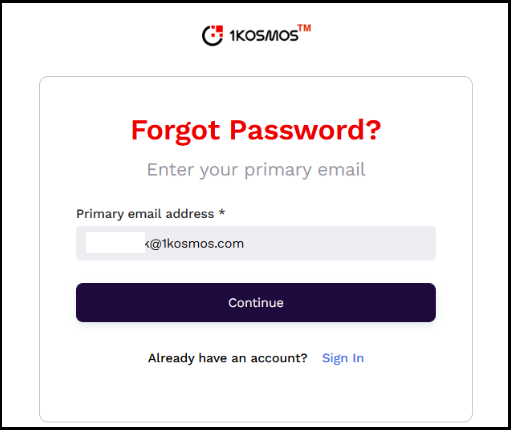
You will be navigated to the Forgot Password? page where you will have to enter your primary email address and click Continue.
-
Navigate to your email to open the reset password link that has been received.
-
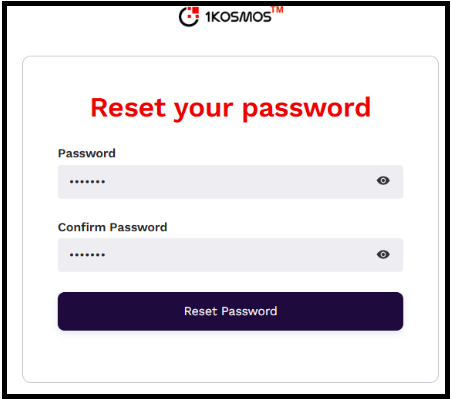
As you have selected the Reset password with link sent to email option, the UI displays the following screen:
-
Enter the new password twice and click Reset Password. The UI notifies you that your password has been reset and you can click Return to Login page to login to your tenant with the new password.
Resetting Passwords Using Email Link and Passcodes
To reset the password using Email link and passcodes, follow these steps:
-
Follow step 1 to step 6 from the Resetting Passwords Using Email Link section.
-
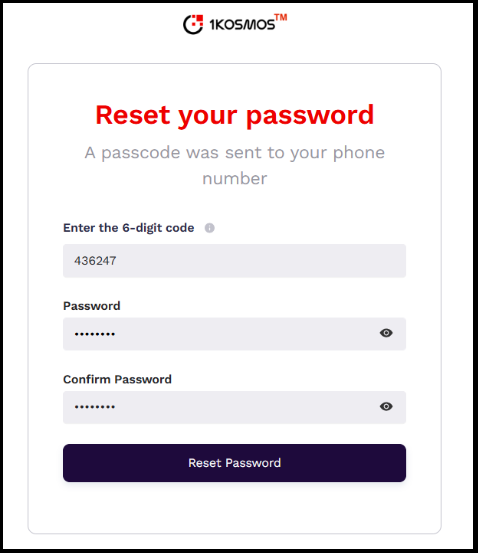
As you have selected the Reset password with link sent to e-mail and passcode sent to registered phone option, the following screen appears on the UI.
-
In the Reset your password page that is displayed, enter the passcode received in your phone, and then enter the new password; Click Reset Password. The UI notifies you that your password has been reset and you can click Return to Login page to login to your tenant with the new password.
- The Reset Password link received on the email is valid only for 30 minutes.
- If a user has multiple accounts associated with the same email address, the UI prompts them to select the account for which the password reset email should be sent. The email is then sent to the selected account.
Event Logs
Following events are triggered:
- E_PWDRESET_SUCCEEDED – This event is triggered when the password reset is successful.
- E_PWDRESET_FAILED - This event is triggered when the password reset fails.
For more information, see Event Logs.
Resetting Passwords Using Identity Documents
End users can reset their passwords independently using the self-service password reset (SSPR) feature, which requires them to verify their identity by submitting a valid identity document before proceeding.
Your organization can use any preferred user store as the default source for user attribute lookup (e.g., Active Directory). However, if your organization uses Workday as the user source, ensure that the Workday integration is properly configured before users attempt password resets using identity documents.
To enable the SSPR feature, turn on the Enable users to reset password through Identity Verification setting under Authentication > Reset Password > Reset Password Configurations in the AdminX interface.
Community administrators can configure common name aliases to improve matching between identity documents and user records. Aliases are defined as a dictionary of equivalent or shorthand names, allowing the system to recognize name variants during automated verification.
Example Aliases
| Alias | Matches With |
|---|---|
| Joe | Joseph |
| Steph | Stephanie or Stephen |
| Bob | Robert, Bobby |
| Rob | Robert |
| Mike | Michael |
Prerequisites for Workday Integration
Before resetting a password through SSPR using Workday, the following prerequisites must be specified:
-
A connection between Active Directory (AD) and 1Kosmos is required.
-
Add the “Employee ID” attribute to the 1Kosmos attribute set.
noteYou must map the workday attributes with one of the following 1Kosmos attributes. For more details, see 1Kosmos Attributes.
-
$employeeId
-
$username
-
$email
Where employeeId and dob are now standard 1Kosmos attributes.
-
-
Use a transformation script to modify the Workday API response and convert it into 1Kosmos IDProofing session attributes. The required session attributes are:
- Firstname
- Lastname
- DOB (Date of Birth)
- Workday API URL
-
Enable the Workday option to fetch user attributes. If this is not enabled, the system will default to your preferred user store (e.g., AD) for attribute lookup.
Managing Workday Configurations
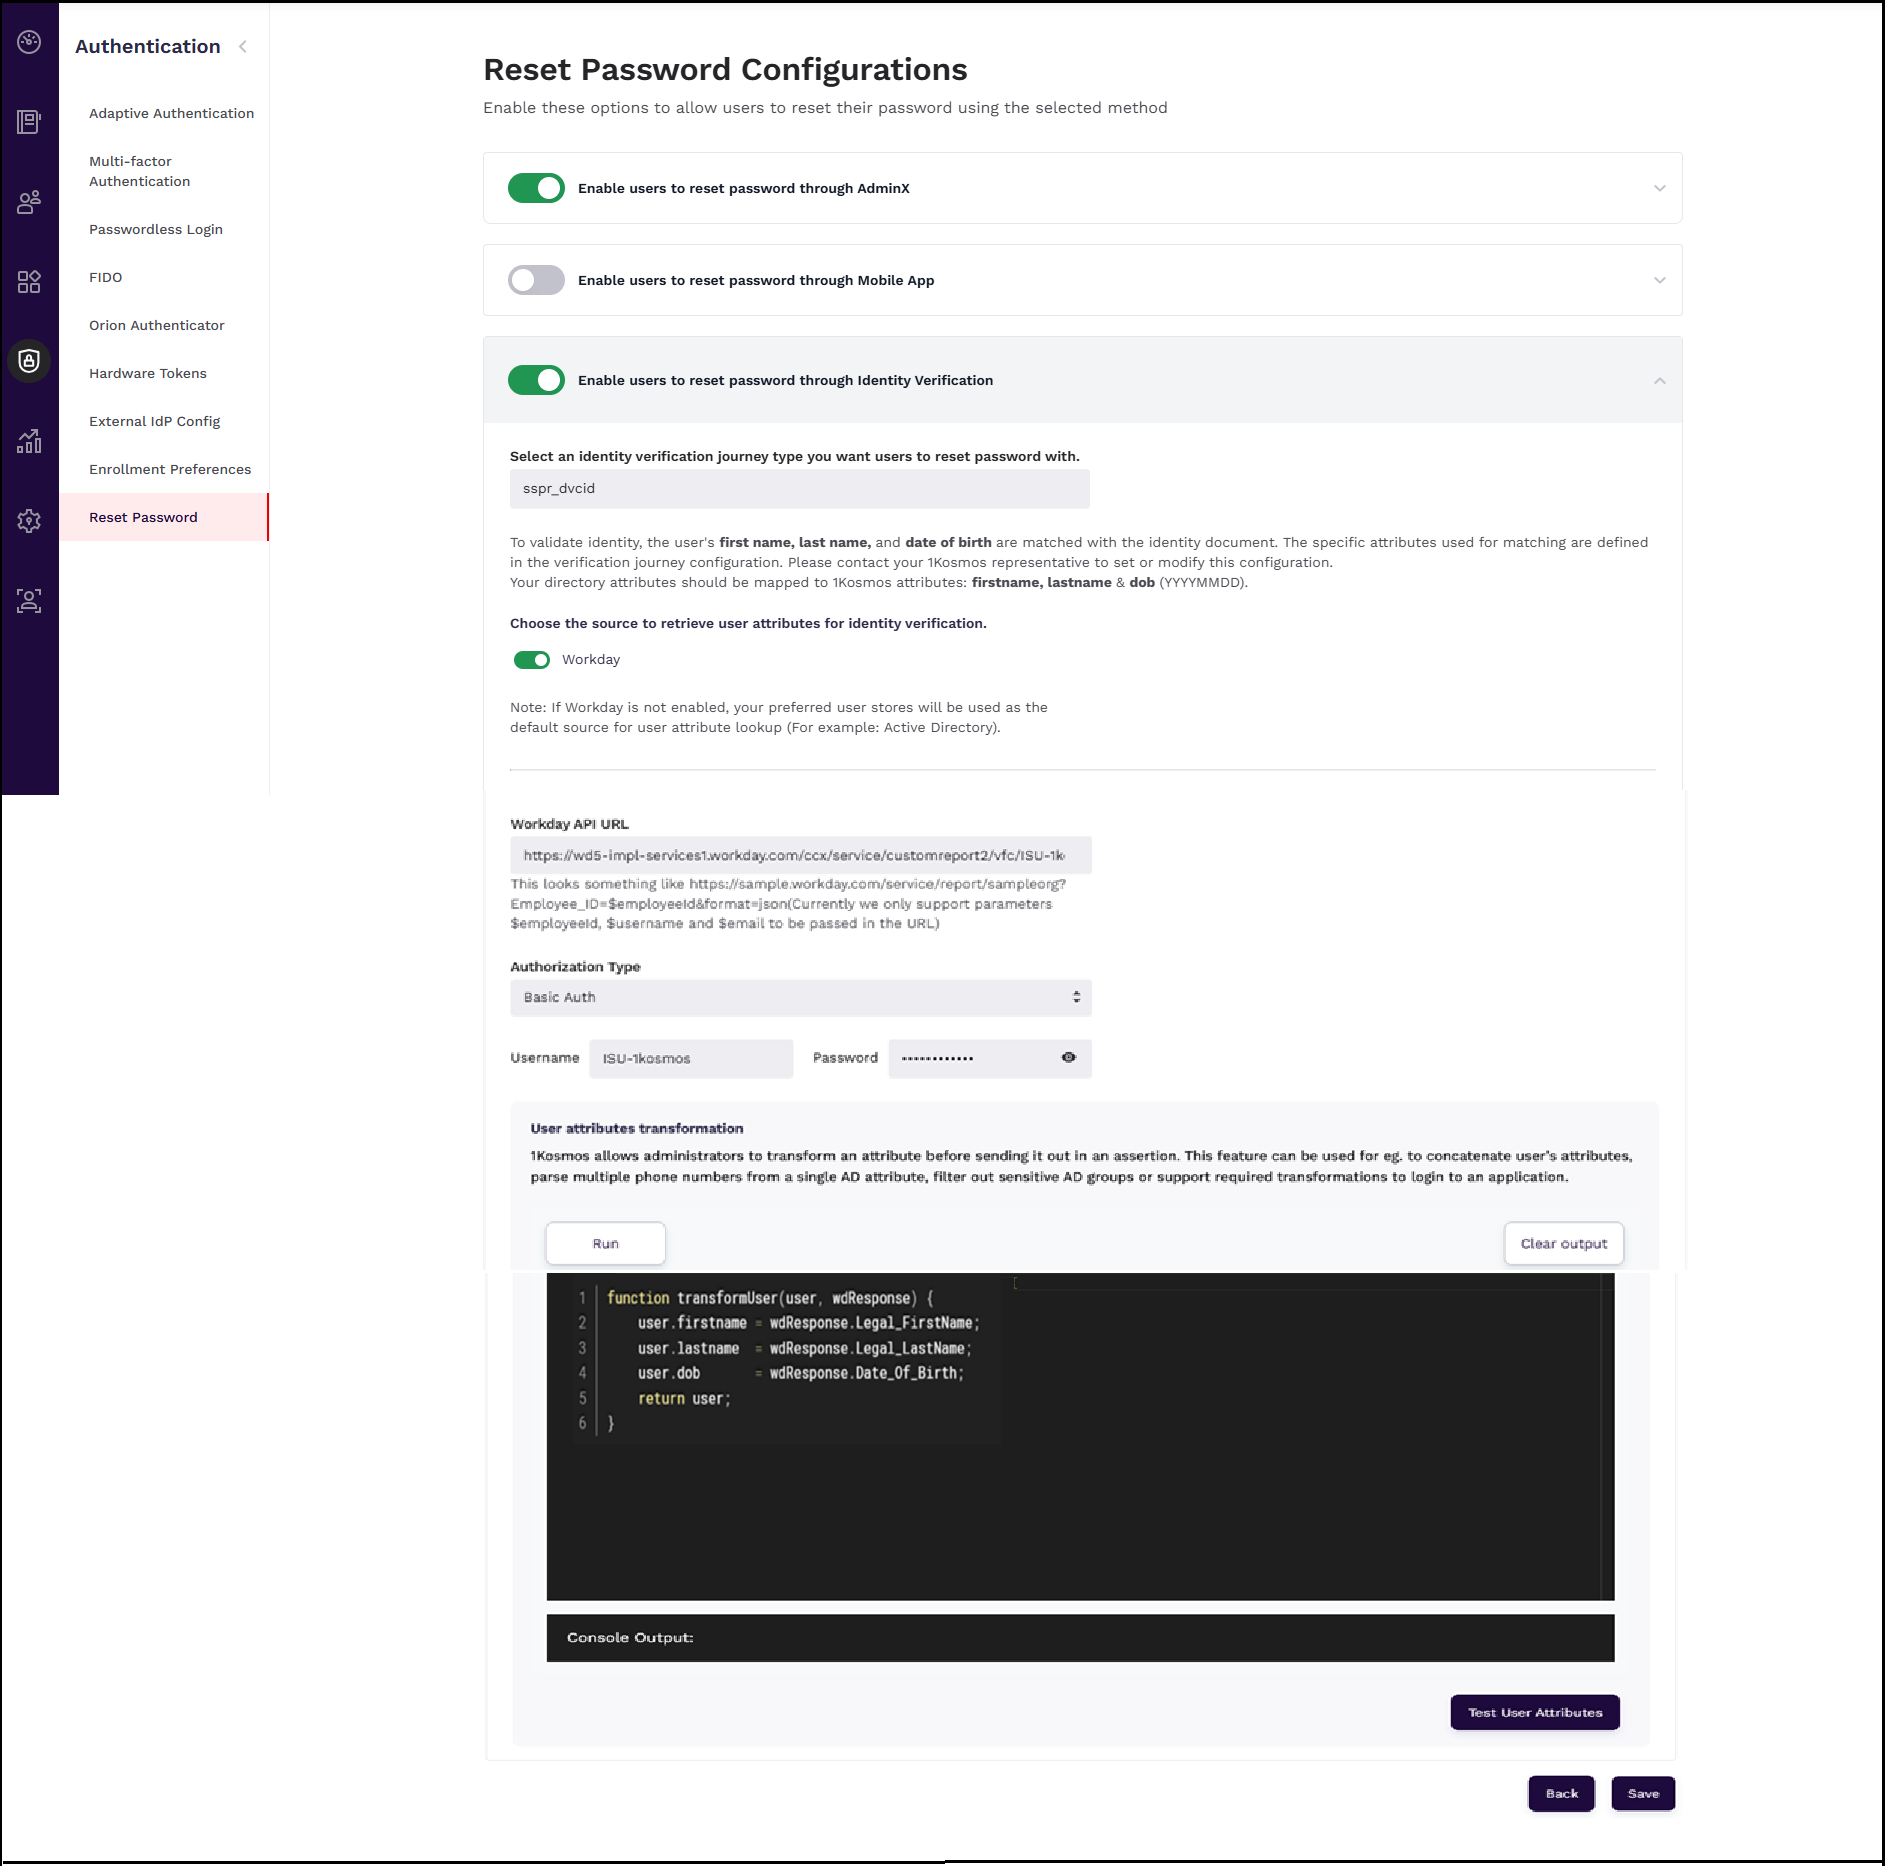
To reset the password using Identity Verification for users fetched through Workday or any other preferred user store, community administrators must enable the Enable users to reset password through Identity Verification setting of the AdminX interface and configure the appropriate settings.
| Field | Description | Example/Notes |
|---|---|---|
| Enable users to reset password through AdminX | Toggle to allow users to reset their password using the AdminX portal. | On/Off |
| Enable users to reset password through Mobile App | Toggle to allow users to reset their password using the mobile application. | On/Off |
| Enable users to reset password through identity verification | Toggle to enable identity verification-based password reset. | On/Off |
| Select an identity verification journey type you want users to reset password with | Specify the workflow for which you want to reset the password. Used to validate user identity with first name, last name, and date of birth. | Example: sprc_idv |
| Choose the source to retrieve user attributes for identity verification | Select the source system (e.g. Workday) for fetching user attributes Note: If Workday is not enabled, your preferred user stores will be used as the default source for user attribute lookup (For example: Active Directory) | Workday |
| Workday API URL | Endpoint URL to fetch user attributes from Workday. Should include supported query parameters (EmployeeID, EmployeeEmail, and so on). Note: Currently, you can pass only the following parameters to the URL: $employeeId, $username and $email | https://sample.workday.com/service/report/sampleorg?Employee_ID=$employeeId&format=json |
| Authorization Type | Defines the authentication method used to access Workday API. The following values are available to select: - Basic Auth – Select this option to authenticate using username and password. - No auth – Select this option to skip authentication. - Bearer Token – Select this option to authenticate using token. | |
| Username (appears only if you select Basic Auth as the Authorization Type) | The Workday API username configured for authentication. | Example: ISU-kosmos |
| Password (appears only if you select Basic Auth as the Authorization Type) | The Workday API password for authentication. | Hidden (masked field) |
| User attributes transformation | Allows admins to write transformation scripts to modify or filter attributes before use. | Example: Combine names, parse phone numbers, filter sensitive attributes |
| Script Editor | Section to enter transformation logic. Example provided to map first name, last name, and date of birth. | Example script: function transformUser(user, wdResponse) { user.firstname = wdResponse.Legal_FirstName; user.lastname = wdResponse.Legal_LastName; user.dob = wdResponse.Date_Of_Birth; return user;} |
| Run/Clear Output | Click this button to execute the transformation script and clear console output. | Used for testing scripts |
| Console Output | Displays results of script execution for validation | |
| Test User Attributes | Click this button to test attribute retrieval and transformation using sample user data. | |
| Save | Click this button to save the reset password configuration changes. Before saving your change, you must verify your identity. To save the changes, follow these steps: 1. Click Save. 2. Select a mode (Email or SMS) in which you want to receive the verification code. 3. Enter the one-time code. 4. Upon successful verification, the UI notifies the user that the changes made to the script have been saved. 5. To test the transformed attributes, the administrator can click Test User Attributes. | |
| Back | Click this button to navigate to the previous page without saving changes. | - |
To reset the password using the identity document, follow these steps:
-
Open your tenant URL.
-
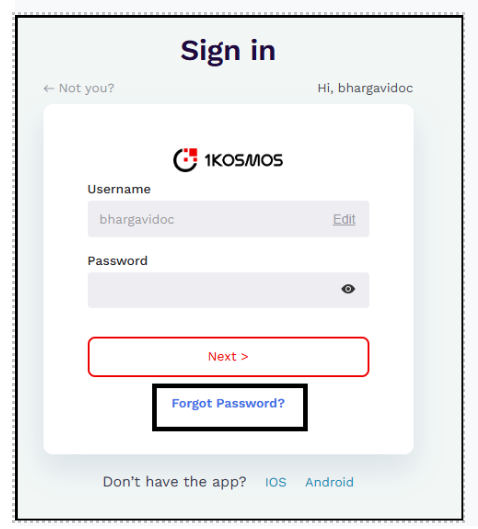
Enter your username for which you want to reset the password and click Next.
-
Click Forgot Password.
-
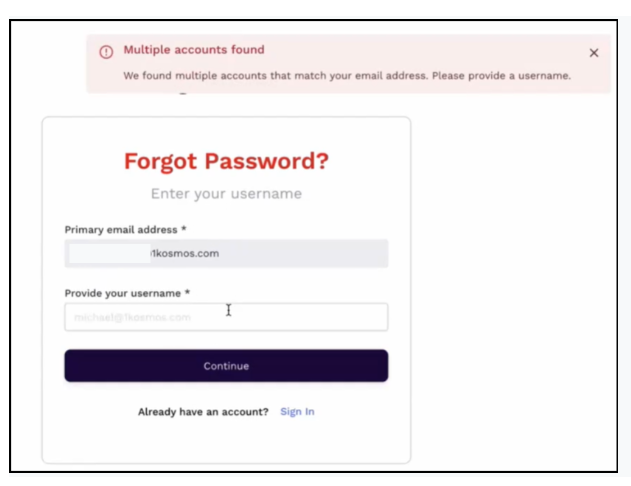
You will be navigated to the Forgot Password? page where you will have to enter your primary email address and click Continue.
If there are multiple accounts that match the entered email address, specify the username, and then click Continue.
-
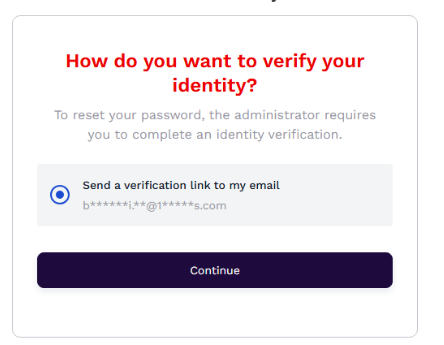
Select the mode in which you want to receive the verification link and click Continue.
-
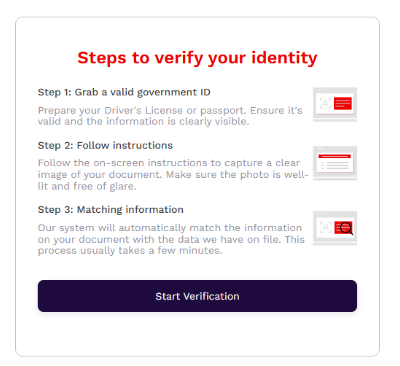
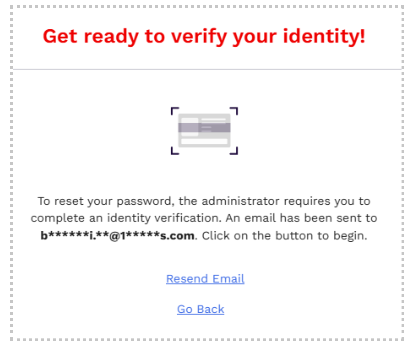
Read the instructions before you begin your verification process and click Start Verification.
-
The Get ready to verify your identity! screen notifies the user that the verification link has been sent to the email and indicates the user that the verification is in progress.
-
Navigate to your email inbox and click the Reset your password link.
-
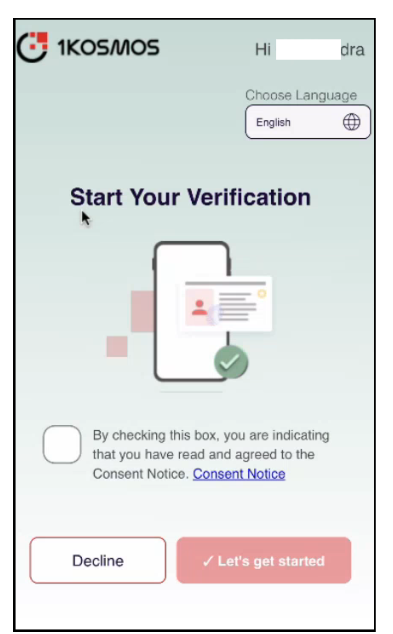
The Start Your Verification screen appears. Check the Consent Notice check box and click Let’s get started.
-
Start the scan.
-
Scan the front side of the document. Once the capture is successful, click Continue.
-
Provide your selfie; Once the selfie capture is successful, click Continue.
-
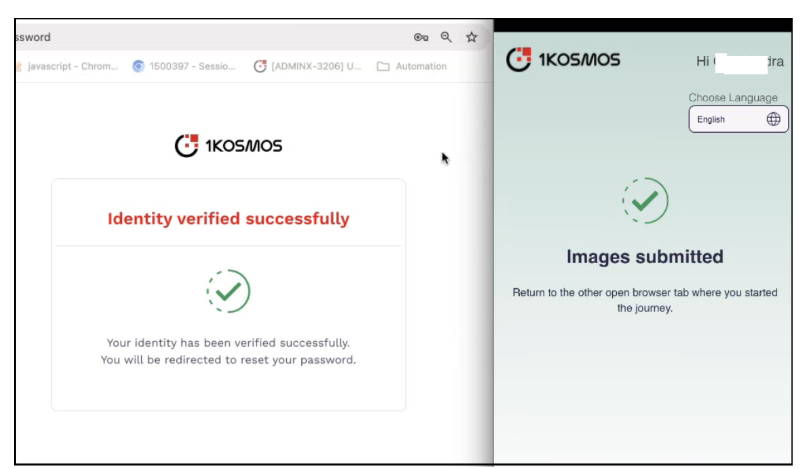
Once the authenticity has been verified, the adminX interface notifies the user that their identity has been verified, and they can proceed to reset the password.
-
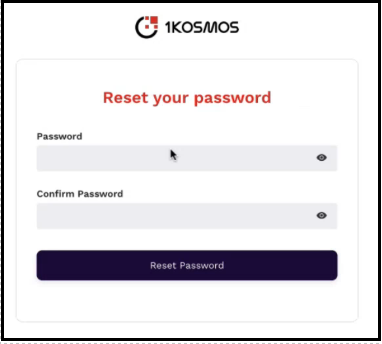
The Reset your password screen is displayed; Enter your new password and click Reset Password.
noteIt is recommended to reset the password within 3 minutes. If the user fails to do so, they will receive a message: "Token expired. Please request a password reset again”.
-
The UI notifies the user that their password has been reset; Now login with the user for whom the password has been reset.
-
Login to your tenant with the new password. You would land on the AdminX interface.
Event Logs
The E_IDV_DOCUMENT_VALIDATE event has been enhanced to include additional details such as the fuzzy match score and the session summary certificate.
During the SSPR process, the system logs events and includes additional factors to identify the mode of password reset and the reason for any failure.
For both successful and failed events (E_PWDRESET_SUCCEEDED) and (E_PWDRESET_FAILED), the logged details include the following mode:
- email_link_with_otp
- email_link
- id_proofing
- Authenticator
- Other
If the mode is id_proofing, the session ID is mandatory.
The following table lists common error scenarios and their corresponding messages that may appear in E_PWDRESET_FAILED events.
| Scenario | Error Message |
|---|---|
| Generic failure during password change | Generic error: Error while changing user password |
| Password login not allowed by organization | Your organization does not allow you to login with a password |
| ID proofing not configured in SSPR settings | DVCID not configured in SSPR settings - ID Proofing config not available |
| Error during ID Proofing session creation | Error in creating ID Proofing session |
| ID Proofing session expired or abandoned | ID Proofing session is expired |
| ID Proofing failed due to document verification | Document verification failed |
| User is disabled | User is disabled |
| User is inactive | User is inactive |
| User not found (e.g. deleted between password reset steps) | User not found |
| employeeId is required but missing in user object | employeeId is missing in the user object |
| username is required but missing in user object | username is missing in the user object |
| email is required but missing in user object | email is missing in the user object |
| SSPR is enabled but endpoint details are missing | {sspr.user_profile_api.provider} API details missing. Please check SSPR settings. |
| API call to user profile provider failed | {sspr.user_profile_api.provider} API failed with error code: {resp.errcode} |
| Transformation script execution failed | Transformation script failed |
| Transformation script is missing but Workday/provider details are present | Transformation script is not present |