Triggering IAL2 Verification Using SAML
Overview
Identity Assurance Levels (IALs) are a set of standards defined by the National Institute of Standards and Technology (NIST) that convey the degree of confidence that someone's claimed identity is their real identity - in other words, how likely an individual is actually who they say they are.
The three identity assurance levels, as defined in NIST Special Publication 800-63-3 are:
- IAL1: No requirement to link the individual to a specific real-life identity. Any information provided by the individual should be treated as self-asserted.
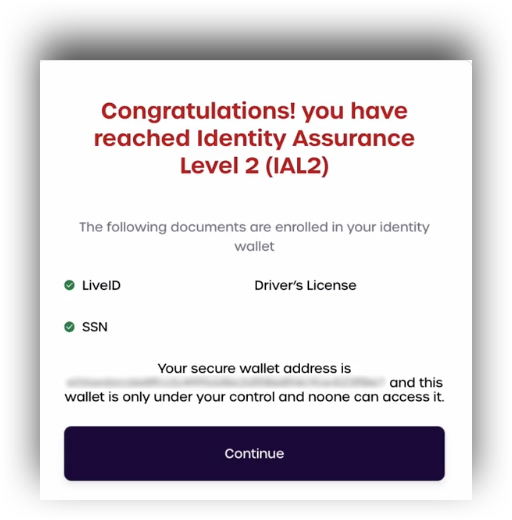
- IAL2: Uses digital documents to support the real-world existence of an identity and verifies that the correct person is associated with it.
- IAL3: Requires an authorized and trained representative to verify the individual in person.
Users can upgrade their own status to IAL2 in AdminX by using our web-based identity-proofing flow. Tenant and community Administrators can trigger this flow using SAML.
Prerequisites
Users should first ensure they have integrated their Service Provider (SP) for SSO as a SAML application before starting. Please see SSO Integration in AdminX for more information on configuring your Service Provider (SP) in AdminX.
Configuring your Service Provider (SP) in AdminX
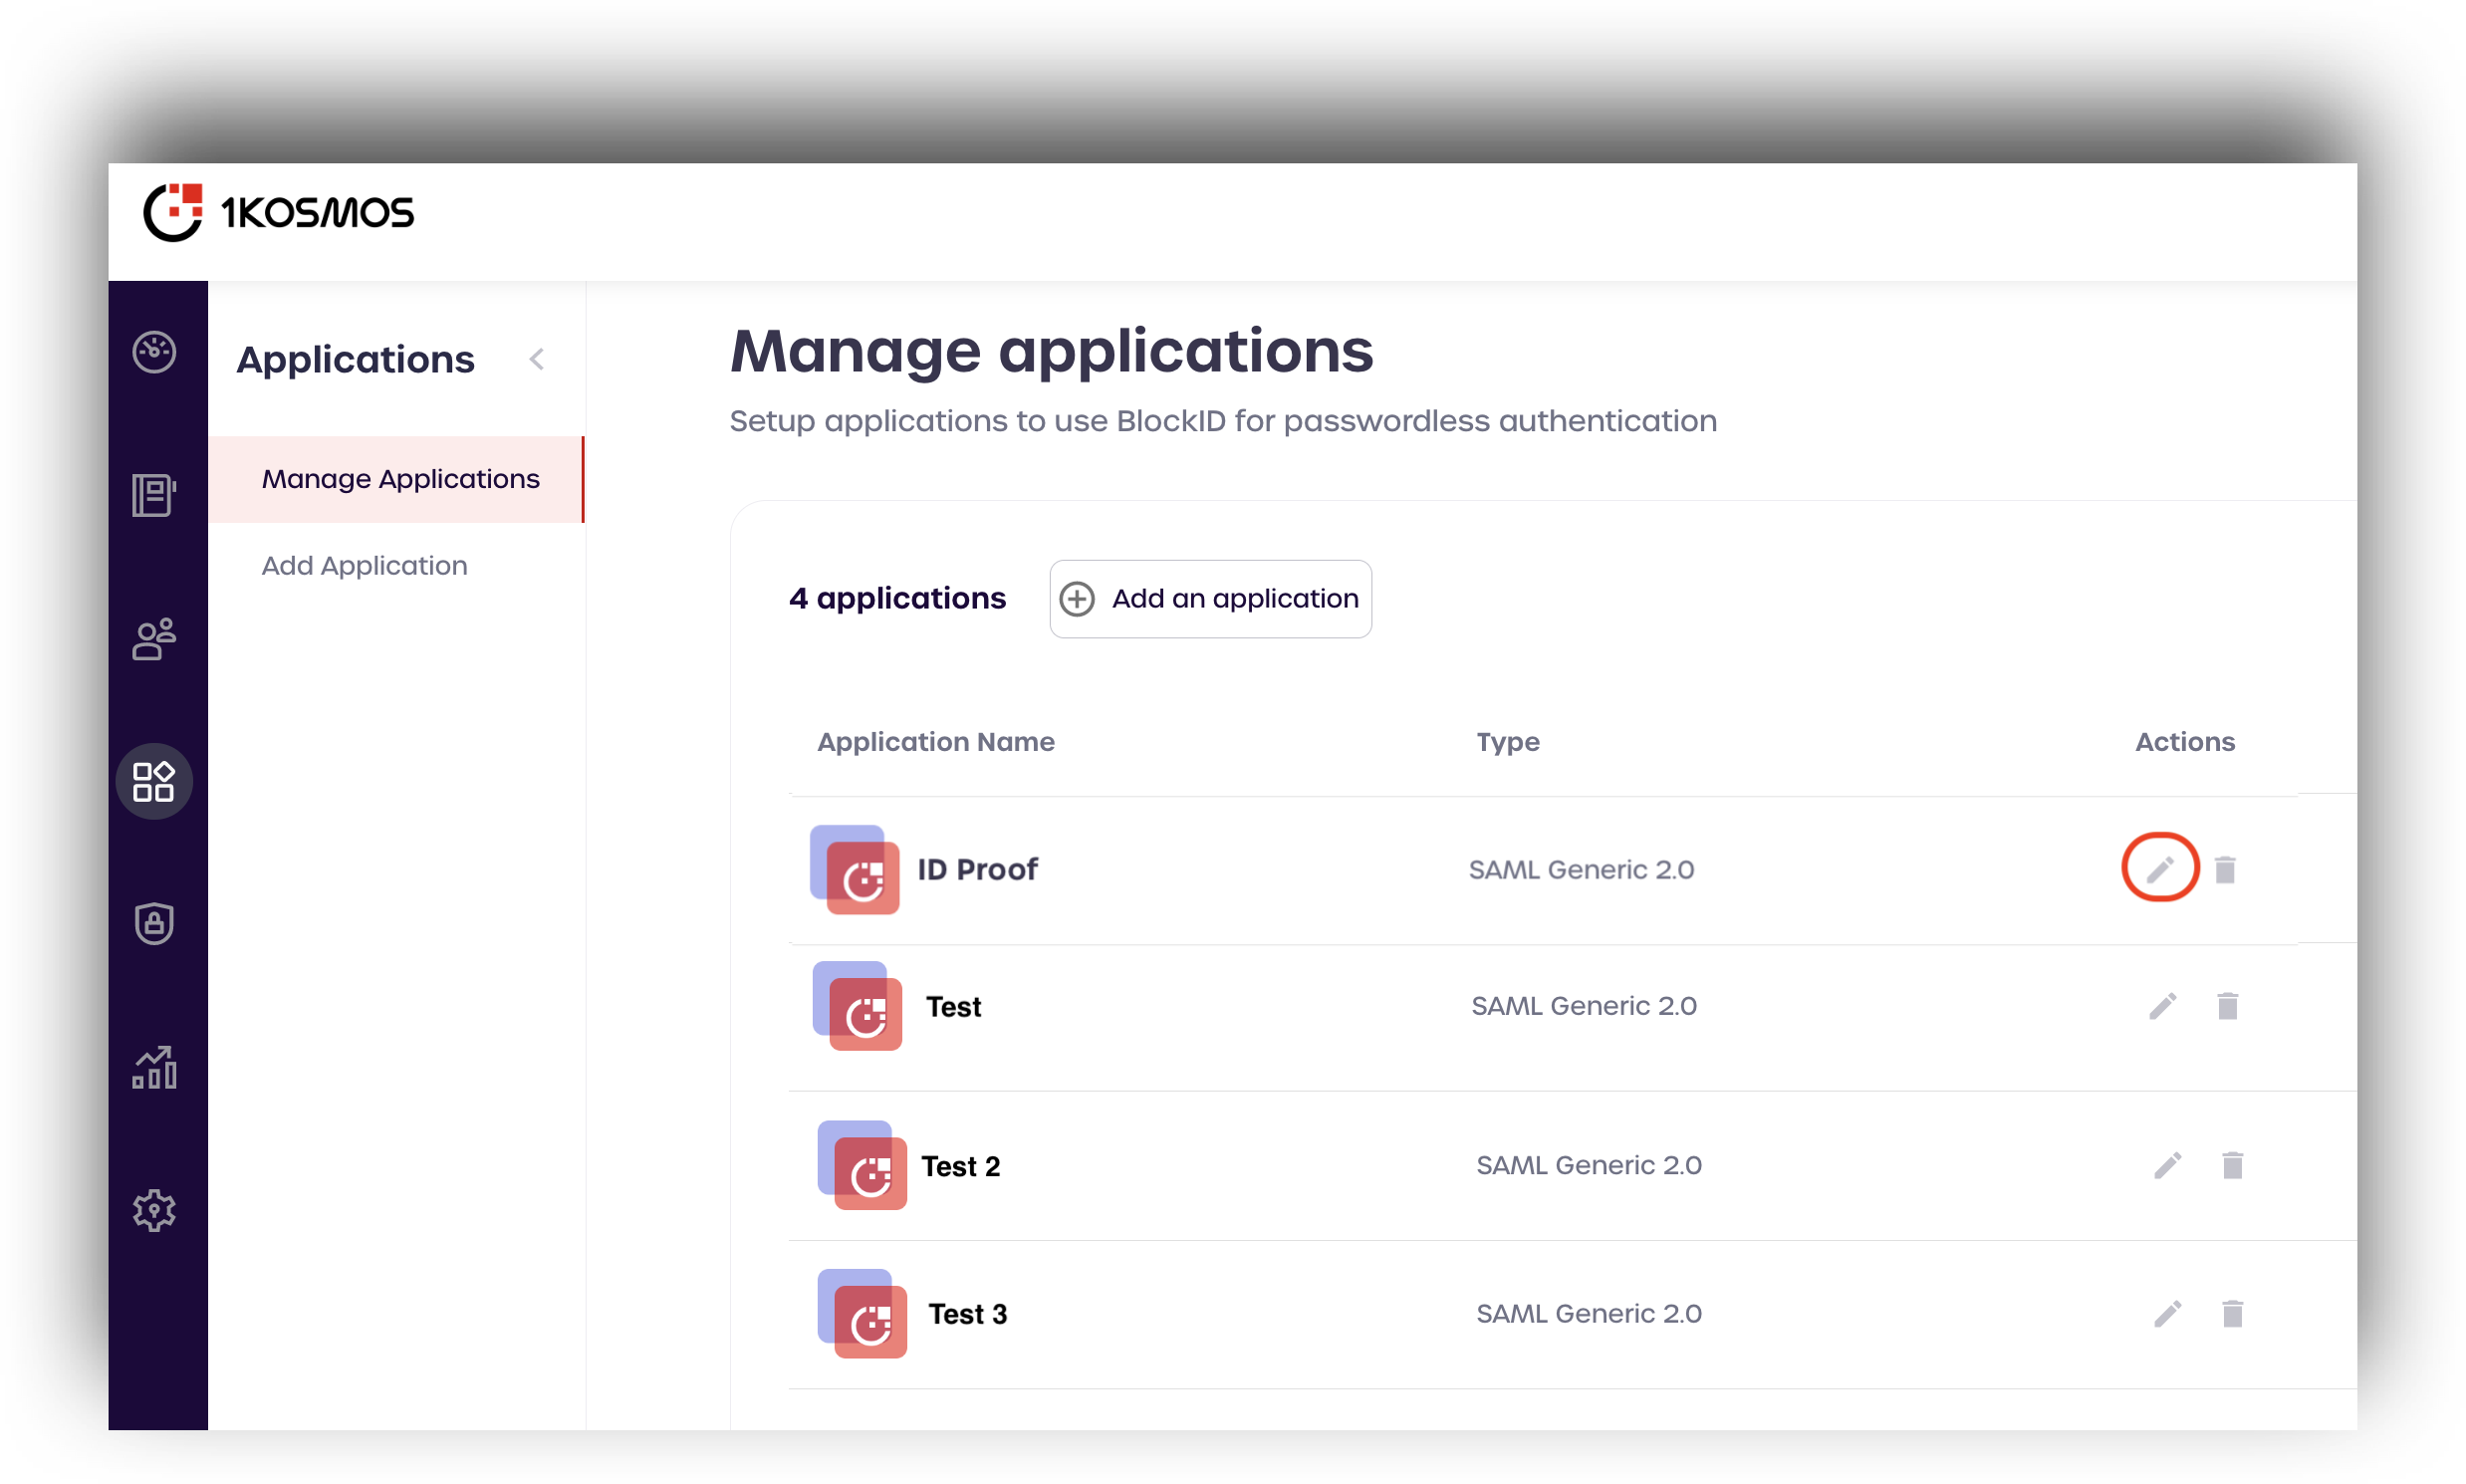
To get started, first navigate to your AdminX control panel and log in as a community or tenant administrator.
Navigate to the Applications page and find your SAML application. Click the pencil icon, located under actions, to edit the SAML application settings.
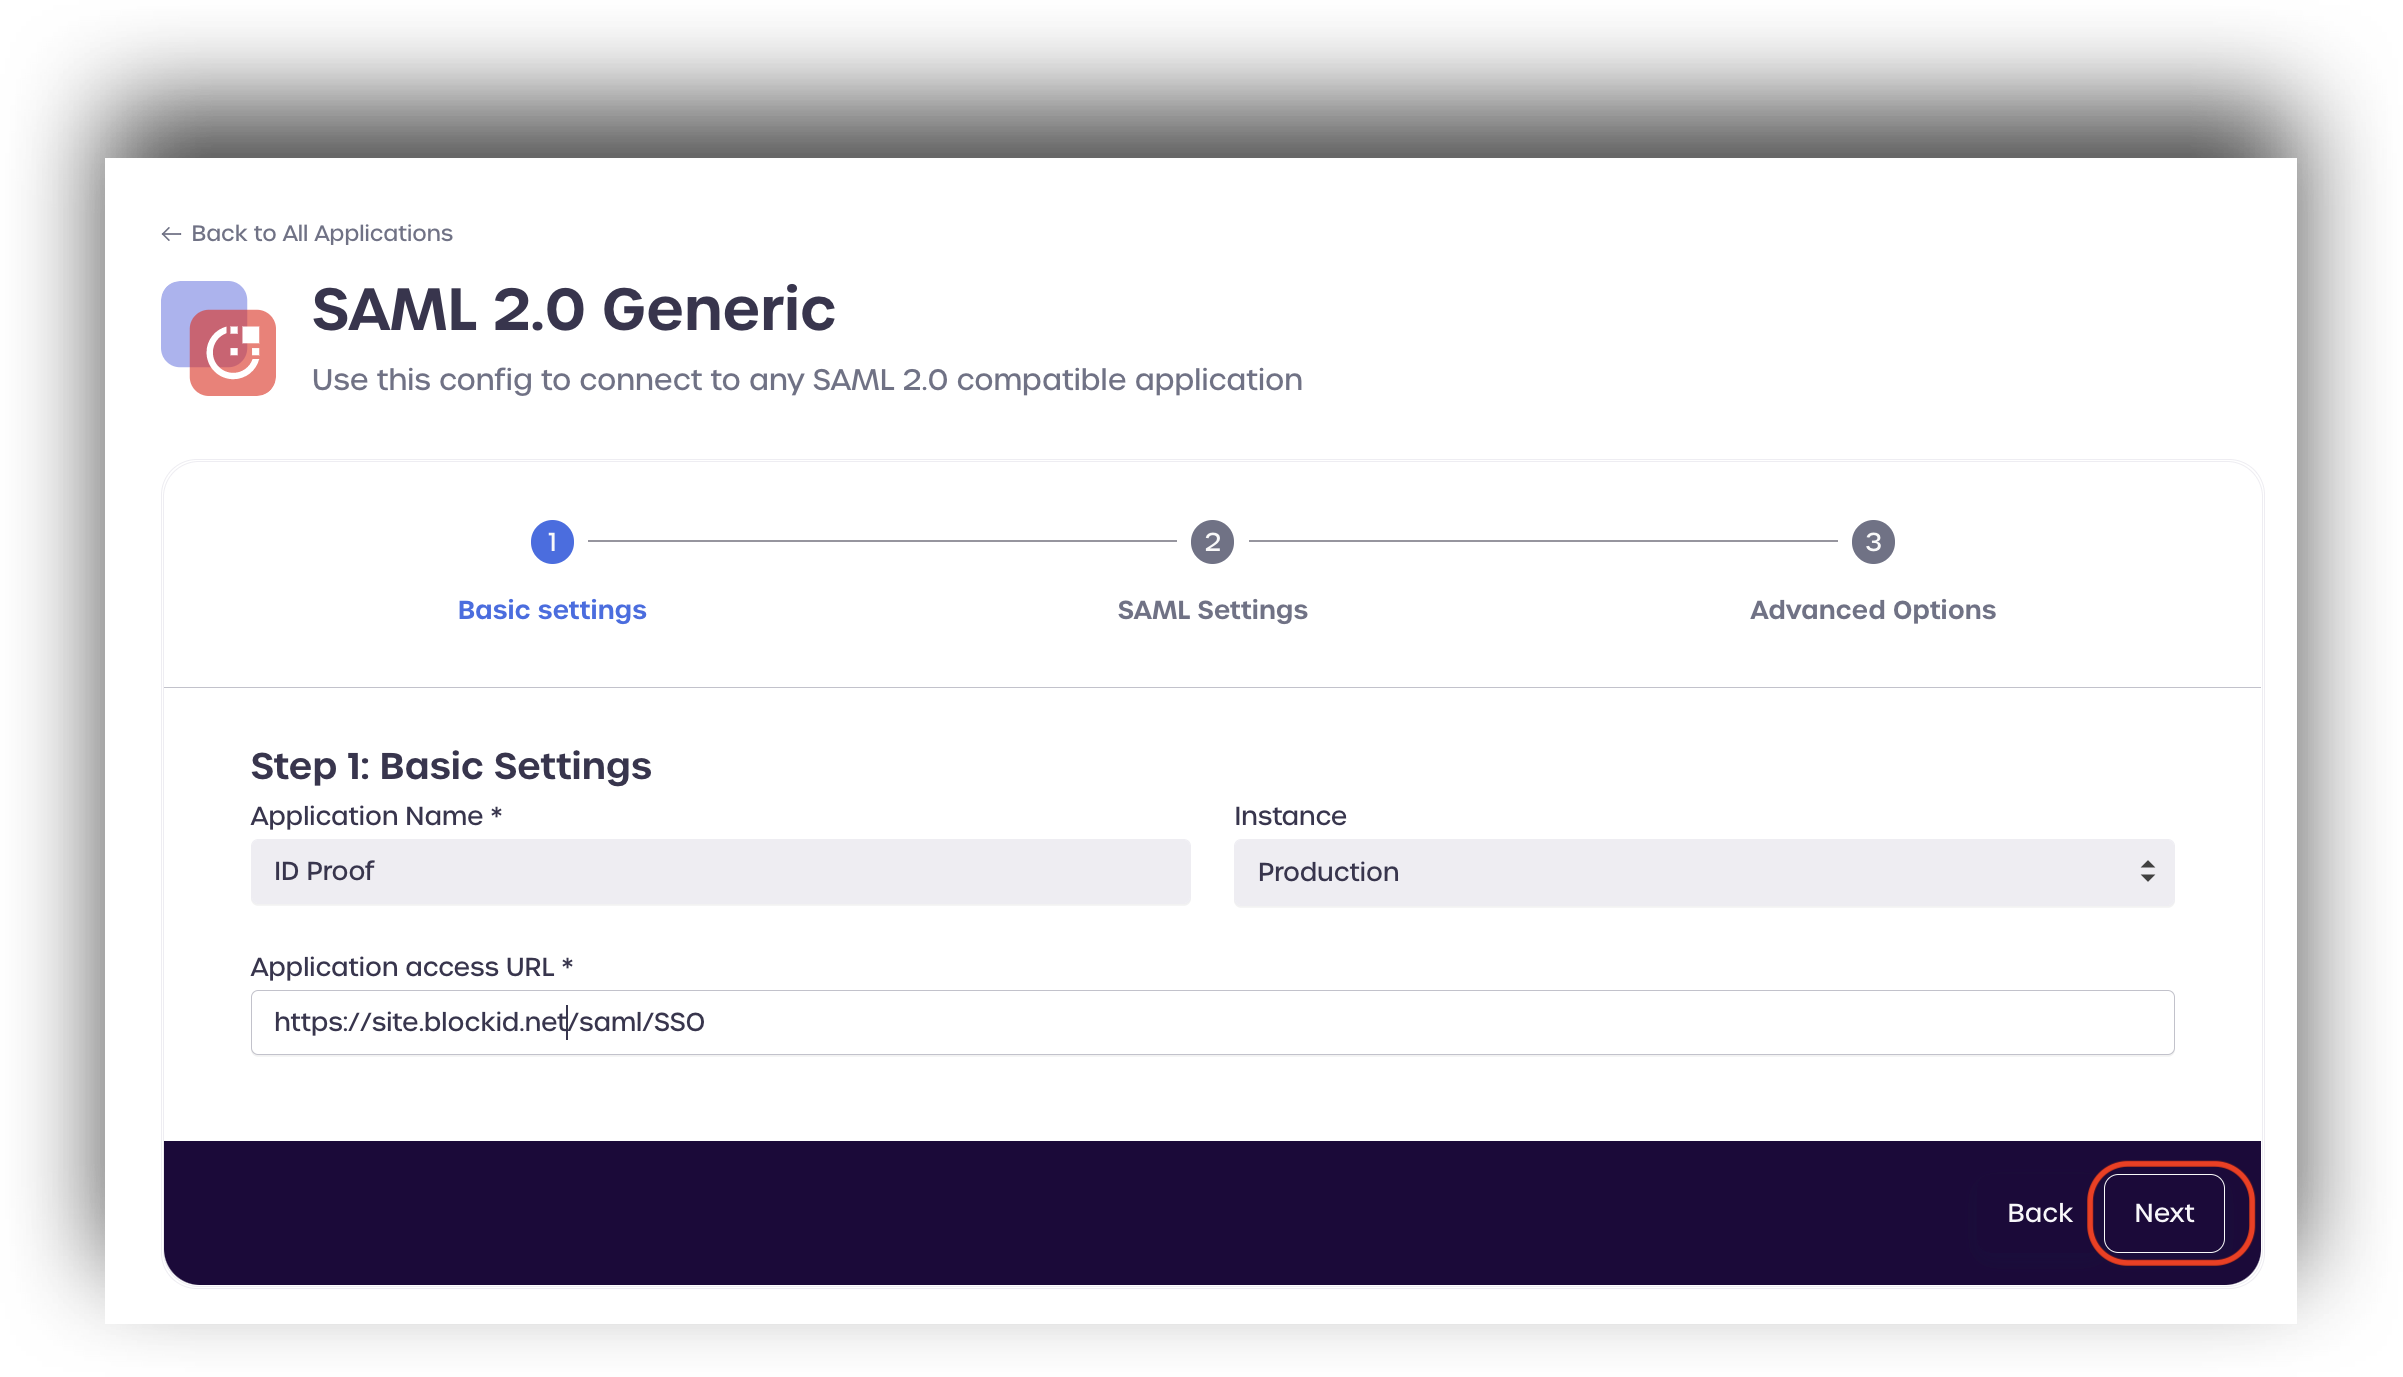
Click Next to view the SAML Settings for your application.
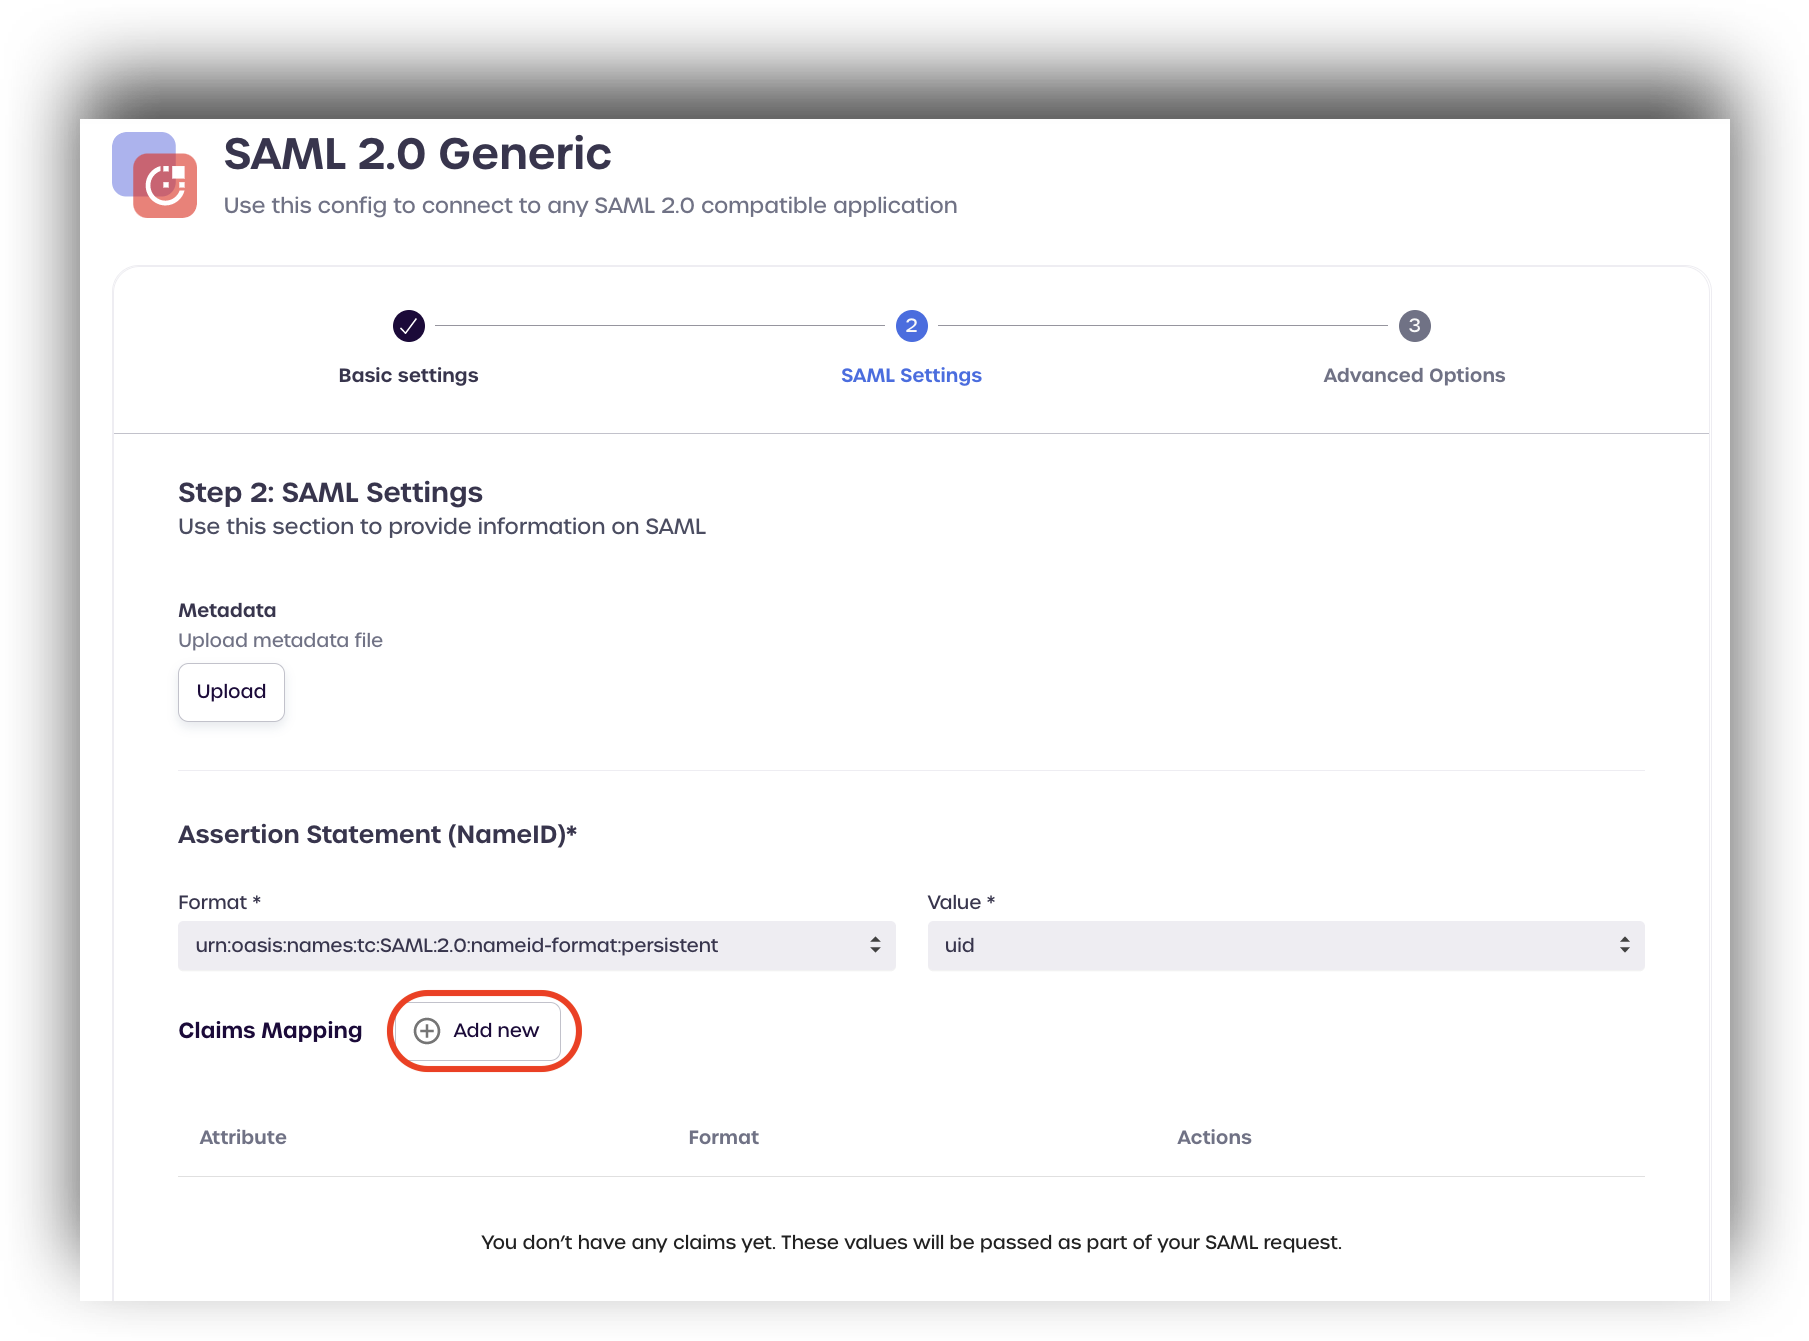
Under Claims Mapping, click add new.
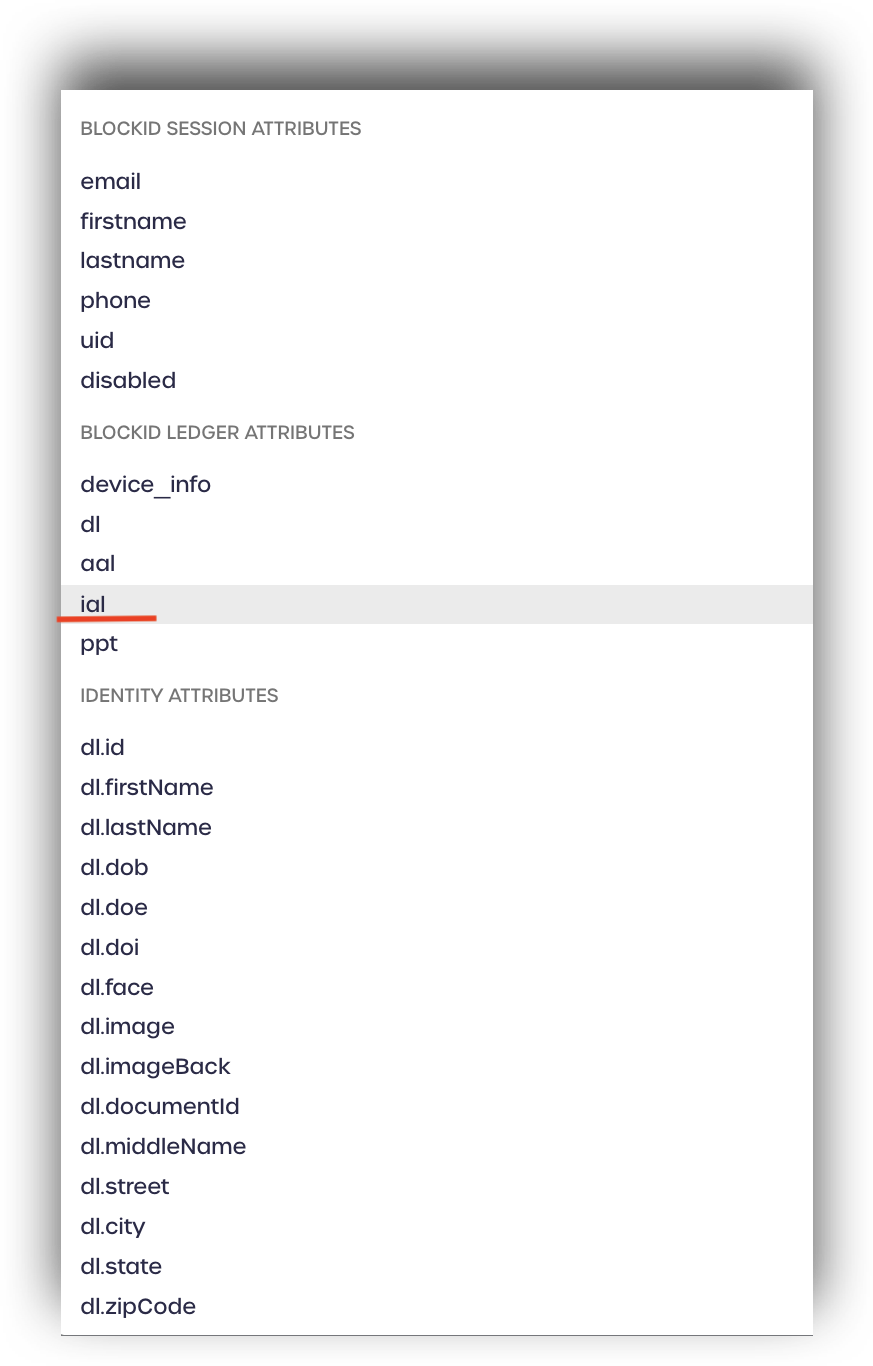
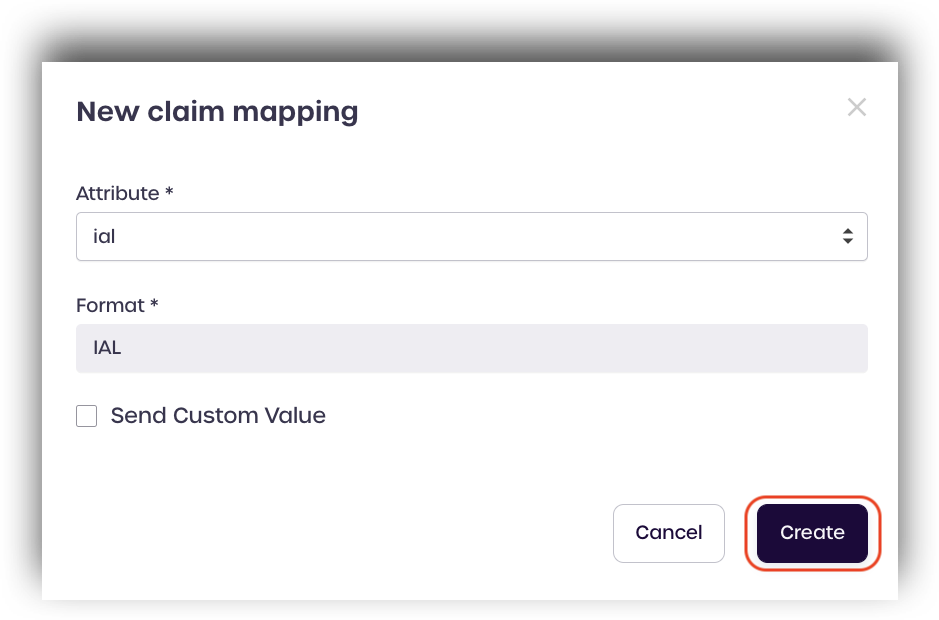
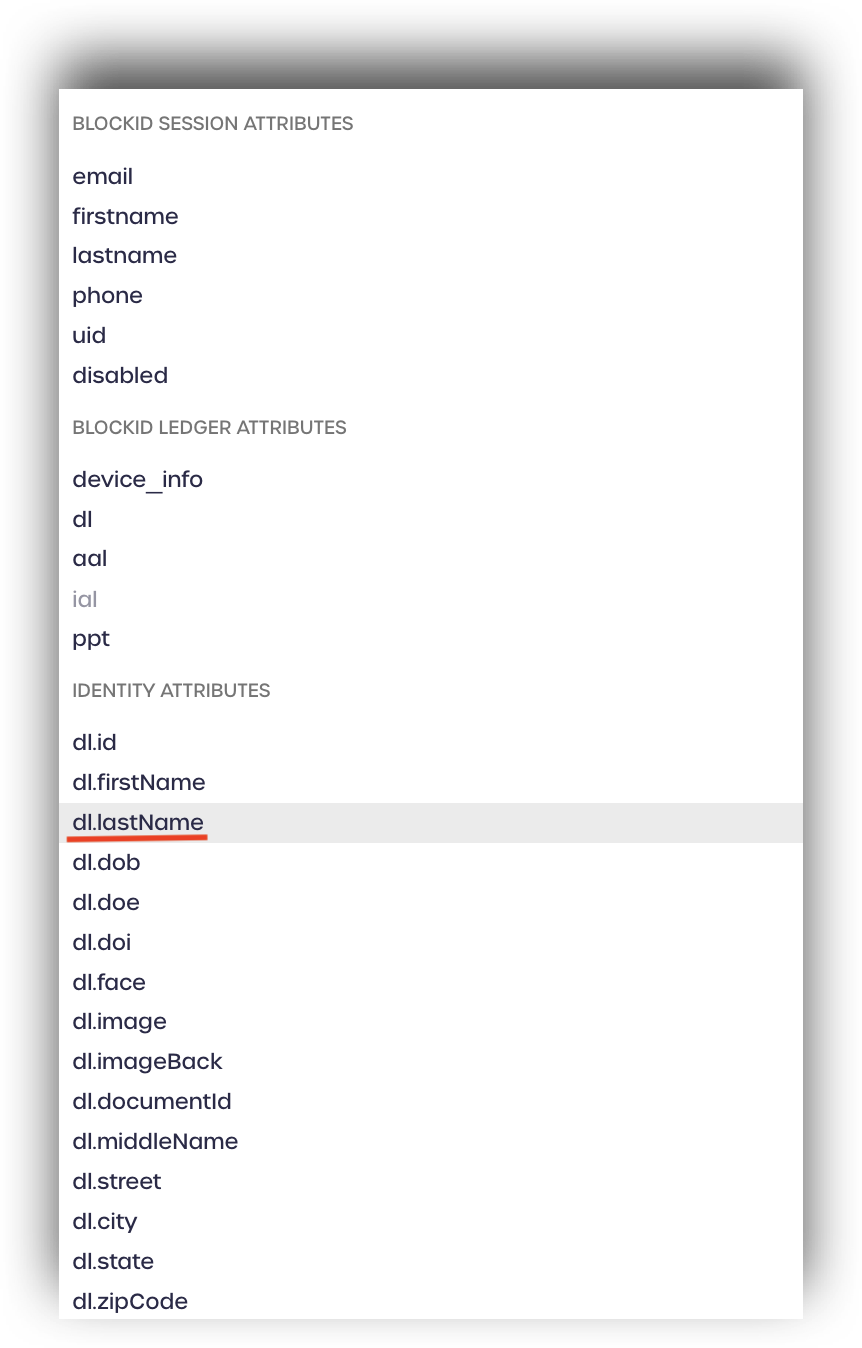
Select ial from the drop-down menu located under BLOCKID LEDGER ATTRIBUTES
Enter a format to use with the attribute and click create.
Administrators can optionally map an identity attribute to use with this SAML claim, such as your user's first or last name as shown on their driver's license or passport.
Click add new once more to add another claims mapping.
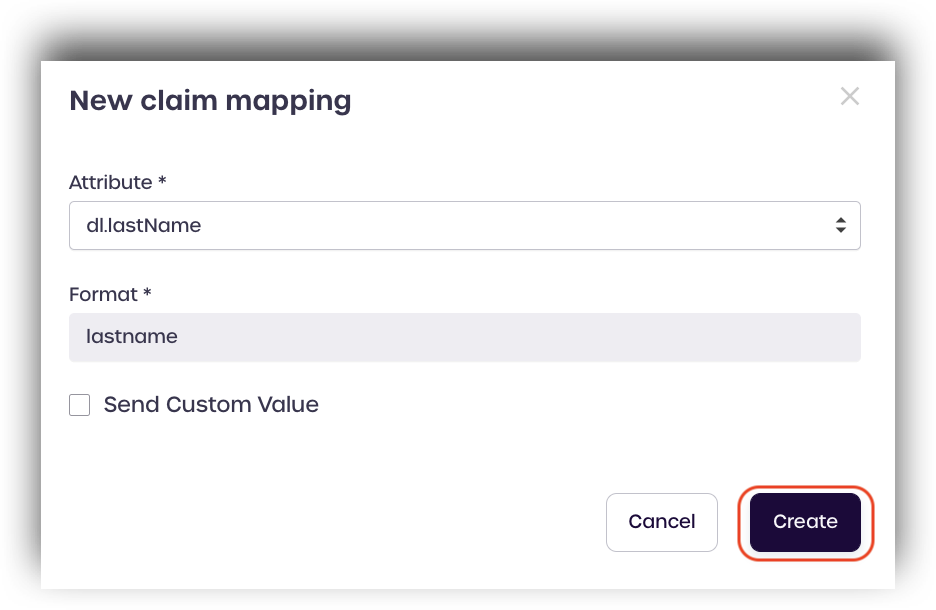
Find the identity attribute you wish to add, such as dl. lastname and assign a format.
Click create to save.
Click Next once you have finished mapping all your SAML claims.
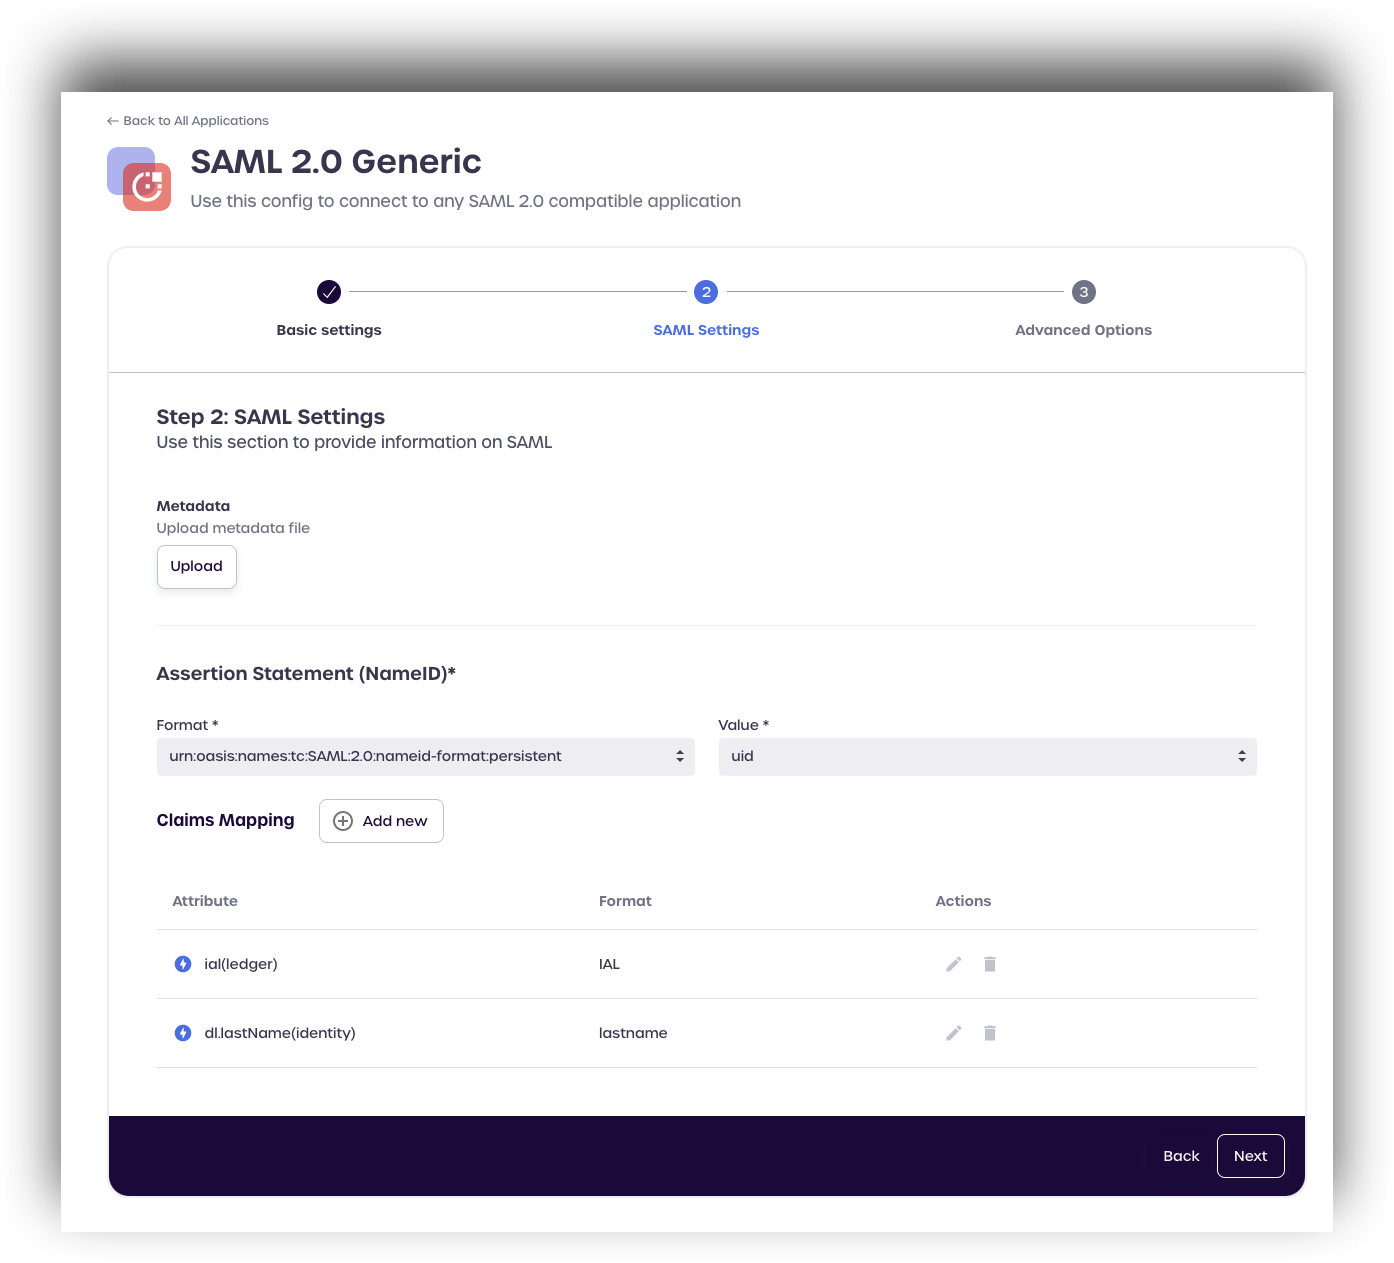
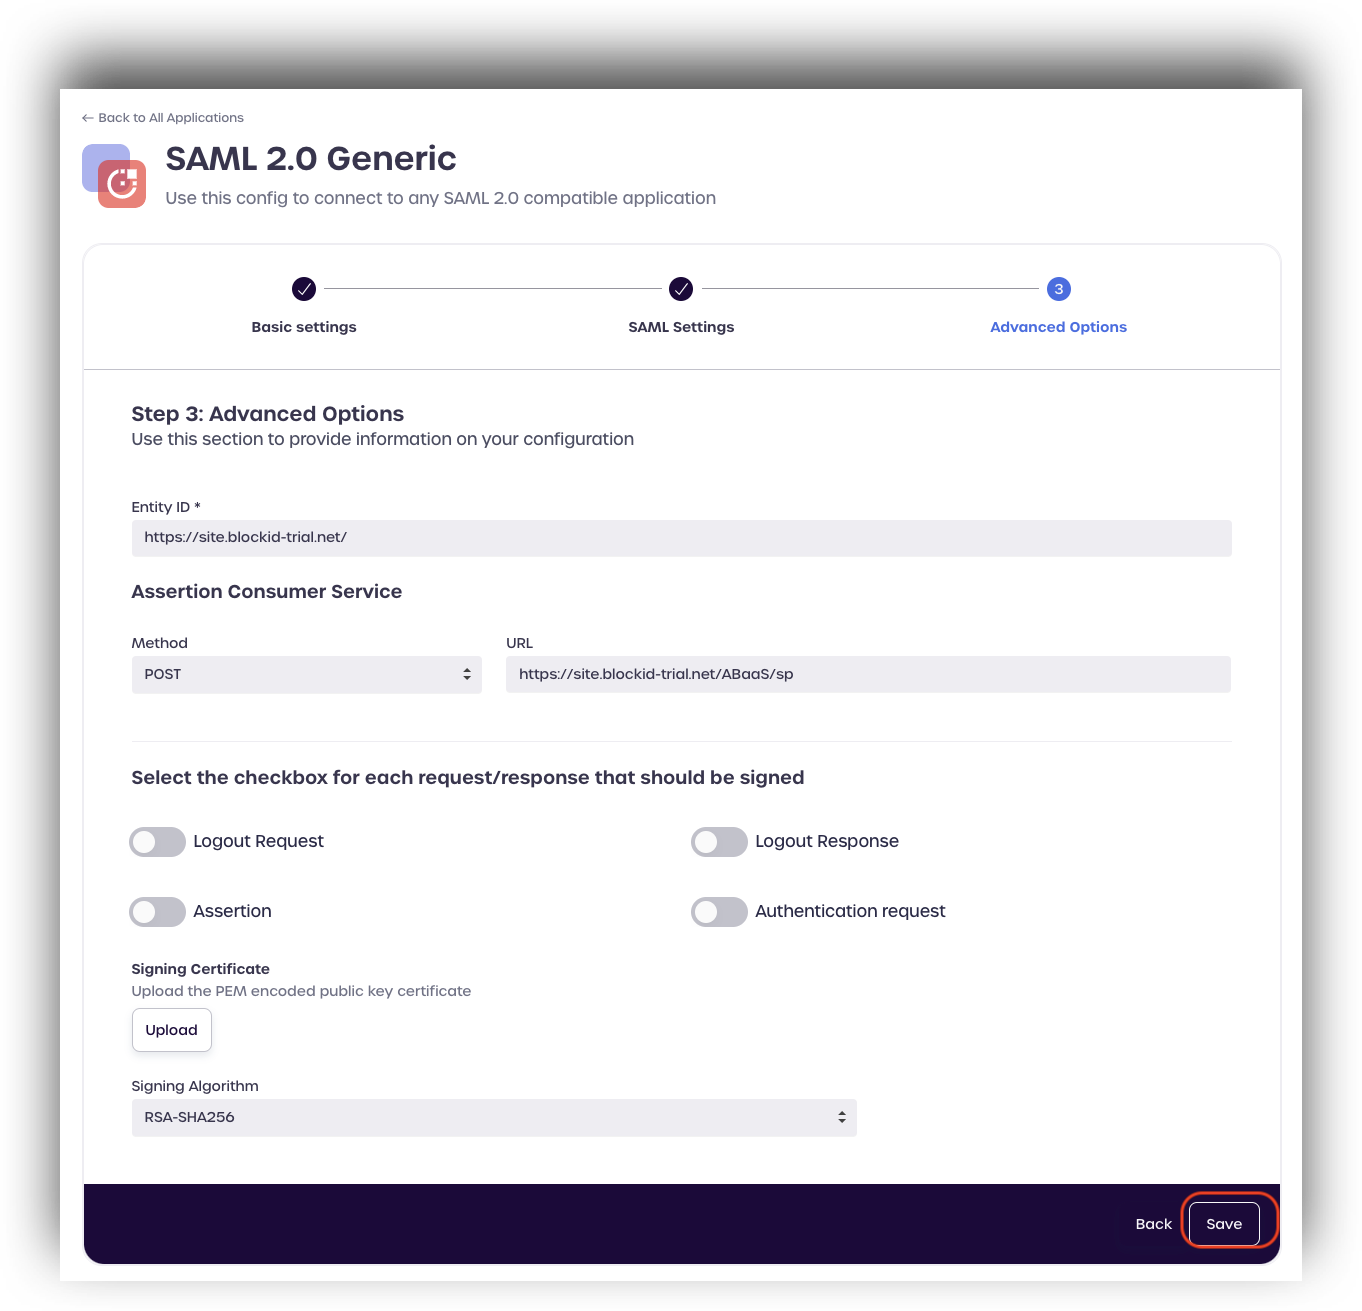
Click Save to complete the IAL claims mapping for your SAML application.
Requesting IAL2 Verification as a Service Provider
Once the SAML attributes have been mapped in AdminX, Service Providers can request IAL2 Verification using RequestedAuthnContext as part of the SAML request. When the branded claim is received by the IdP (1Kosmos) we will know to trigger an IAL2 journey to elevate the user's identity assurance level.
<samlp:RequestedAuthnContext Comparison="exact">
  <saml:AuthnContextClassRef>urn:oasis:names:tc:SAML:2.0:ac:classes:IAL2</saml:AuthnContextClassRef>
</samlp:RequestedAuthnContext>
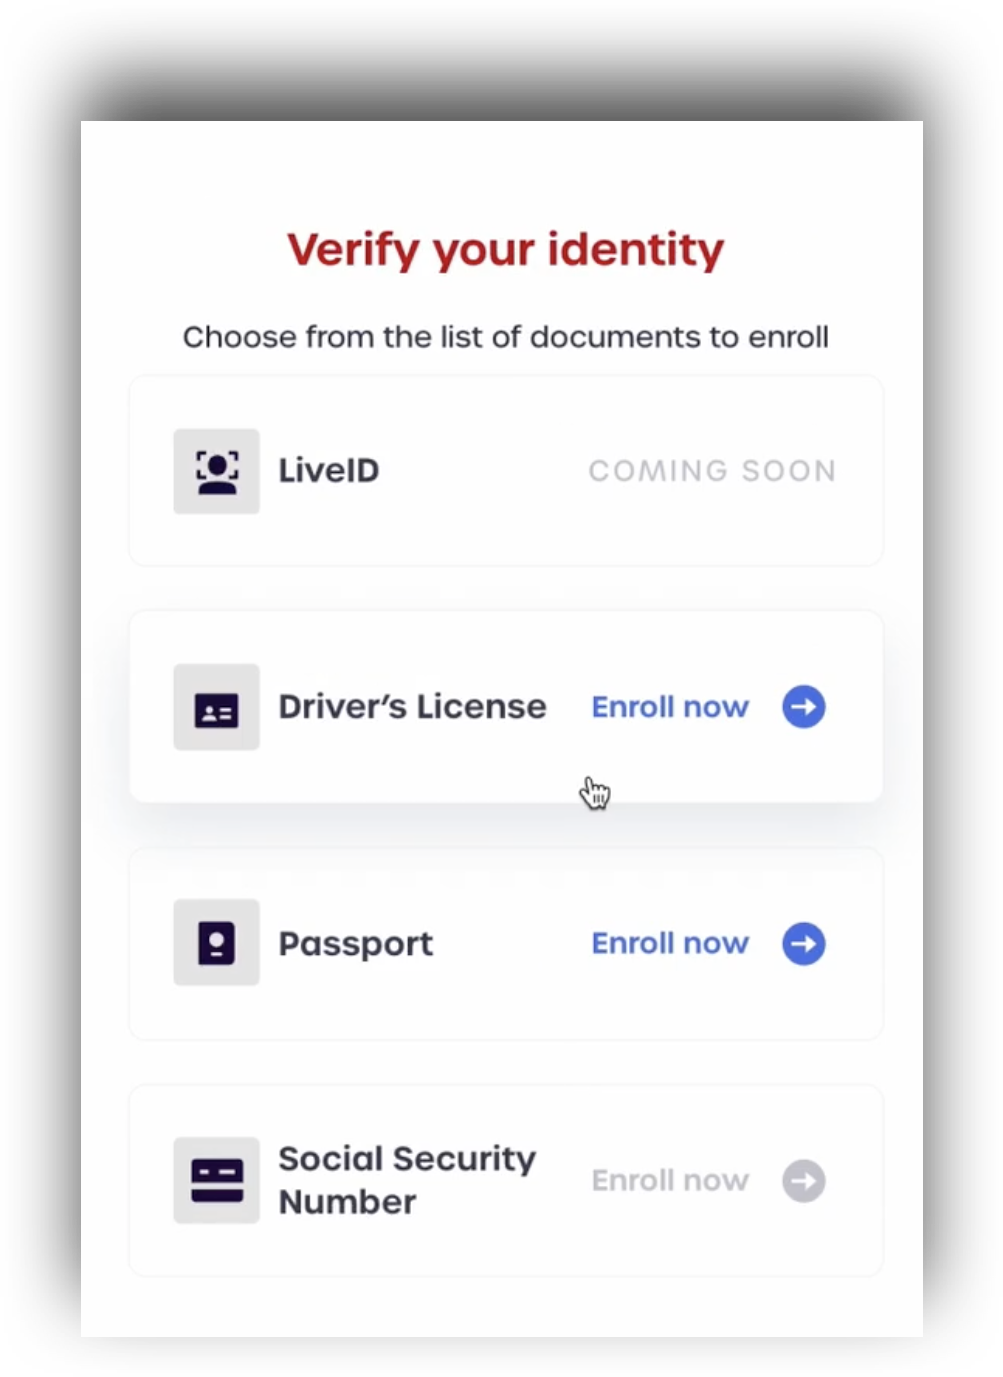
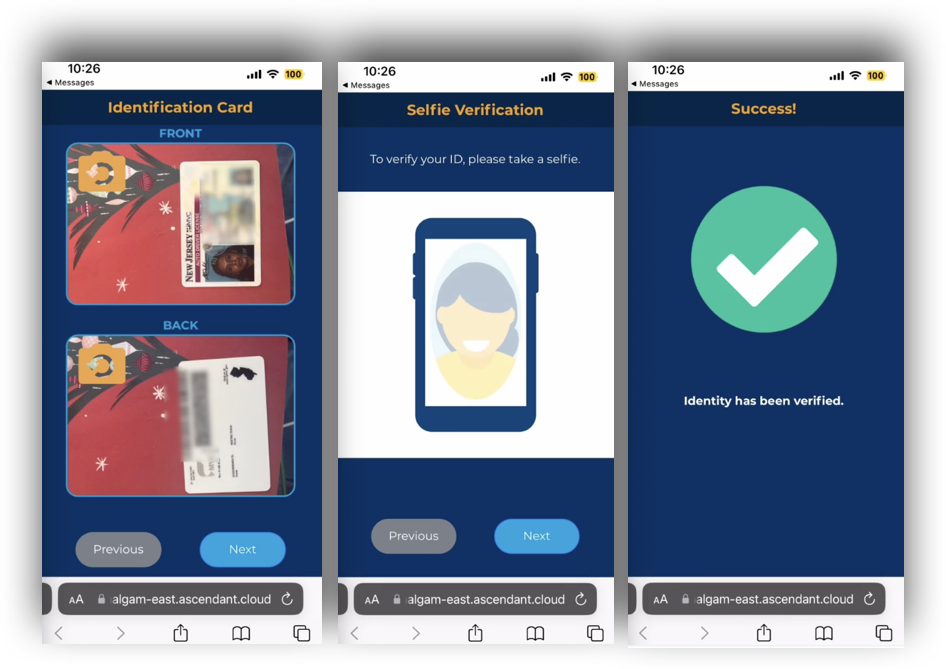
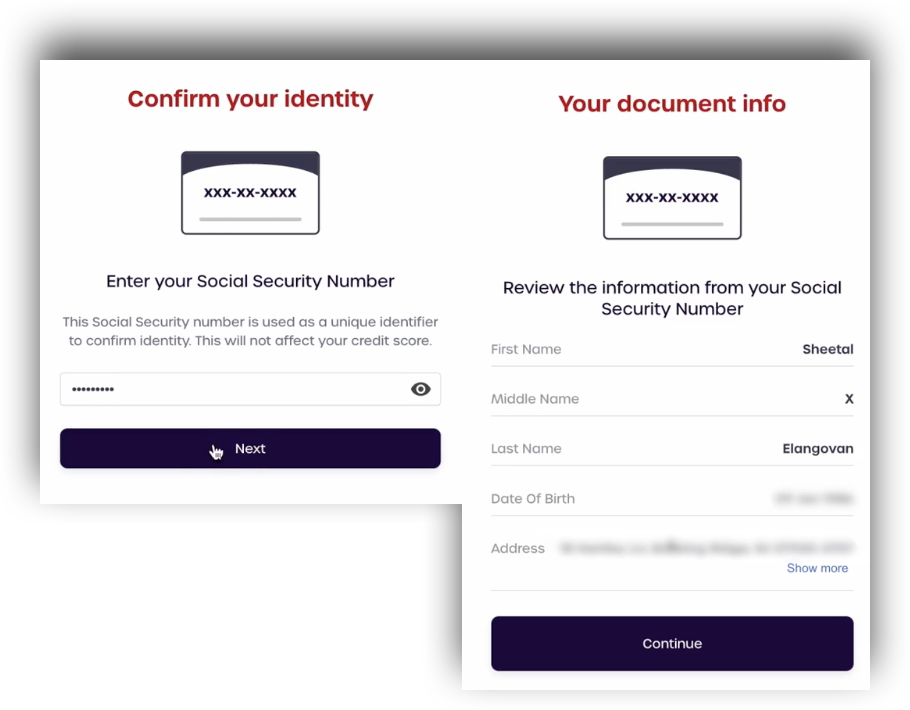
From a user's standpoint, they will be redirected to AdminX to perform their identity verification as opposed to a standard login.
SAML Responses
Depending on the user's current IAL level after performing their identity verification, the server will return different responses.
The table below shows the different SAML responses that are returned after the user has attempted an Identity Verification. These responses can be viewed using a SAML tracer if desired.
| Requested AuthnContext | User's IAL Level After Identity Verification | SAML Response |
|---|---|---|
| IAL2 | IAL1 (Failed Identity Verification or Insufficient Information) | <saml:AuthnContext/> |
| IAL2 | IAL2 | <saml:AuthnContext><saml:AuthnContextClassRef>urn:oasis:names:tc:SAML:2.0:ac:classes:IAL2</saml:AuthnContextClassRef></saml:AuthnContext> |
| IAL2 | IAL3 | <saml:AuthnContext><saml:AuthnContextClassRef>urn:oasis:names:tc:SAML:2.0:ac:classes:IAL2</saml:AuthnContextClassRef><saml:AuthnContextClassRef>urn:oasis:names:tc:SAML:2.0:ac:classes:IAL3</saml:AuthnContextClassRef></saml:AuthnContext> |