Workstation Login Installation & Configuration for macOS
Overview
BlockID Workstation Login for macOS is an Authorization Plugin that supports passwordless and MFA logins on Mac for local and Active Directory users (for domain-joined machines).
This document guides Administrators through the steps necessary to install and configure Workstation Login for macOS.
Prerequisites
- The username of the persona enrolled on the BlockID mobile app must match the user id of your machine's local user in case of local user logon
- Remote login must be enabled on your macOS workstation. This allows logging into the workstation from another machine via the terminal in case the user gets locked out.
We recommend taking a Time Machine backup on the Mac workstation before installing the BlockID for macOS
Considerations for Workstation Login for macOS
- Currently we do not support offline OTP and MFA (username + password + OTP) login methods.
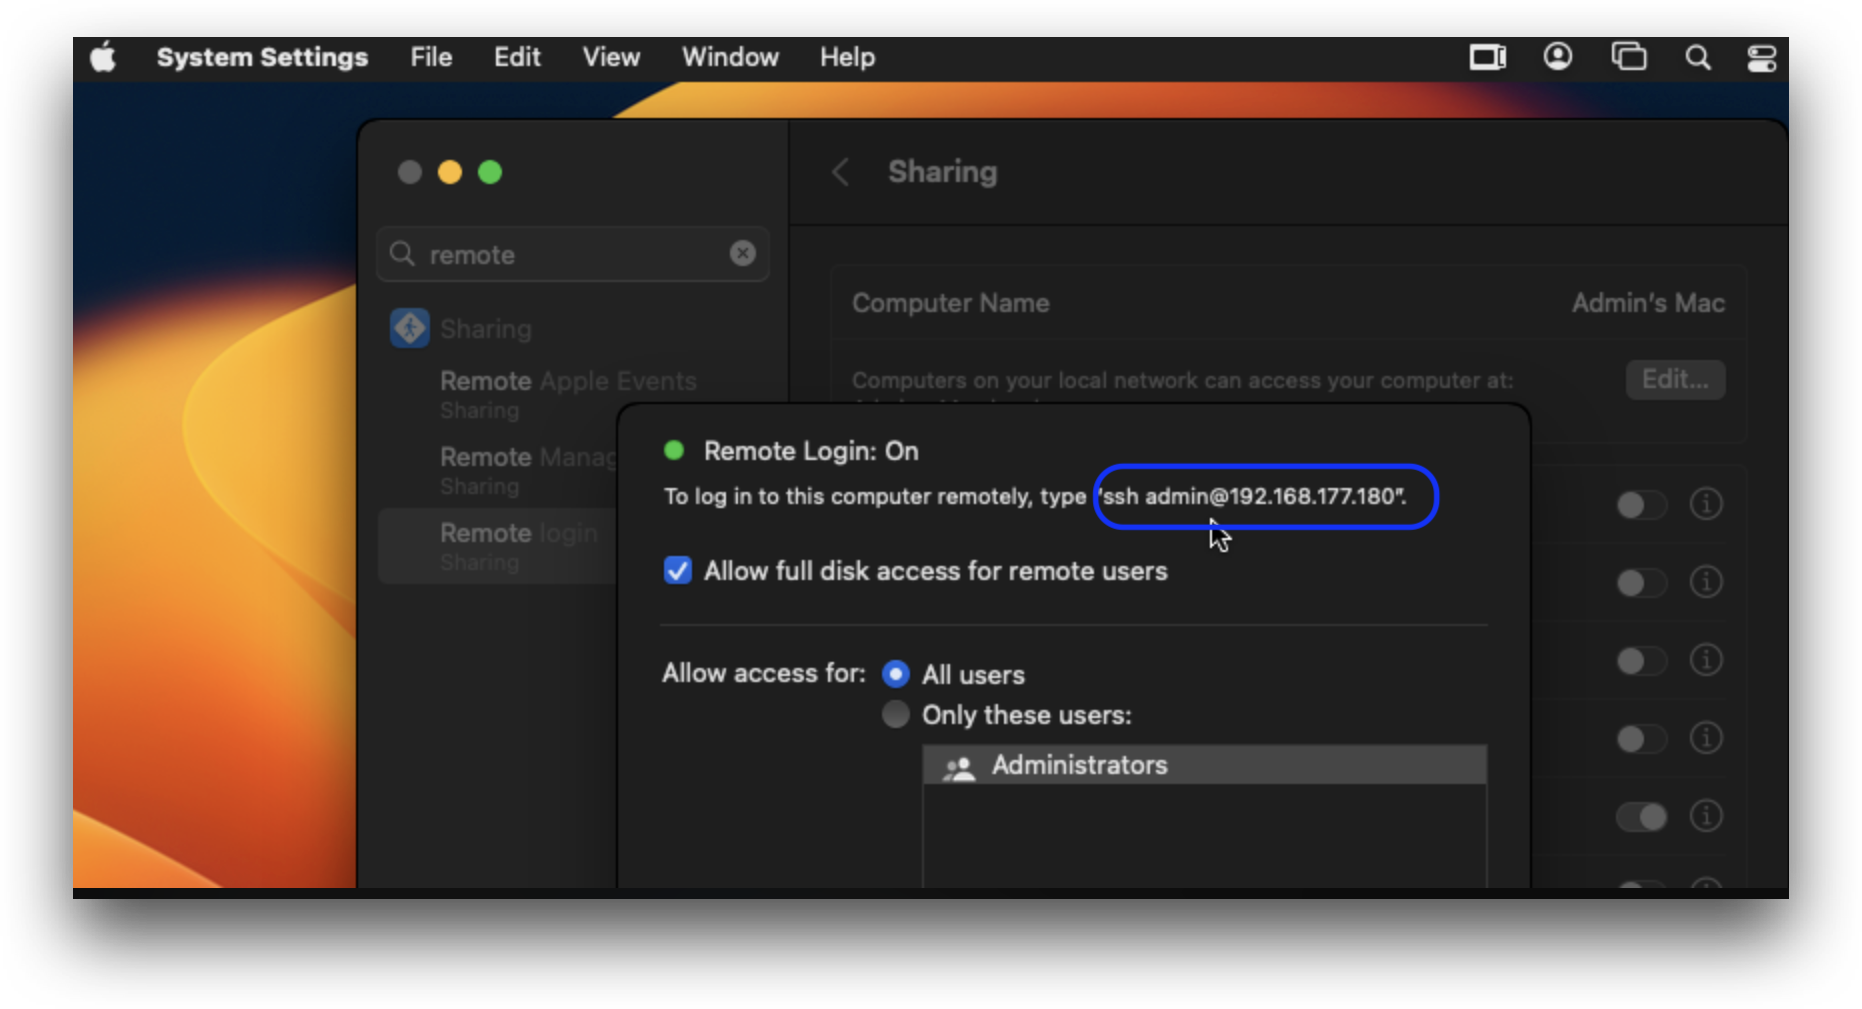
Enable Remote Login
To enable remote login, please do the following:
- Navigate to System Preferences -> Sharing -> Remote Login -> Allow access for: All users
- Users should also note down the displayed ssh credentials, as shown below
Manual Installation and Configuration
Install BlockID Workstation Login for macOS
Workstation Login for macOS supports both Active Directory and Local User login.
For Active Directory users, the macOS workstation must be domain joined.
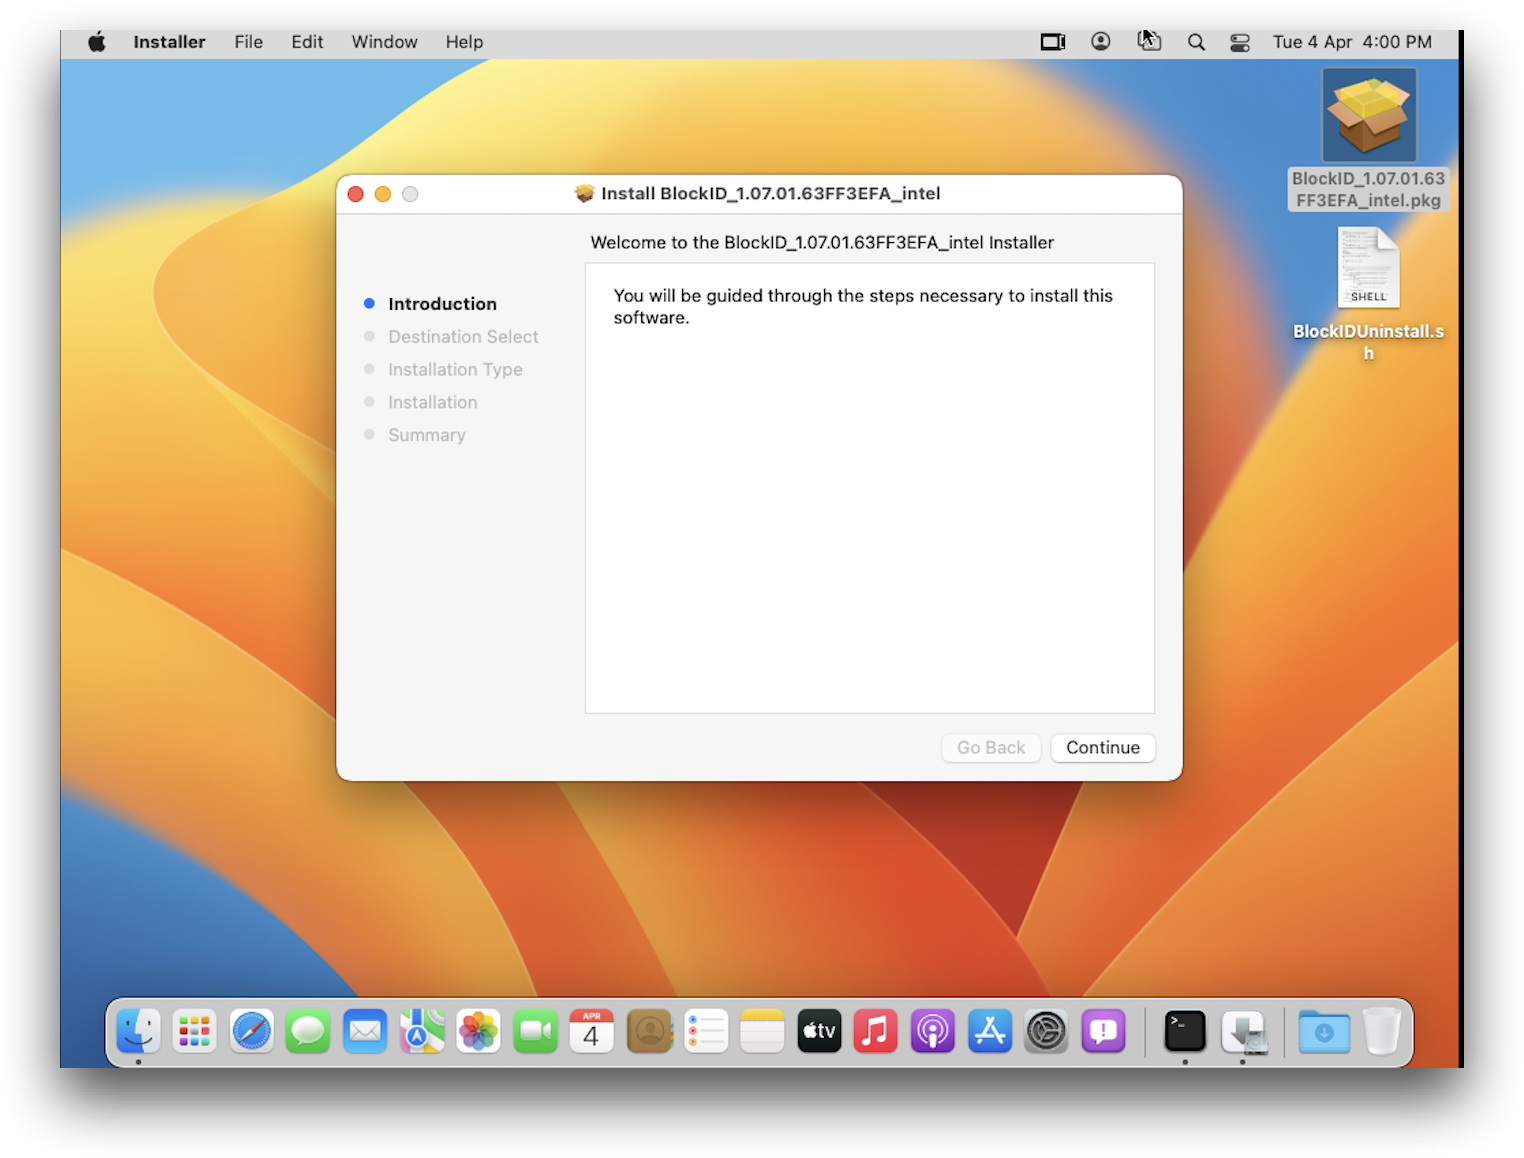
- Copy
BlockID_<version>.pkgto your workstation and double-click the file to start the installation - There are separate pkg installers for Apple silicon and Intel chipsets
- Follow the steps on the GUI installer
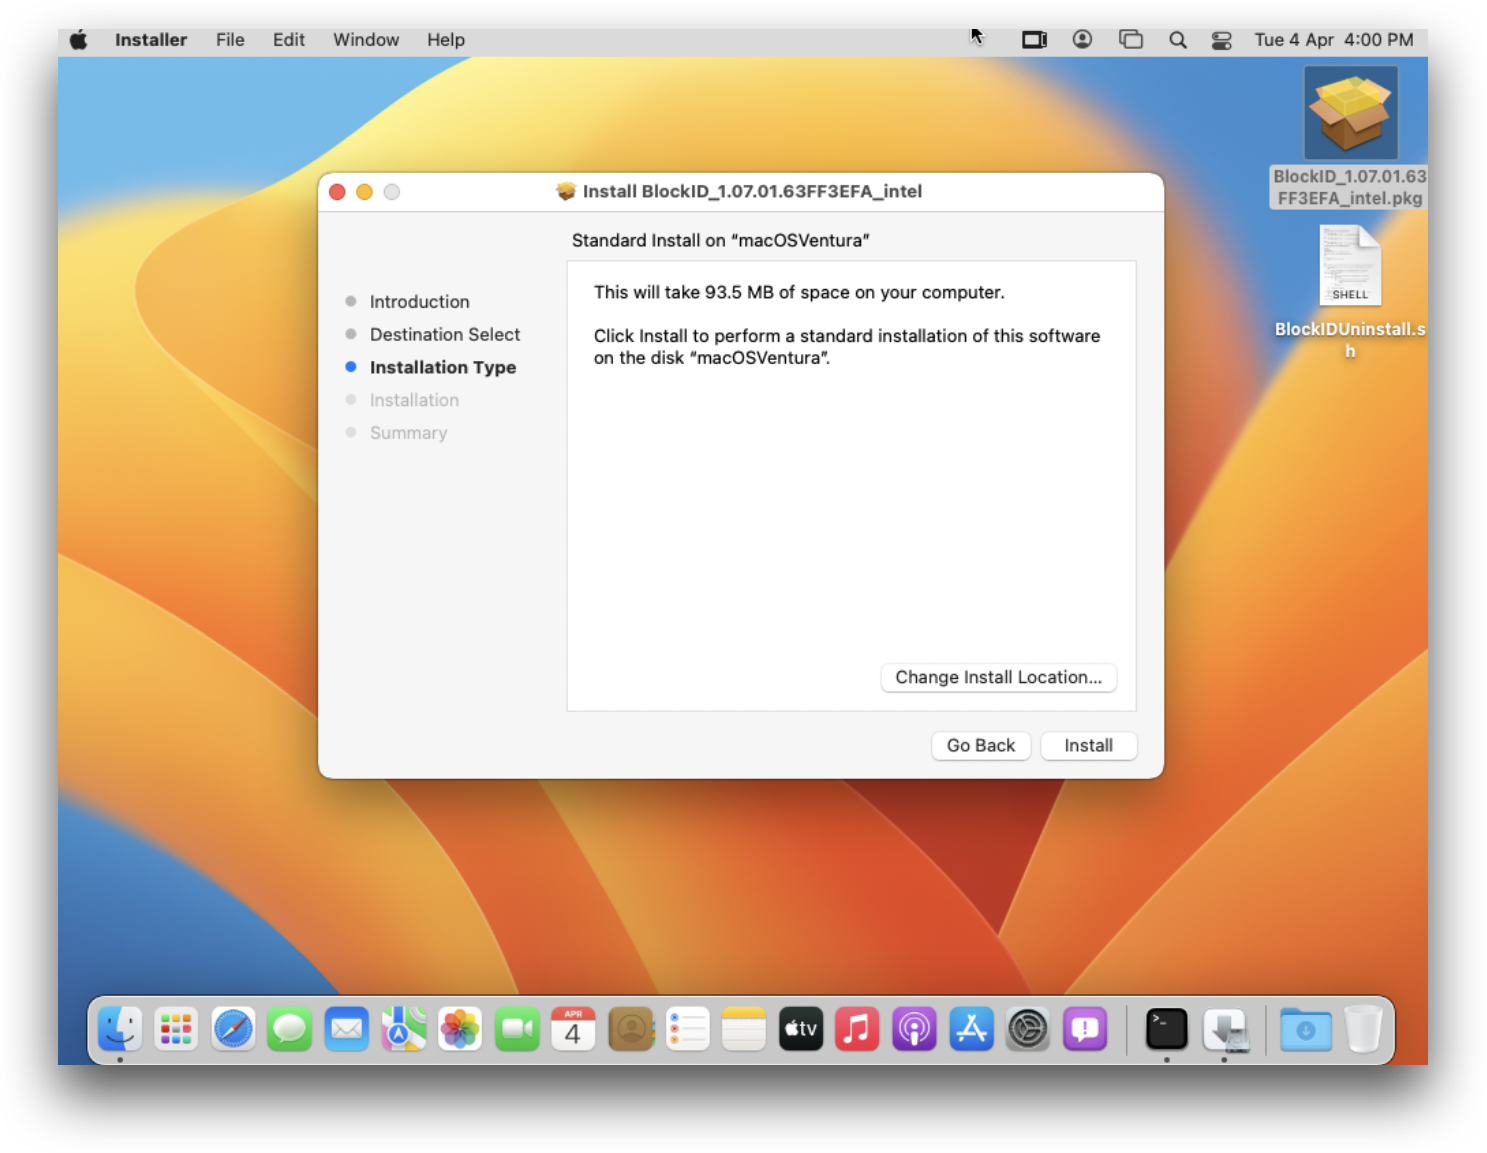
Select a disk to install to click Continue
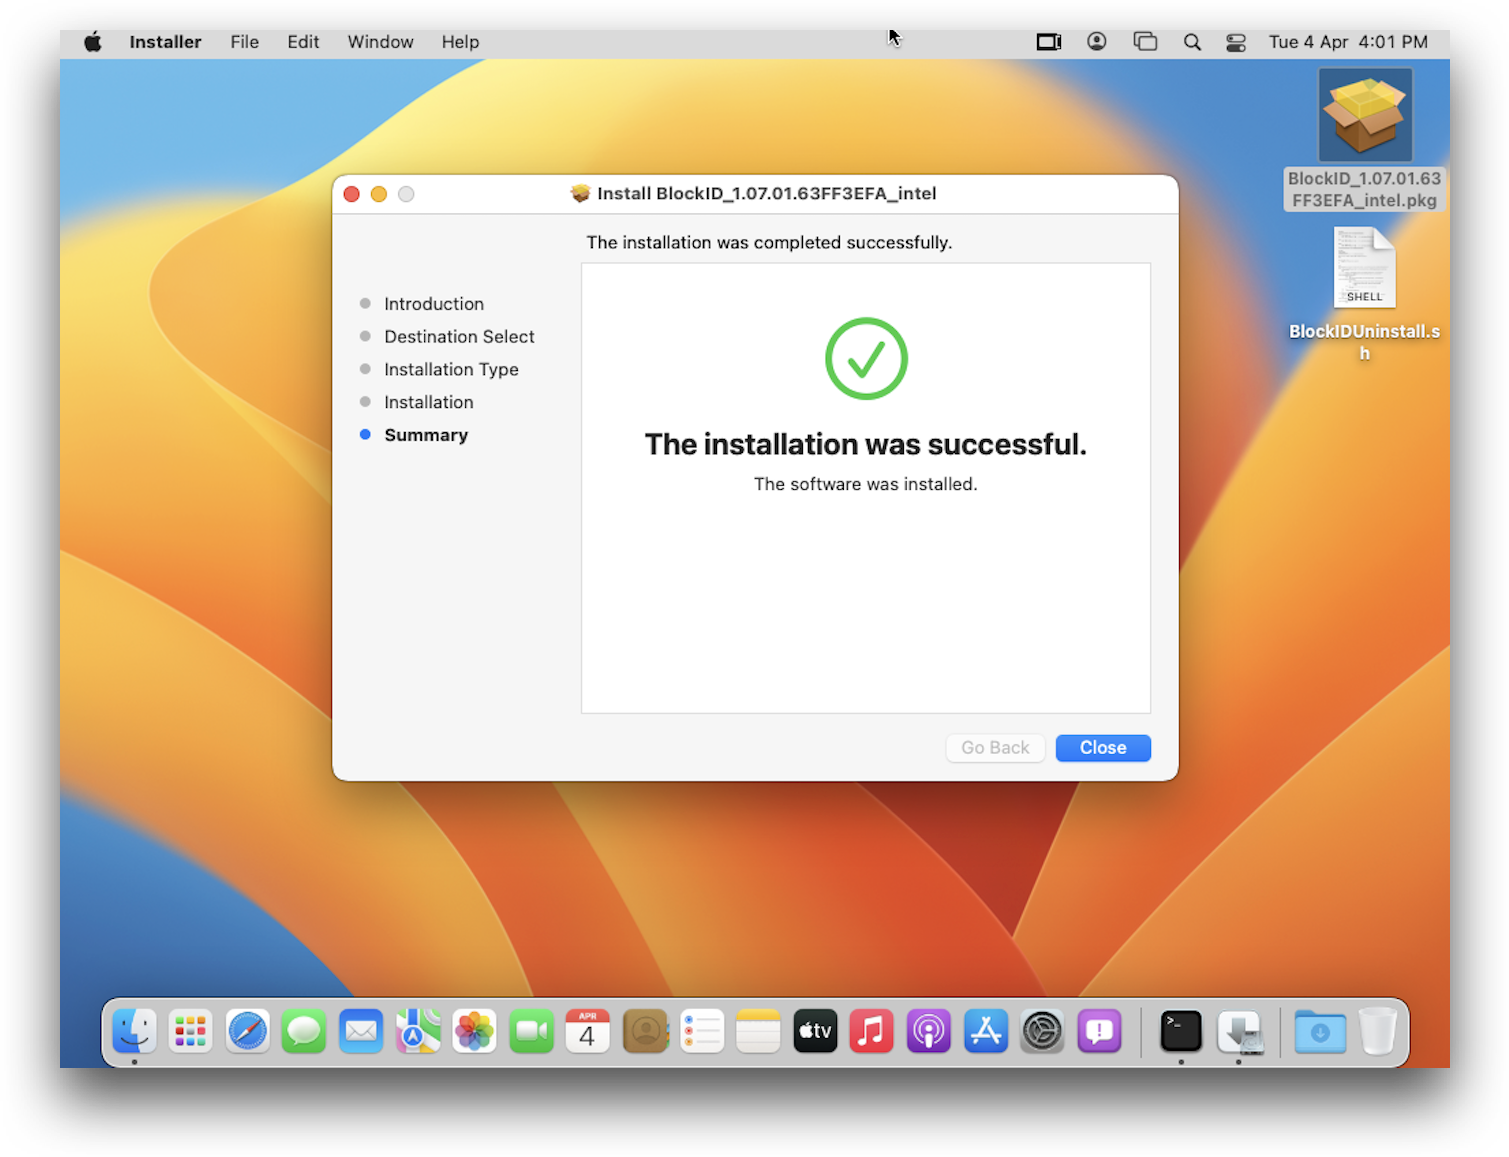
Click Install
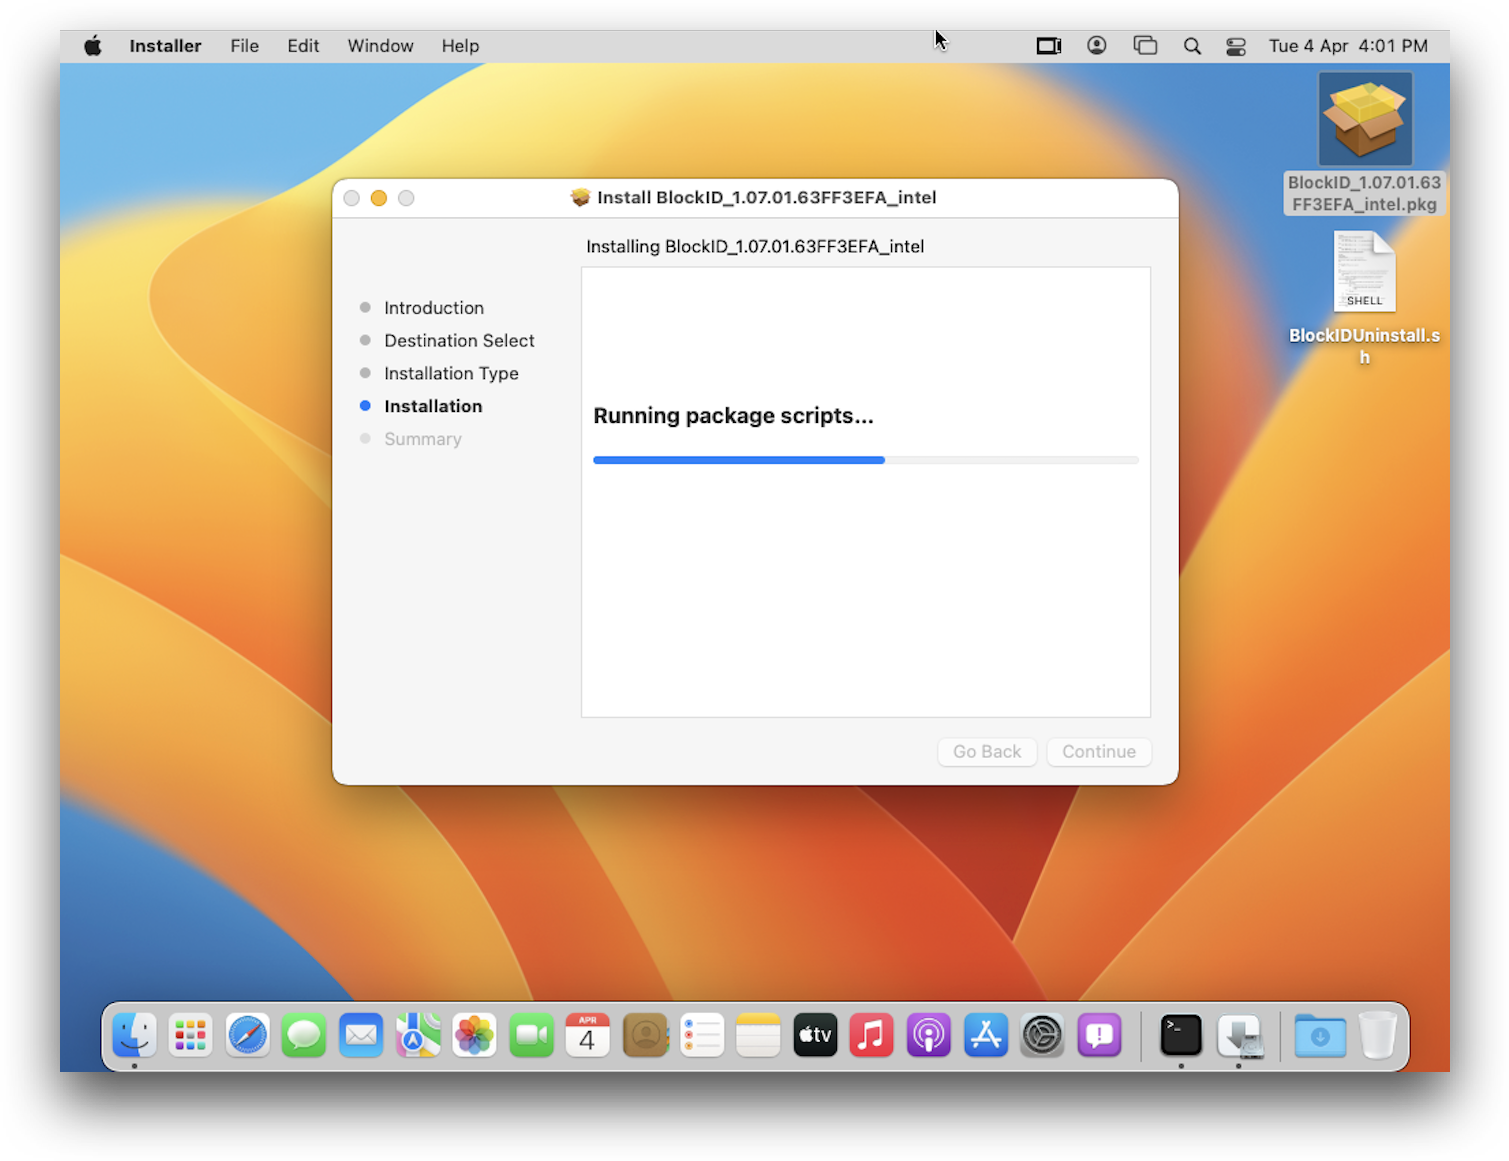
- Click Close to exit the installer
If you encounter any issues during installation, please consult the generated log file located at /var/tmp/BlockIDInstall.log
Configure BlockID Workstation Login for macOS
BlockID for macOS can be configured using the plist located at /Library/Security/SecurityAgentPlugins/BlockIDPlugin.bundle/Contents/Resources/BlockID_Configuration.plist.
In this example, we will be editing the configuration file using the terminal, though this is not a requirement. The plist file contains key-value data that can be easily edited using any text editor with Administrator privileges.
- Launch a terminal window and run the following command:
sudo vi /Library/Security/SecurityAgentPlugins/BlockIDPlugin.bundle/Contents/Resources/BlockID_Configuration.plist
Enter the sudo user password
Update the configuration details (example shown below).
Save your changes and exit (
Esc + :wq + Enter)
Sample plist Configuration File
<?xml version="1.0" encoding="UTF-8"?>
<!DOCTYPE plist PUBLIC "-//Apple//DTD PLIST 1.0//EN" "http://www.apple.com/DTDs/PropertyList-1.0.dtd">
<plist version="1.0">
<dict>
        <key>CONNECTION_PROTOCOL</key>
        <string>https://</string>
        <key>CONNECTION_PORT</key>
        <string>443</string>
        <key>TENANT_ID</key>
        <string>test.1kosmos.net</string>
        <key>TENANT_TAG</key>
        <string>test</string>
        <key>COMMUNITY</key>
        <string>default</string>
        <key>AUTHZ_TYPE</key>
        <string>fingerprint</string>
        <key>REQUEST_TIMEOUT</key>
        <string>45</string>
        <key>CONN_TIMEOUT</key>
        <string>5</string>
        <key>ERROR_MSG</key>
        <string>Error while receiving response</string>
        <key>PROXY_URL</key>
        <string></string>
        <key>PROXY_USER</key>
        <string></string>
        <key>PROXY_PWD</key>
        <string></string>
        <key>PUBLIC_KEY</key>
        <string>**********************</string>
        <key>PRIVATE_KEY</key>
        <string>**********************</string>
        <key>URL_SERV_KEY</key>
        <string>/api/r1/community/{communityID}/publickeys</string>
        <key>URL_RESPONSE</key>
        <string>/api/r1/community/{communityID}/session/{sessionID}/response</string>
        <key>URL_HASH</key>
        <string>/api/v3/rest/{communityID}/ipfs</string>
        <key>URL_PUSH</key>
        <string>/api/v3/rest/{communityID}/pushnotification</string>
        <key>URL_HEALTH</key>
        <string>/healthz</string>
</dict>
</plist>
Configuration Description Table
| Name of Configuration | Description | Expected Values | Sample Values |
|---|---|---|---|
| CONNECTION_PROTOCOL | To define whether the connection should be secured or unsecured. | https://, http:// | https:// |
| CONNECTION_PORT | Value of the port on the tenant URL to which the connection would be established. | Default values are 80 for http & 443 for https | 443 |
| TENANT_ID | Contains the Tenant URL to connect to the admin console. | <tenant url> | test.1kosmos.net |
| TENANT_TAG | Contains the Tenant Tag. | <tenant tag> | test |
| COMMUNITY | Contains the community name. | <community name> | default |
| AUTHZ_TYPE | Contains the authentication mode for the mobile device. | Values can be fingerprint, face, or pin | fingerprint |
| REQUEST_TIMEOUT | The duration for which the authorization plugin will wait for a response from the admin console. The value is in seconds. | Value should ideally be kept in the range of 10 to 240. | 45 |
| CONN_TIMEOUT | The timeout value for the connection to be successfully established. The value in seconds. | Value should ideally be kept in the range of 2 to 10. | 5 |
| ERROR_MSG | Default error message to be displayed on the lock screen. | <error message> | Error while receiving response |
| PROXY_URL | Currently not supported | NA | NA |
| PROXY_USER | Currently not supported | NA | NA |
| PROXY_PWD | Currently not supported | NA | NA |
| PUBLIC_KEY | Public Key of the mac CP Value is auto-generated during installation (NOT TO BE EDITED BY END USER) | NA | NA |
| PRIVATE_KEY | Private Key of the mac CP Value is auto-generated during installation NOT TO BE EDITED BY END USER | NA | NA |
| URL_SERV_KEY | Endpoint to request the server public key (NOT TO BE EDITED BY END USER) | NA | NA |
| URL_RESPONSE | Endpoint to request user data (NOT TO BE EDITED BY END USER) | NA | NA |
| URL_HASH | Endpoint to request user data (NOT TO BE EDITED BY END USER) | NA | NA |
| URL_PUSH | Endpoint to send push notification to the user (NOT TO BE EDITED BY THE END USER) | NA | NA |
| URL_HEALTH | Endpoint to check the connection to the console (NOT TO BE EDITED BY THE END USER) | NA | NA |
Automated Installation and Configuration via Bash Script
BlockID for macOS can be installed headless using a bash script and a configuration file containing tenant details from the terminal. The automated installation & configuration script only be run by a user with sudo privileges.
The command line flags -i <package name> should be used for installation and -c <config file> for updating the configuration.
Sample CONFIG File
AUTHZ_TYPE=fingerprint
COMMUNITY=default
CONNECTION_PORT=443
CONNECTION_PROTOCOL=https://
CONN_TIMEOUT=10
ERROR_MSG=Error while receiving a response
PRIVATE_KEY=generate
PROXY_PWD=
PROXY_URL=
PROXY_USER=
PUBLIC_KEY=generate
REQUEST_TIMEOUT=45
TENANT_ID=demo.1kosmos.net
TENANT_TAG=1kosmos
The value for PUBLIC_KEY or PRIVATE_KEY should be generate to create new ECDSA key-pair and to update them in the system configuration plist file
Installation and Configuration
BlockIDConfiguration.sh -i <package name> -c <config filename>

Example:
./BlockIDConfiguration.sh -i BlockID_1.05.00.61B74507.pkg -c CONFIG
Installation Only
BlockIDConfiguration.sh -i <package name>

Example:
./BlockIDConfiguration.sh -i BlockID_1.05.00.61B74507.pkg
Configuration Only
BlockIDConfiguration.sh -c <config filename>

Example:
./BlockIDConfiguration.sh -c CONFIG
The workstation must be manually restarted after running the installation script
Uninstallation Steps
BlockID for macOS can be uninstalled by running the uninstall bash script with sudo privileges.
- Launch a terminal window and execute the following:
sudo bash BlockIDUninstall.sh
- Restart the workstation manually
sudo reboot

Additional Information
Please see Workstation Login for macOS for additional information on the different settings available for BlockID Workstation Login for macOS.