Workstation Login for Windows
Overview
BlockID Workstation Login for Windows is a Credential Provider that supports passwordless and MFA logins on Windows for Active Directory users (for domain-joined machines).
This document guides Administrators through the steps necessary to install and configure Workstation Login for Windows. If your organization is using Active Directory to manage its users, you have the option of enabling BlockID Workstation Login.
Once configured, BlockID Workstation Login allows users to log in to their Windows workstation using BlockID passwordless authentication, including when you are offline.
| Authentication Scheme | Supported Capability | BlockID | |
|---|---|---|---|
| ONLINE | User ID & Password | Traditional login | ✅ |
| ONLINE | User ID & Password + BlockID TOTP | MFA | ✅ |
| ONLINE | User ID & Password + hardware TOTP | MFA | ✅ |
| ONLINE | User ID + BlockID TOTP | Passwordless & MFA | ✅ |
| ONLINE | User ID + hardware TOTP | Passwordless & MFA | ✅ |
| ONLINE | QR Code or Push Notification | Passwordless | ✅ |
| ONLINE | FIDO Login + Device Biometrics + DID Linked | Identity-based Authentication | ✅ |
| OFFLINE | User ID & Password + Workstation OTP | MFA for Offline use | ✅ |
| OFFLINE | User ID + Workstation OTP | Passwordless MFA for Offline use | ✅ |
Prerequisites
There are a few prerequisites that need to be met before Workstation Login can be enabled:
- Active Directory
- NDES Configuration for BlockID
- SCEP configuration enabled and setup for AD Broker in AdminX
- BlockID Mobile Application installed and linked to your account
- SCardSvr (Smart Card) Service should be enabled on workstations
Manual Installation and Configuration
Install BlockID Workstation Login for Windows
The Windows workstation must be joined to the Active Directory Domain.
We only support Active Directoy user login.
-
Copy the
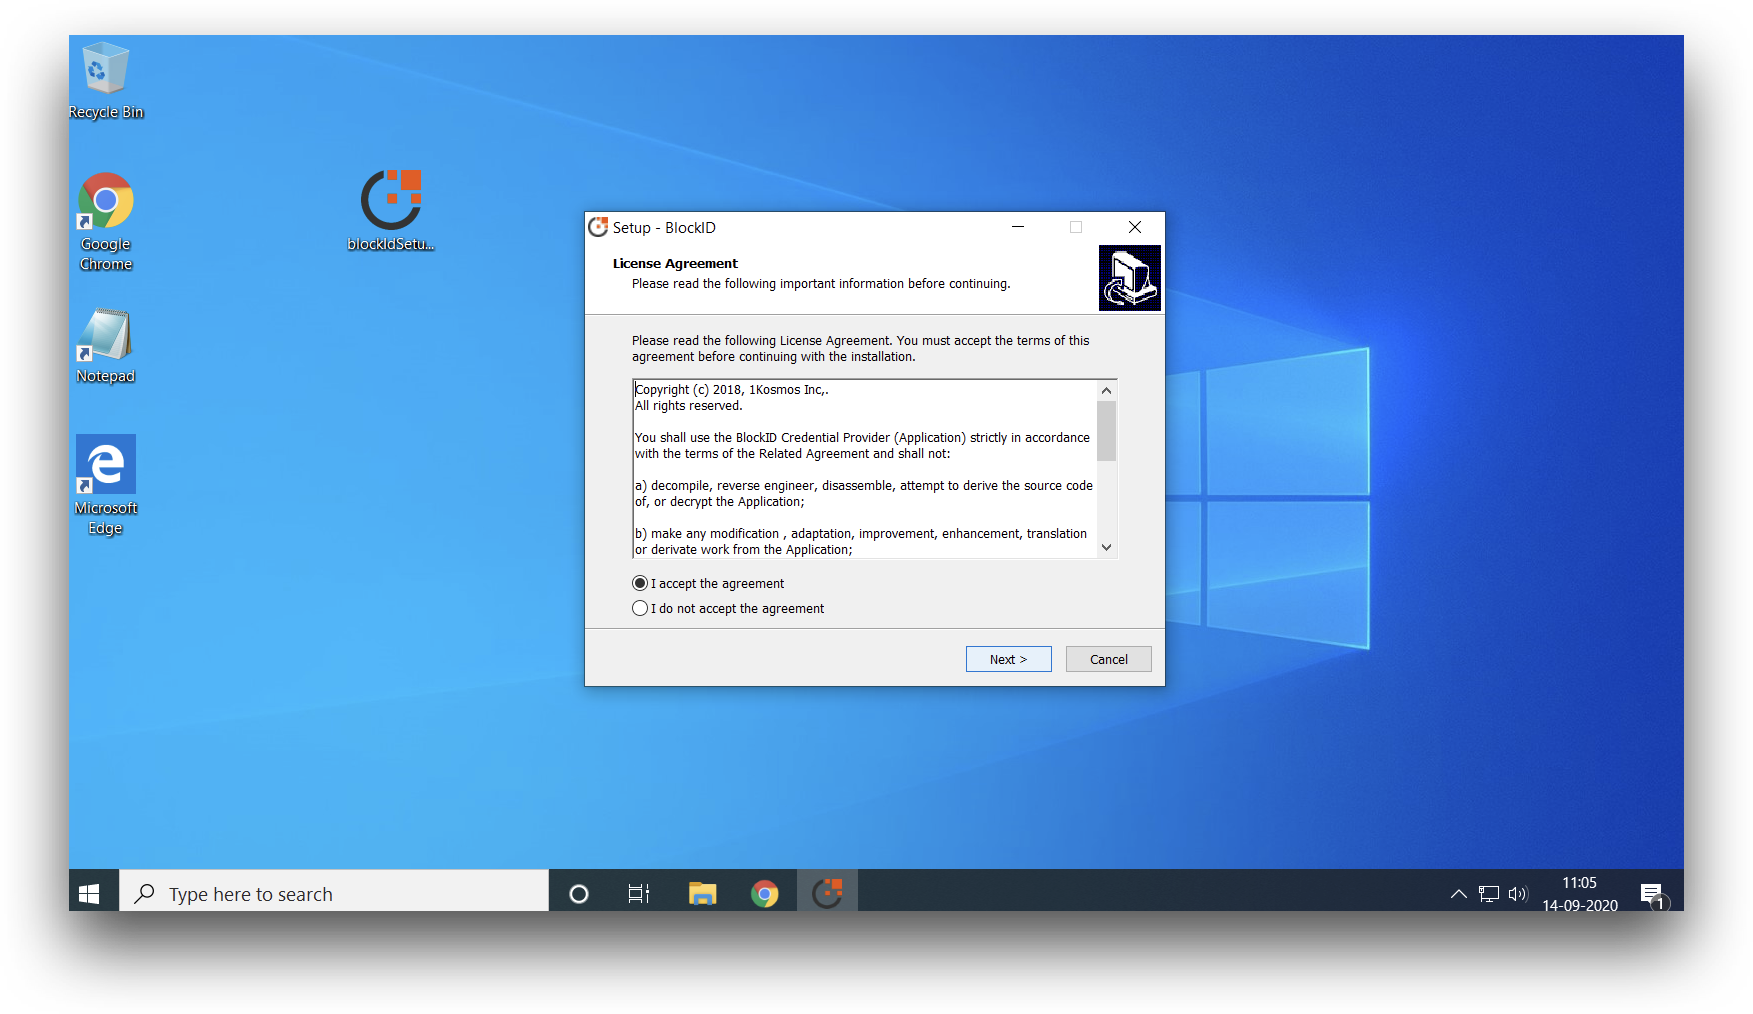
blockIdSetup.<version>.exeinstaller to your workstation and double-click the file to launch the program. -
Review and accept the license agreement. Click Next to proceed.
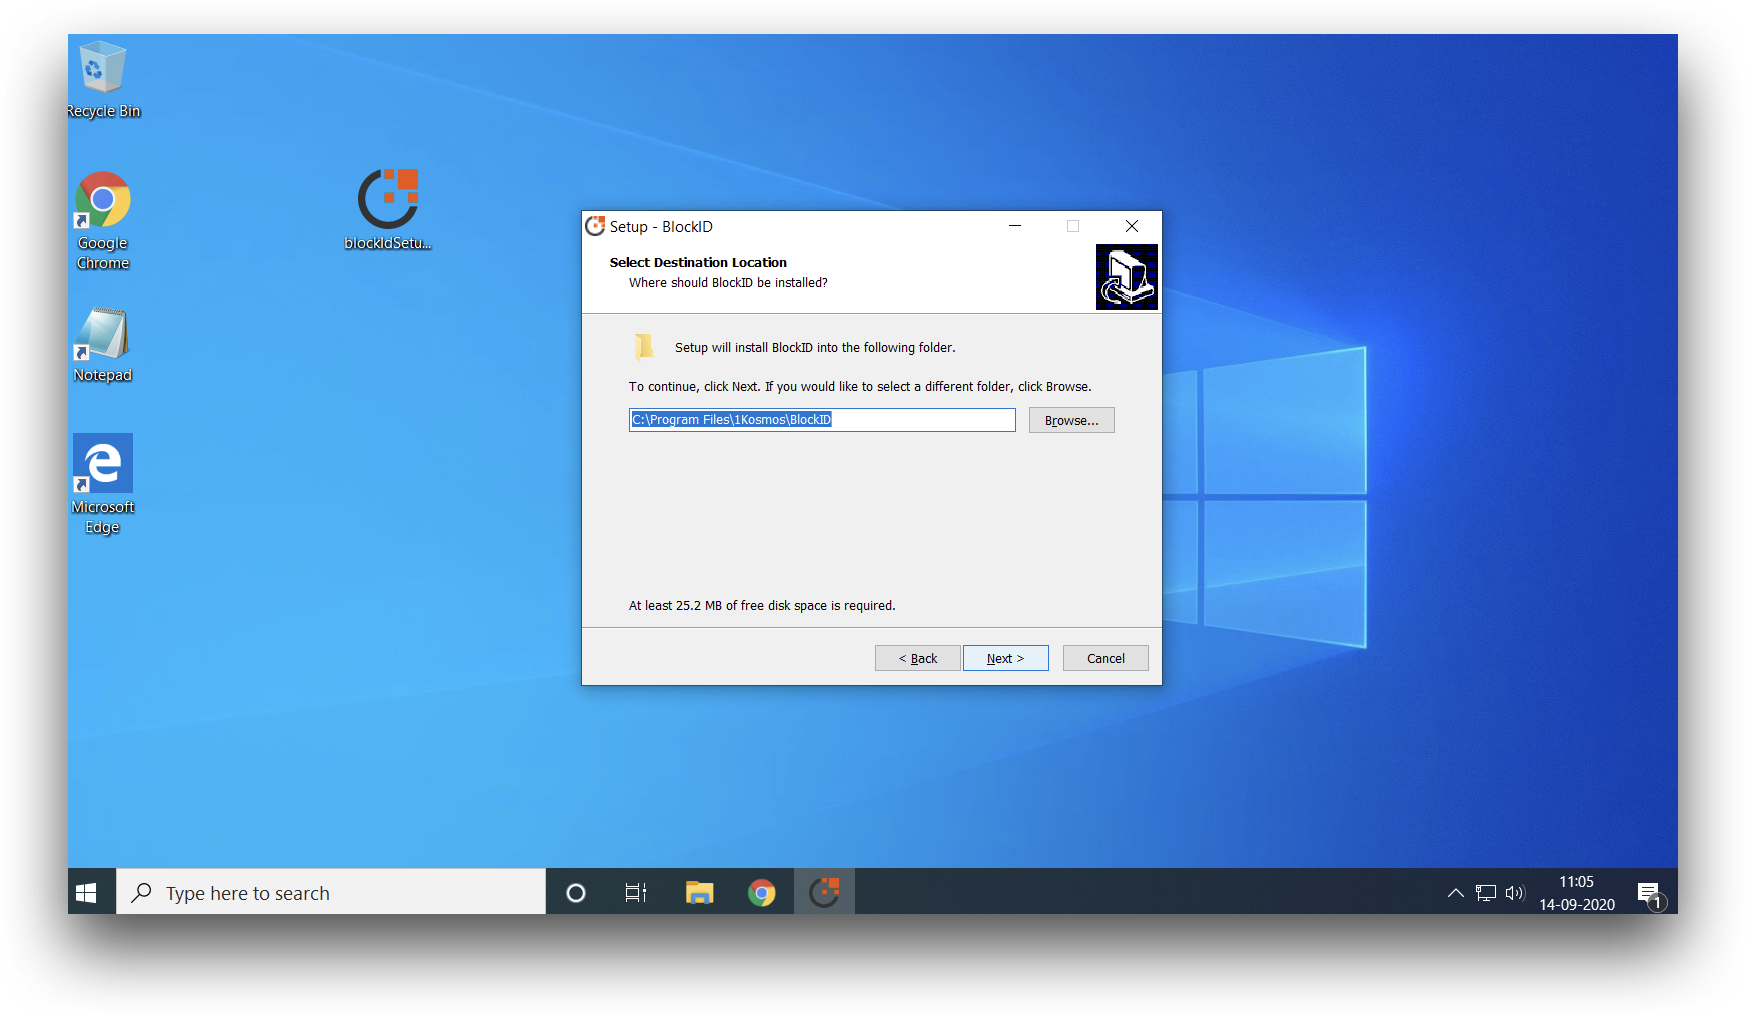
- Select the installation folder and click Next.
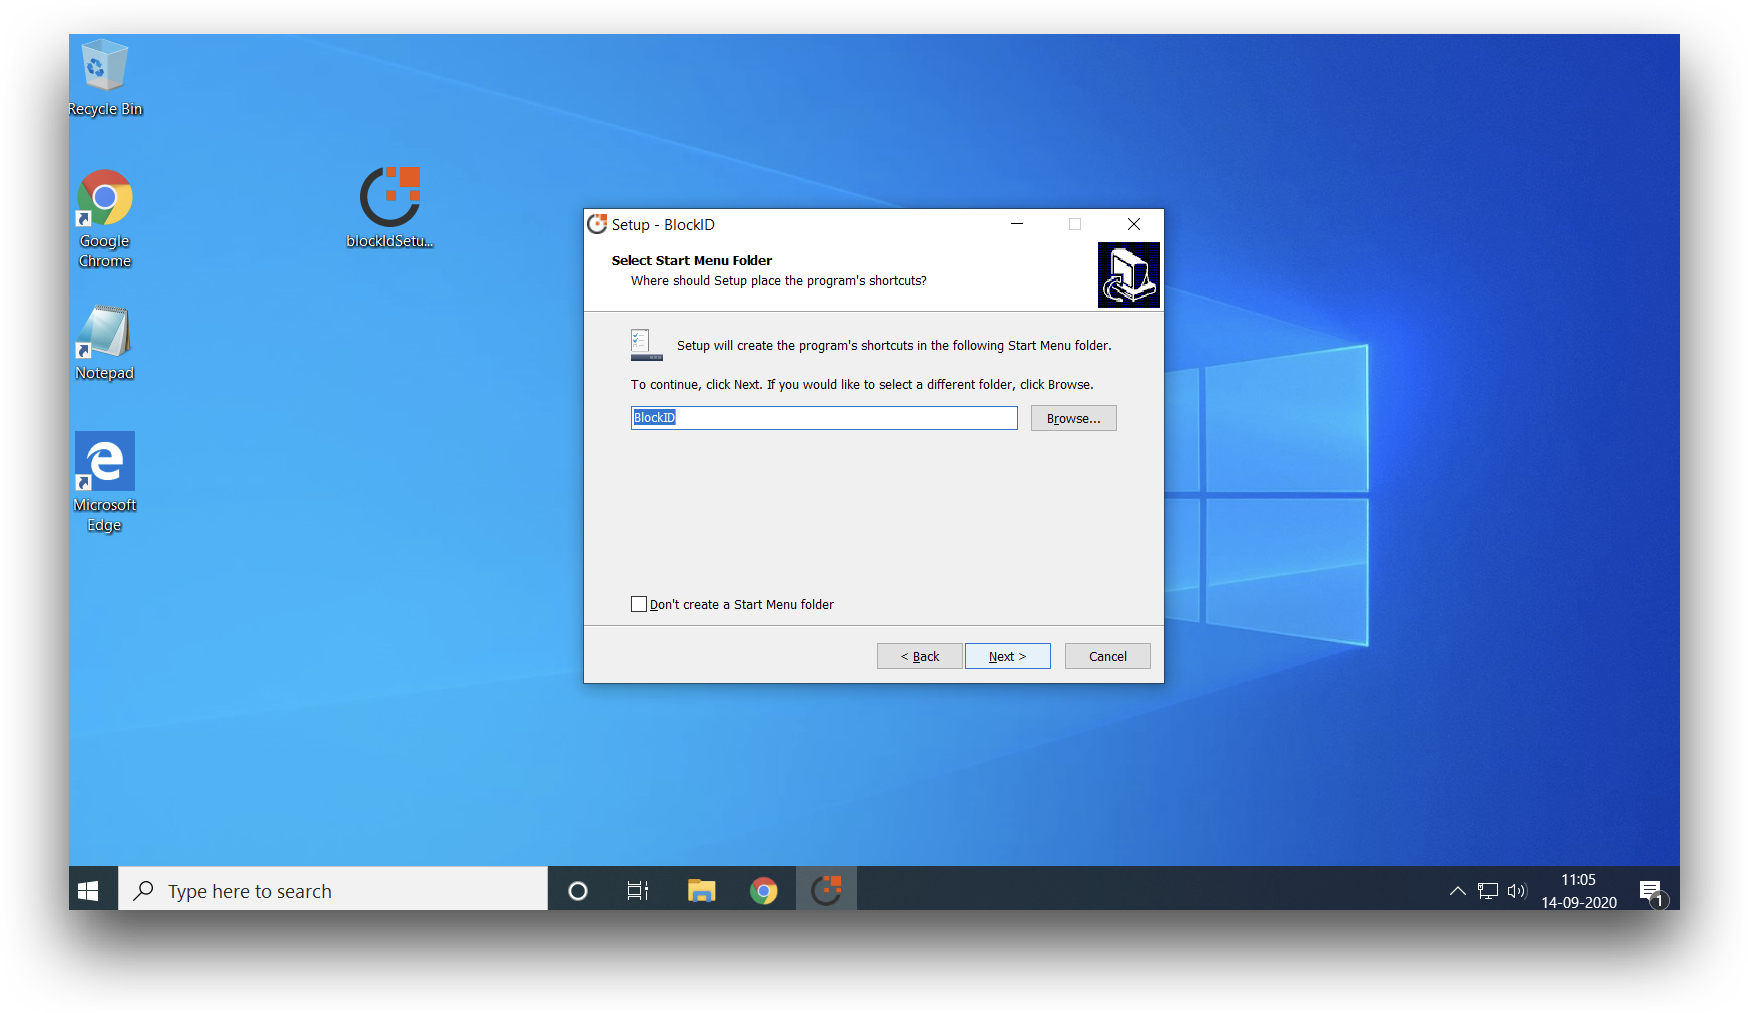
- Select a folder to use as a Start Menu shortcut if desired.
- Choose whether or not you wish to create a Desktop shortcut. Click Next.
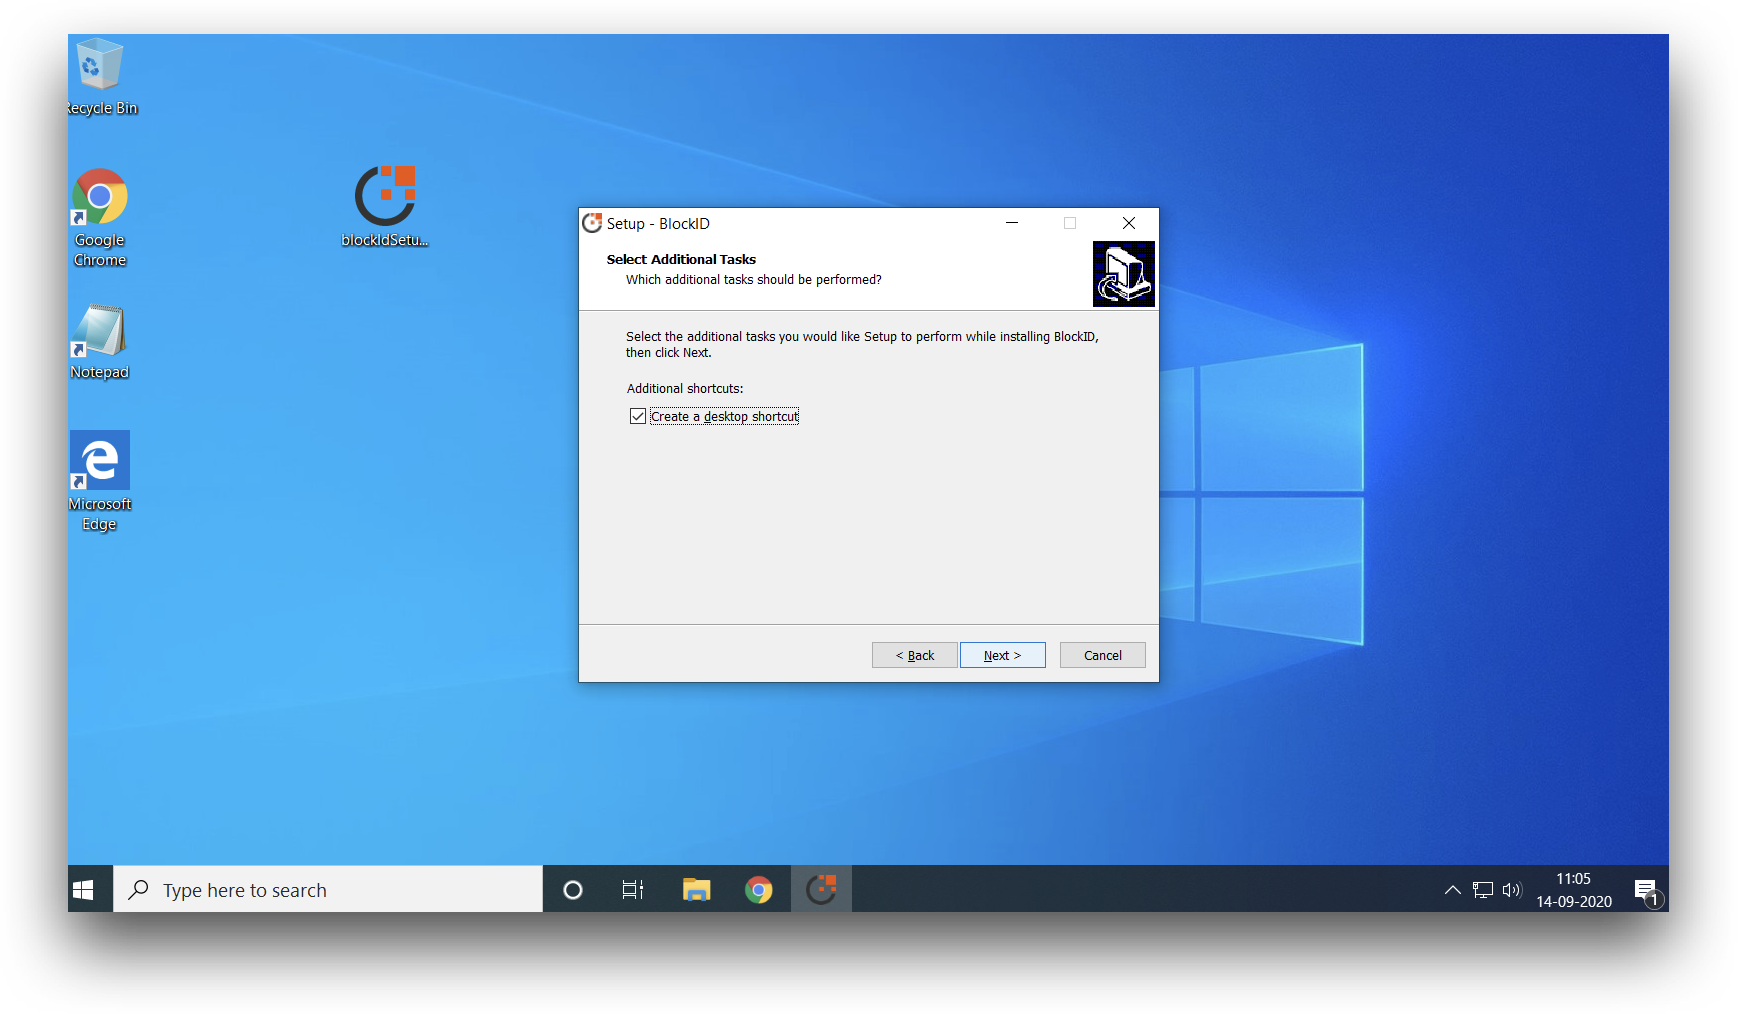
- Review the information displayed and click Install.
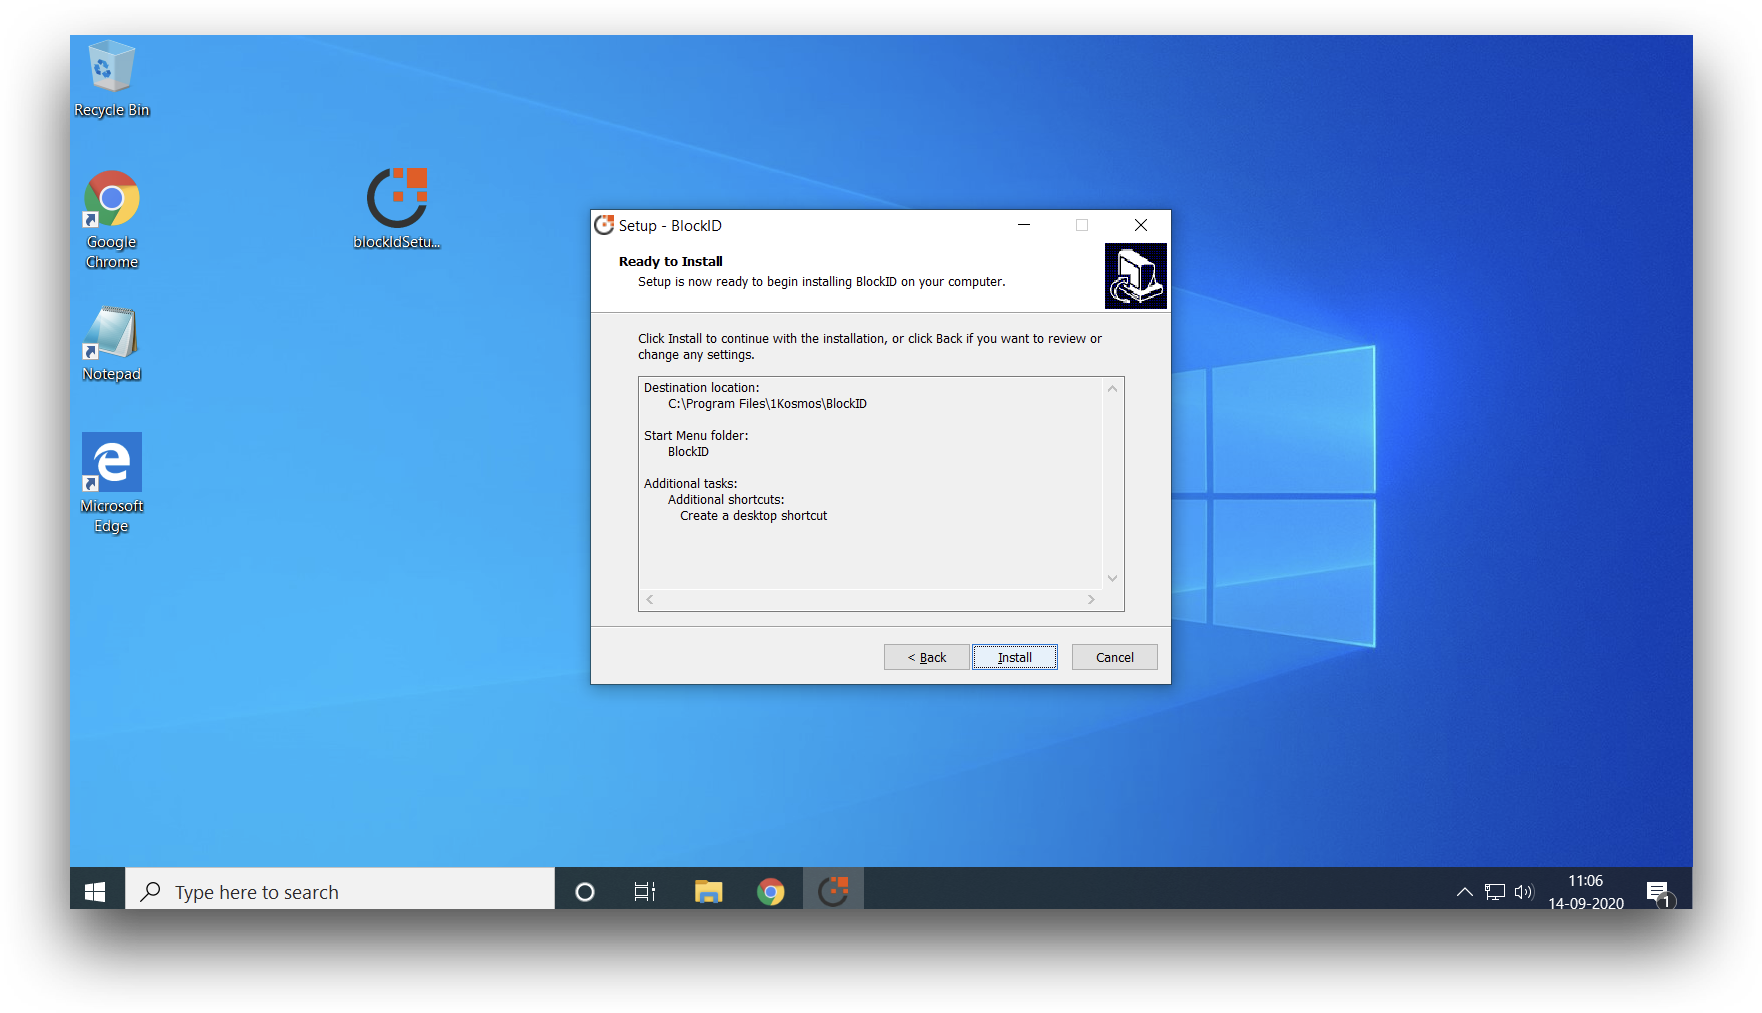
- When prompted by Windows Security, click Install to start the installation.
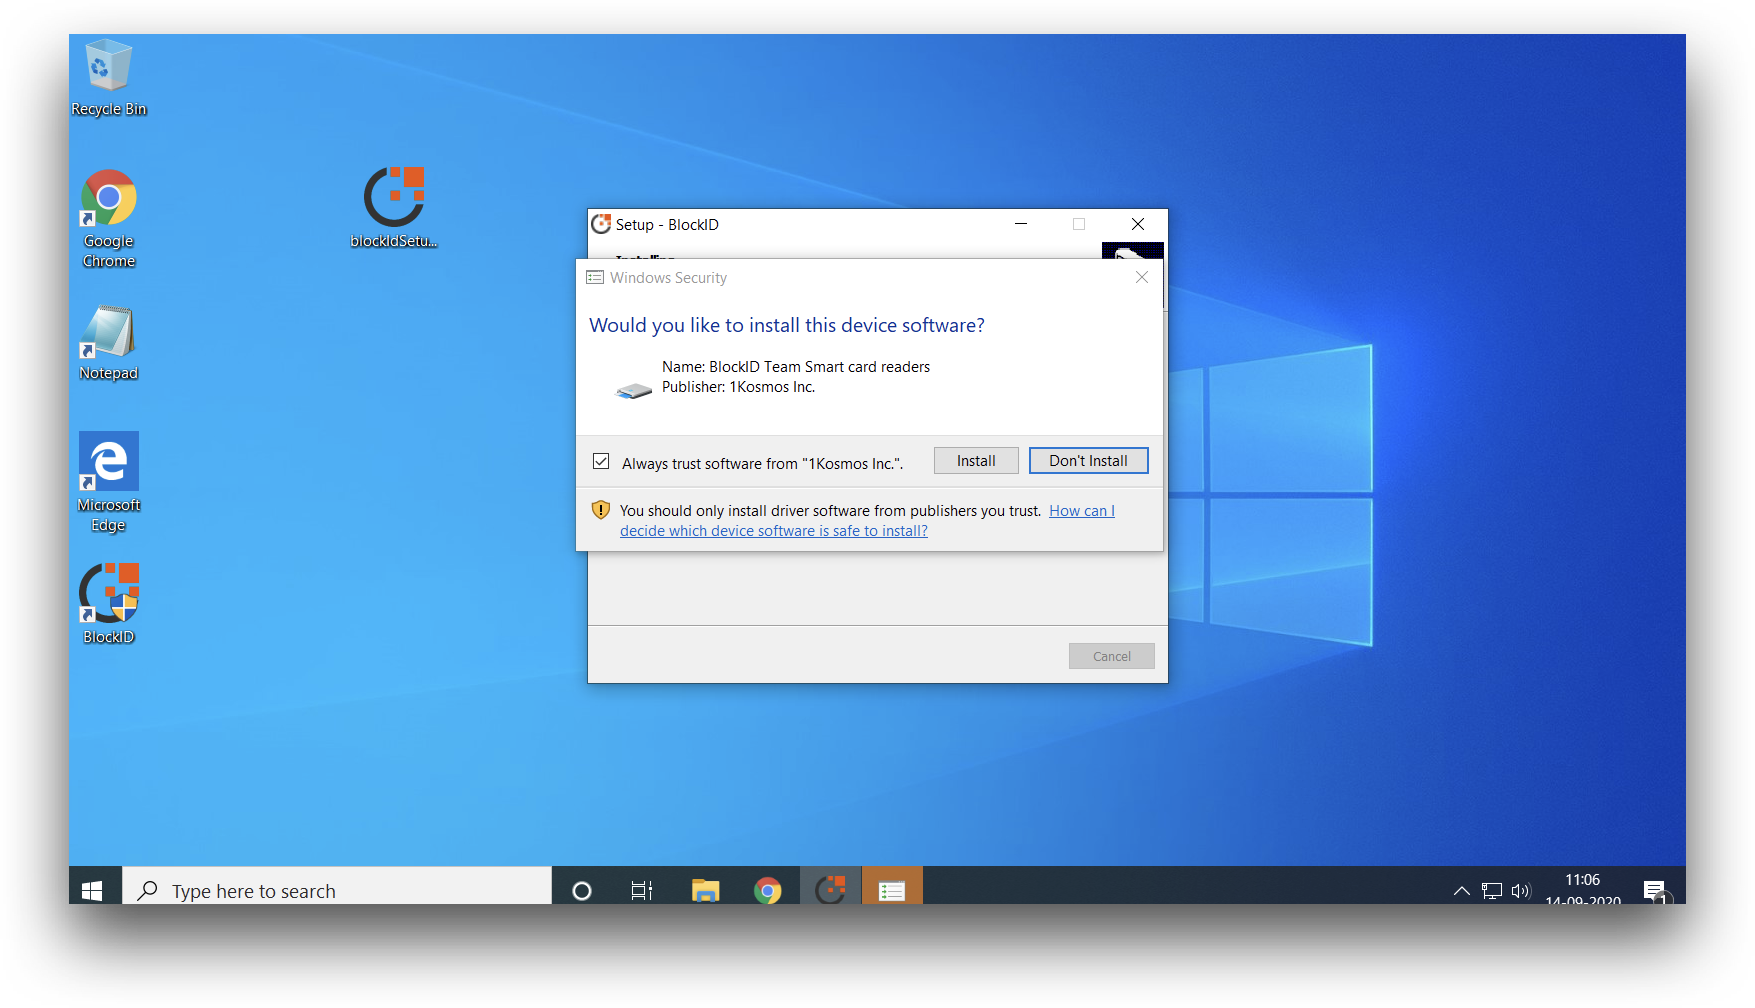
- Restart the machine
Configure BlockID Workstation Login for Windows
BlockID for Windows can be configured after installation by running the BlockID Configuration program installed on the workstation.
-
To begin, launch BlockID Configuration.
-
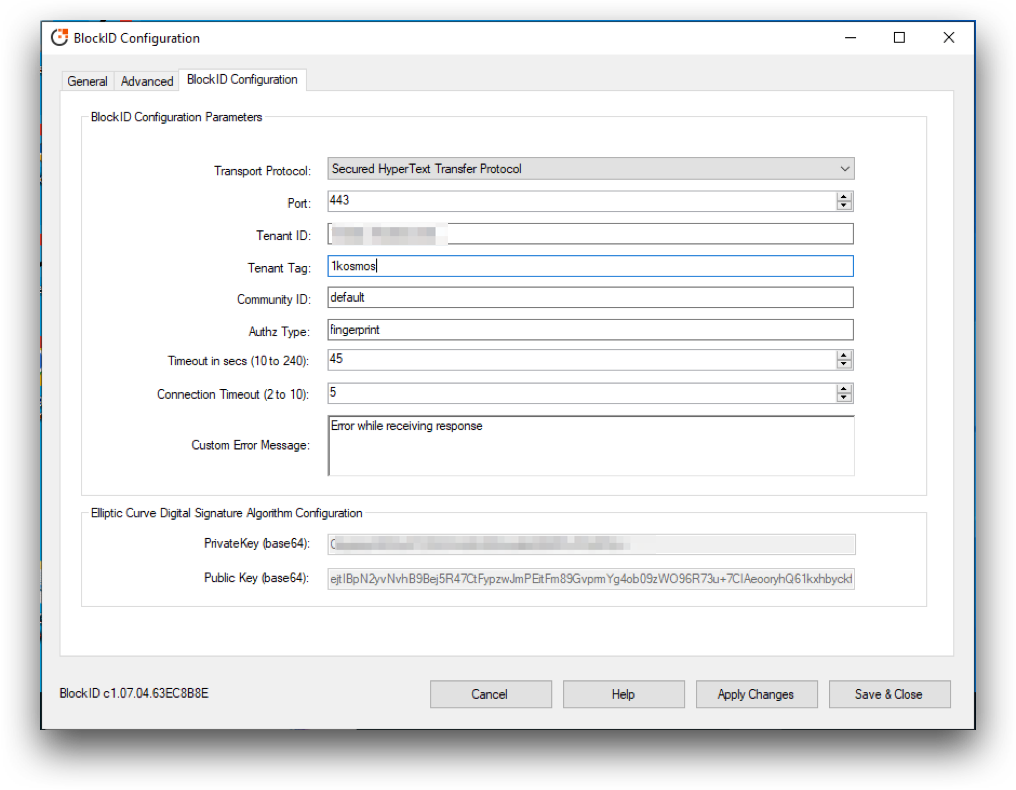
Add your tenant details:
- Transport Protocol: Select Secure Hyper Text Transport Protocol (HTTPS)
- Tenant ID: Your tenant domain, e.g.,
blockid-trial.1kosmos.net - Tenant Tag: Your tenant tag, e.g.:
1kosmos - Community ID: Your community name, e.g.,
default
-
Optionally change additional parameters as desired:
- Authz Type: Select between the following:
fingerprint (for touch ID or face ID)pinface (live ID)
- Timeout in Secs: Select between '10 to 240` seconds
- Connection Timeout: Select between
2 to 10minutes - Custom Error Message: Enter a message to display when an error is encountered
- Authz Type: Select between the following:
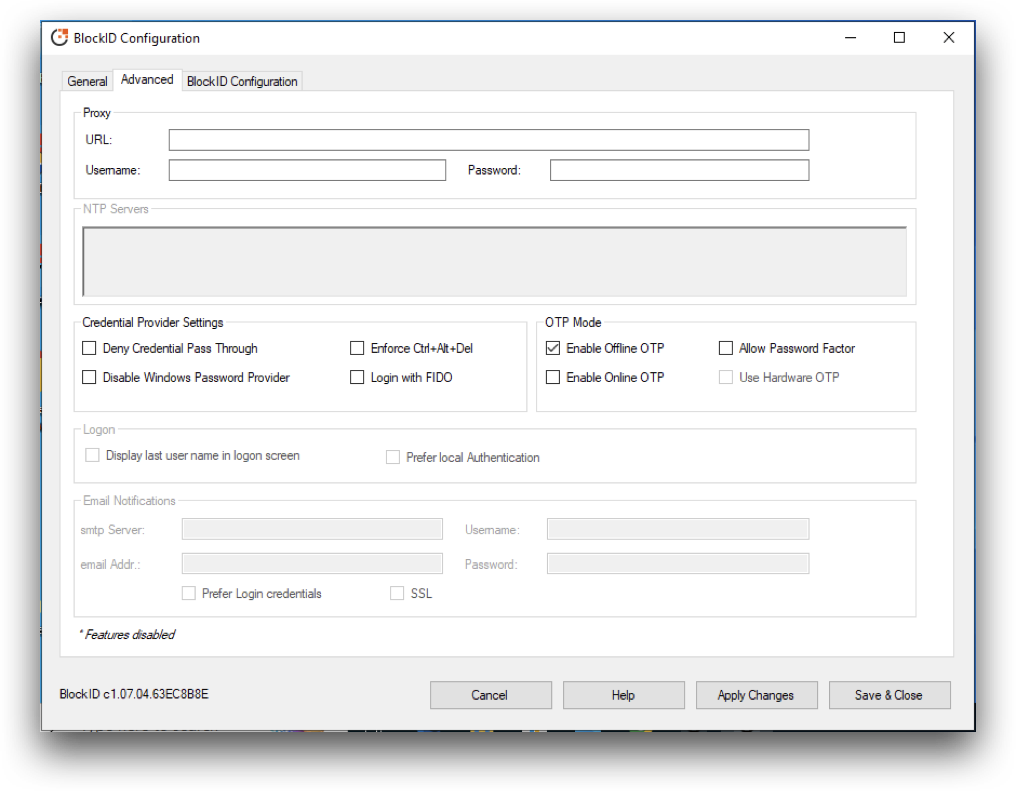
- If your organization is using a proxy, you must also add your details. Click the Advanced tab and enter your proxy information.
- After you have completed the configuration, you will need to restart the BlockID service:
- Click the General tab.
- Click Stop, located under BlockID service, near the bottom-left of the application, to stop the BlockID Service.
- Click Start to rerun the BlockID service.
- Click the General tab.
If you encounter any issues during installation, please consult the generated log file located at C:/Program Files/1kosmos/BlockID/log/blockId.InstallUtil_log
Automated Installation and Configuration via Batch Script
BlockID Workstation Login for Windows can be installed headless using a batch script and a configuration file containing tenant details from a Powershell terminal. The automated installation and configuration script only be run by a user with Administrator privileges.
The command line flags -i <package name> should be used for installation and -c <config file> for updating the configuration.
Installation and Configuration
To install and configure Windows Workstation simultaneously, run the following command:
BlockIDConfiguration.bat -install <installer_filename> -configure <config_filename> -restart

Example:
BlockIDConfiguration.bat -install BlockID_1.05.00.61B74507.exe -configure CONFIG -restart
For Installation
To install, run the following command:
BlockIDConfiguration.bat -install <installer_filename> -restart

Example:
BlockIDConfiguration.bat -install BlockID_1.05.00.61B74507.exe -restart
For Configuration
To configure, run the following command:
BlockIDConfiguration.bat -configure <config_filename>

Example:
BlockIDConfiguration.bat -c CONFIG -restart
Sample CONFIG File
CONNECTION PROTOCOL=https://
CONNECTION PORT=443
TENANT ID=demo.1kosmos.net
TENANT TAG=1kosmos
COMMUNITY=default
AUTHZ TYPE=fingerprint
REQUEST TIMEOUT=45
CONN TIMEOUT=5
ERROR MSG=Error while receiving a response
PROXY URL=
PROXY USER=
PROXY PWD=
ENABLE OFFLINE OTP=1
ENABLE ONLINE OTP=0
PASSWORD FACTOR=0
HARDWARE OTP=0
TILE IMG=
OTP TILE IMG=
ENABLE MOTD=1
MOTD=BlockID Version: &v
OTP MOTD=Login with OTP
DENY PASSTHROUGH=0
DISABLE PASSWORD PROVIDER=0
ENABLE CAD=0
ENABLE FIDO=0
CONFIG Description Table
The following table outlines the various parameters found in the CONFIG file:
The Keys and Values should not have any leading or trailing whitespaces.
| Configuration | Description | Expected Value | Sample Value |
|---|---|---|---|
| CONNECTION_PROTOCOL | To define whether the connection should be secured or unsecured. | http://, https:// | https:// |
| CONNECTION_PORT | Value of the port on the tenant URL on which the connection would be established. | Default values are 80 for http & 443 for https | 443 |
| TENANT_ID | Contains the Tenant URL to connect to the admin console. | <tenant url> | abcinc.1kosmos.net |
| TENANT_TAG | Contains the Tenant Tag. | <tenant tag> | abcinc |
| COMMUNITY | Contains the community name. | <community name> | default |
| AUTHZ_TYPE | Contains the authentication mode for the mobile device. | Values can be fingerprint, face, or pin | fingerprint |
| REQUEST_TIMEOUT | The duration for which the credential provider will wait for a response from the admin console. The value is in seconds. | Value should ideally be kept in the range of 10 to 240. | 45 |
| CONN_TIMEOUT | The timeout value for the connection to be successfully established. The value is in seconds. | Value should ideally be kept in the range of 2 to 10. | 5 |
| ERROR_MSG | Default error message to be displayed on the lock screen. | <error message> | Error while receiving response |
| PROXY_URL | URL of the proxy. A URL to a direct proxy or a PAC file can be given here. | <proxy url> | http://12.12.12.12:8083/proxy.pac |
| PROXY_USER | Username in case of authenticated proxy. | <proxy user> | proxyuser |
| PROXY_PWD | Password in case of authenticated proxy. | <proxy password> | proxypassword |
| ENABLE_OFFLINE_OTP | Configuration to enable offline authentication through OTP. | "0" or empty value disables the functionality, and any other value enables it. Default is 1 | 1 |
| ENABLE_ONLINE_OTP | Configuration to enable online authentication through OTP. | "0" or empty value disables the functionality, and any other value enables it. The default is 0 | 0 |
| PASSWORD_FACTOR | Configuration to enable online/offline authentication through Password + OTP. | "0" or empty value disables the functionality and any other value enables it. The default is 0 | 0 |
| HARDWARE_OTP | Configuration to enable online authentication through Hardware OTP Token. | "0" or empty value disables the functionality, and any other value enables it. The default is 0 | 0 |
| TILE_IMG | Can be used to change the image on the BlockID tiles at the lock screen. It should contain the path to a bitmap file for a custom tile. Leaving the field empty uses the default BlockID image on the tile lock screen. | Should be left empty if the default image is to be used or the path to a bitmap file | D:\SampleIcon.bmp |
| OTP_TILE_IMG | Can be used to change the image on the BlockID tiles at the OTP lock screen. It should contain the path to a bitmap file for a custom tile. Leaving the field empty uses the default BlockID OTP image on the tile lock screen. | Should be left empty if the default image is to be used or the path to a bitmap file | D:\SampleIcon.bmp |
| ENABLE_MOTD | Configuration to enable MOTD (Message of the Day). Used to enable the user-defined label on the BlockID tile for QR popup. | "0" or empty value disables the functionality, and any other value enables it. Default is 1 | 1 |
| MOTD | MOTD (Message of the Day) string to display on the BlockID tile for QR on the lock screen. Valid substitutions: %m - Machine name, %d - Today's date, %i - IP address, %n - DNS name, %v - BlockID version | <motd> | BlockID Version: %v |
| OTP_MOTD | OTP MOTD (Message of the Day) string to display on the BlockID tile for OTP on the lock screen. Valid substitutions: %m - Machine name, %d - Today's date, %i - IP address, %n - DNS name, %v - BlockID version | <motd> | Login with OTP |
| DENY_PASSTHROUGH | When enabled, this setting does not pass credentials from the local machine to the remote machine when establishing an RDP connection | "0" or empty value disables the functionality and any other value enables it Default is 0 | 0 |
| DISABLE_PASSWORD_PROVIDER | Disables the default Windows username and password authentication and sets the BlockID as default | "0" or empty value disables the functionality and any other value enables it Default is 0 | 0 |
| ENABLE_CAD | Enforces Ctrl+Alt+Del to be used to get to the Windows login screen | "0" or empty value disables the functionality, and any other value enables it Default is 0 | 0 |
| ENABLE_FIDO | Configuration to enable login using FIDO. | "0" or empty value disables the functionality, and any other value enables it. The default is 0 | 0 |
For any ENABLE flag, a "0" or empty value disables the functionality. Any other value enables it.
TILE_IMG and OTP_TILE_IMG should contain a path to a custom image file to be used for BlockID tiles on the Windows lock screen. Keeping this value blank will use the default BlockID icon.
Supported MFAs
Passwordless for Windows supports the following authentication mechanisms:
Online Login via QR Code
After setting up your network for Workstation Login as detailed in the above prerequisites, you are ready to log in using BlockID.
Using this method, you can log into your Windows workstation by scanning a QR code:
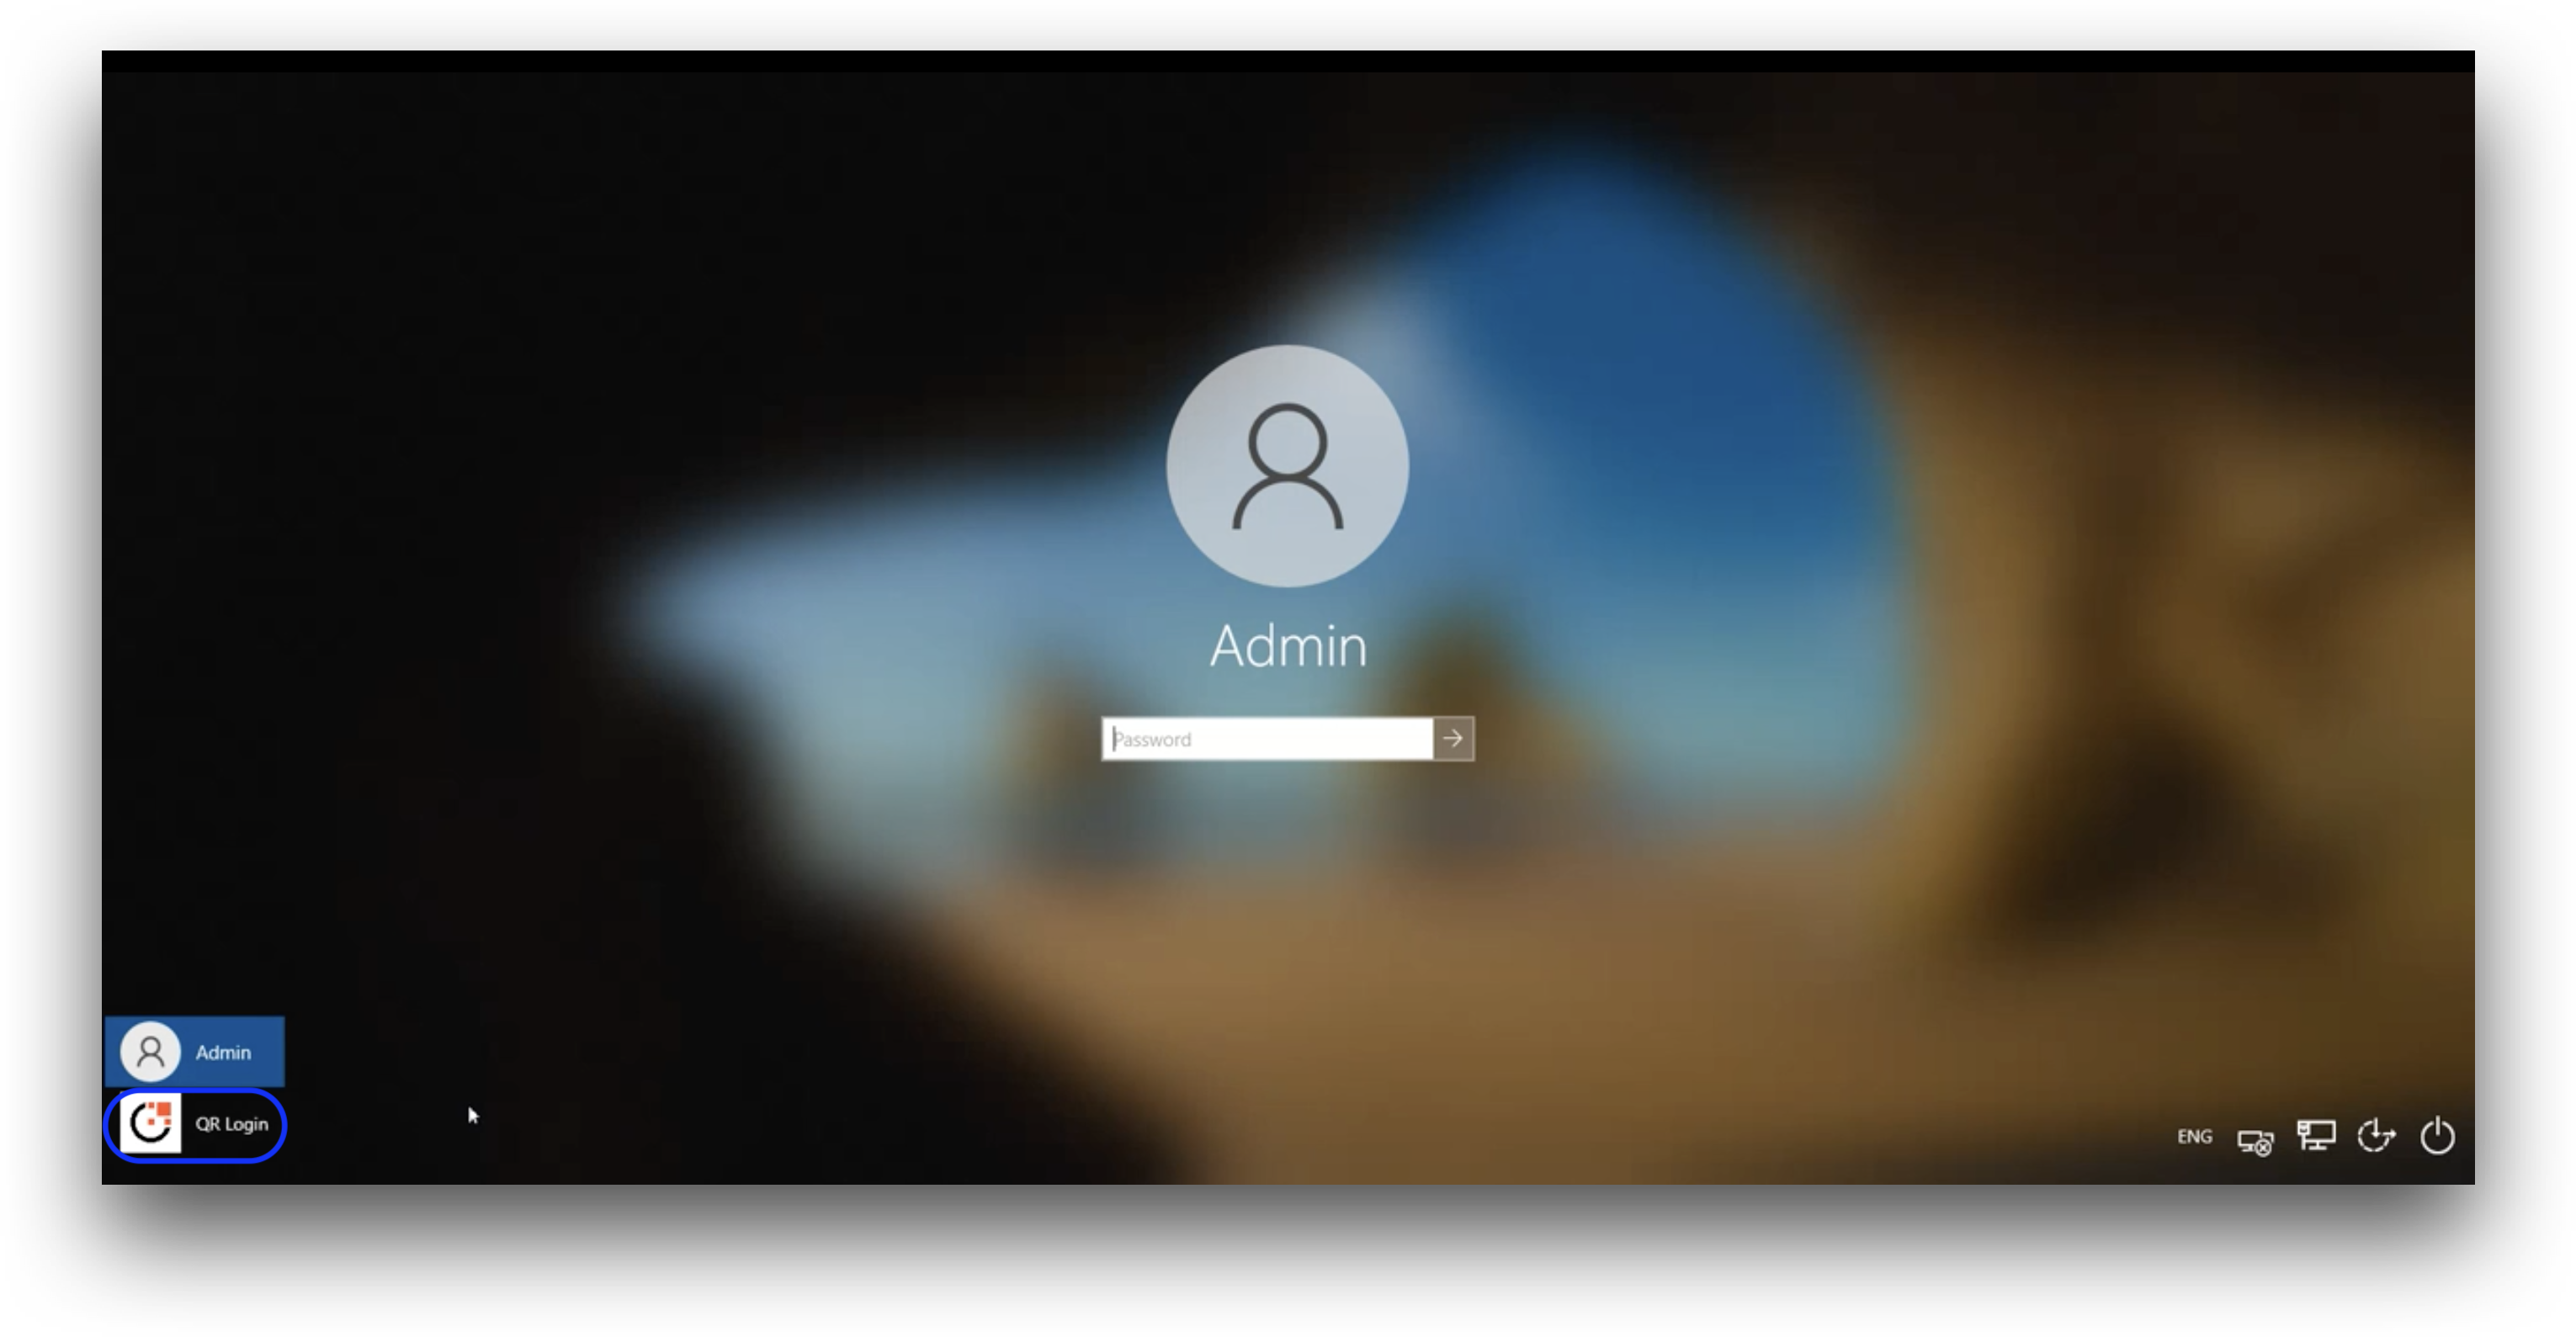
- Click on the QR Login tile on the login screen of the workstation
- Using your mobile device, open the BlockID mobile application and scan the displayed QR code.

- Click the green checkmark on the BlockID mobile application to authenticate your sign-in request.
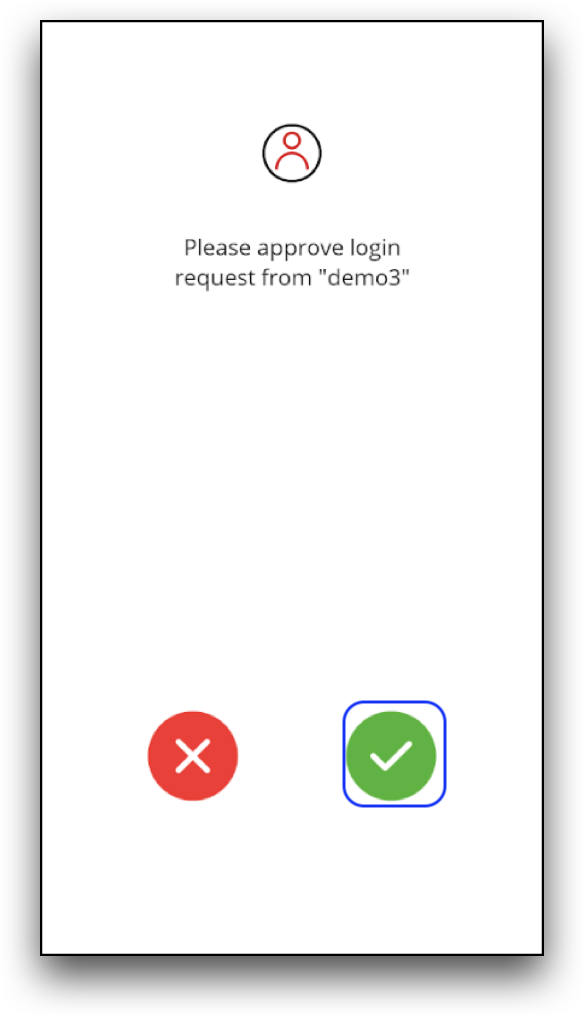
Once the authentication request is approved on the mobile application by clicking the green check mark, you will be logged in.
Online Login via Push Notification
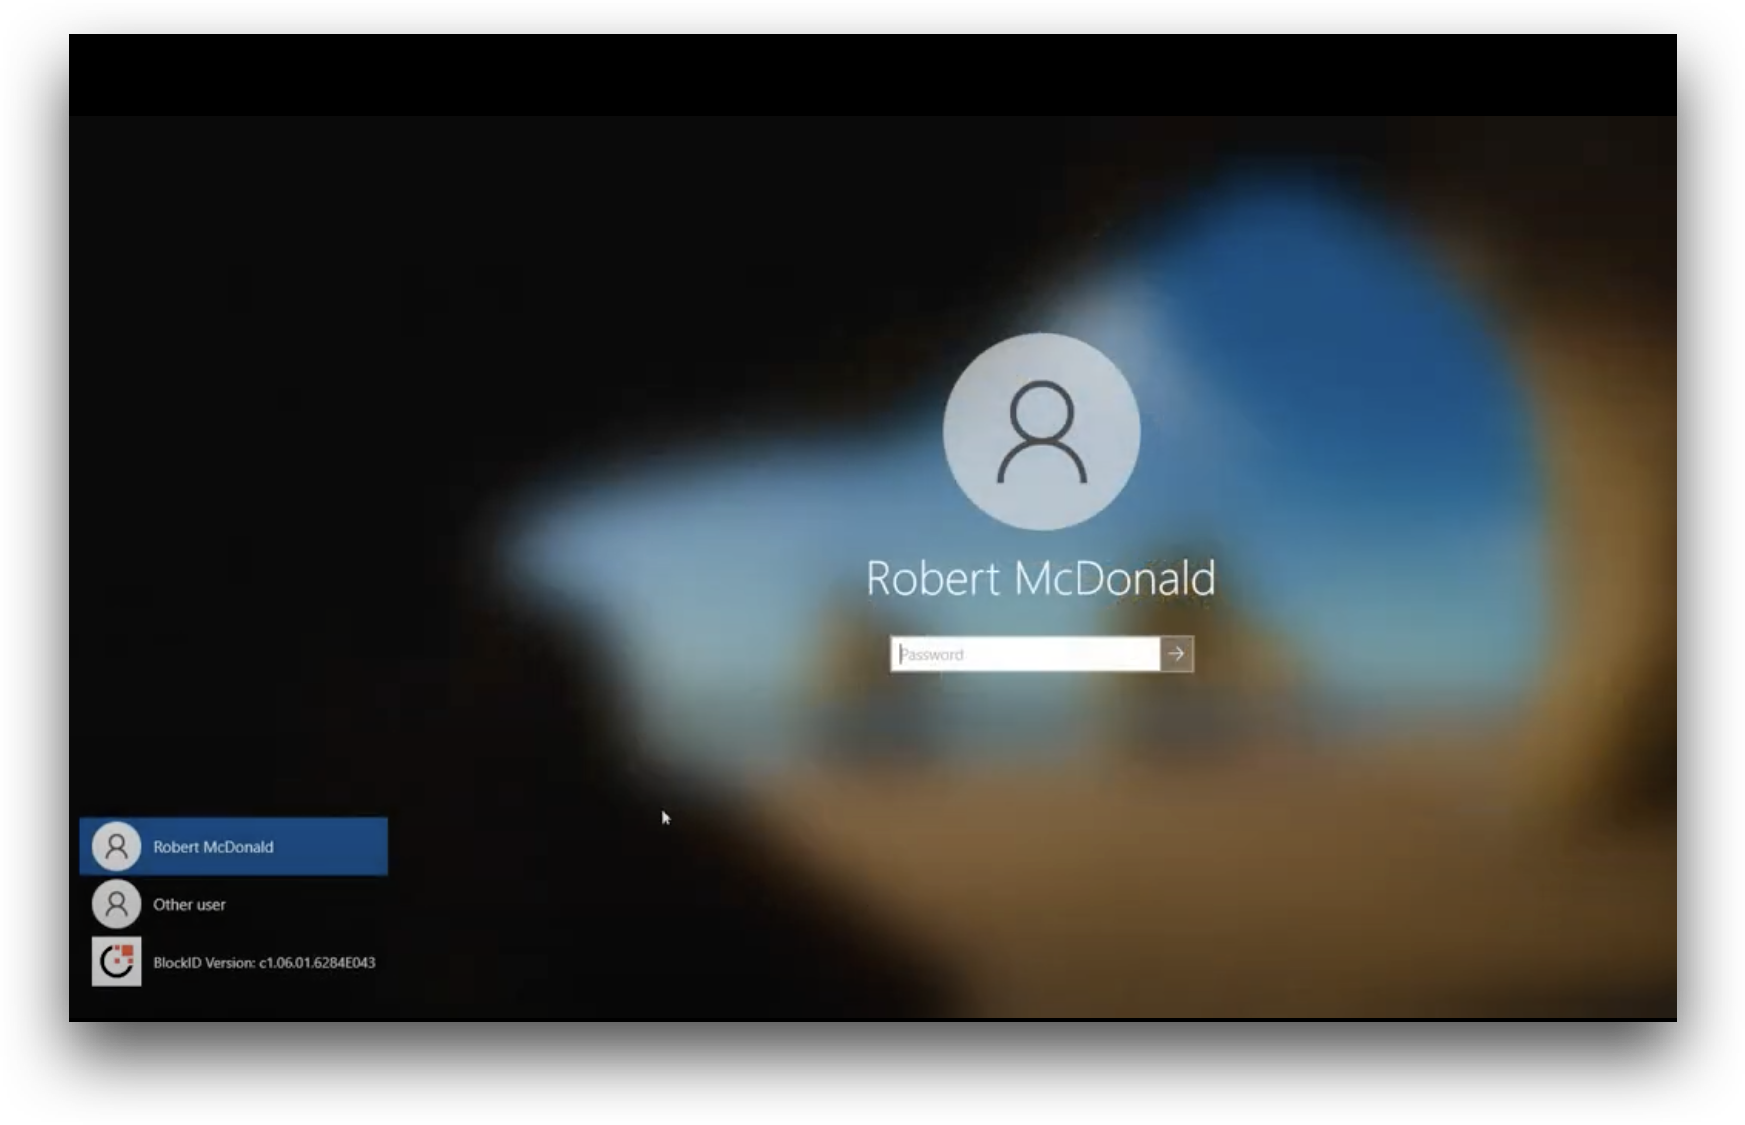
Once the workstation is locked, users will see a tile labeled with their BlockID username. If multiple users are in session, users will see multiple tiles on the login screen.
- Click on your BlockID user from the available tiles.
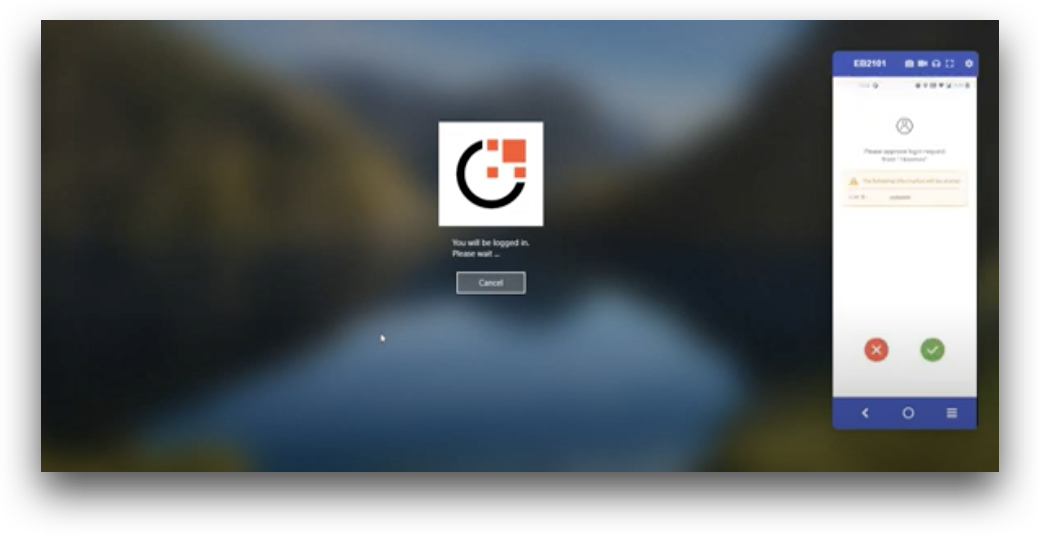
- Next, you should receive a push request from the BlockID mobile application on your phone. Open it, and authenticate the login request by clicking the green check mark.
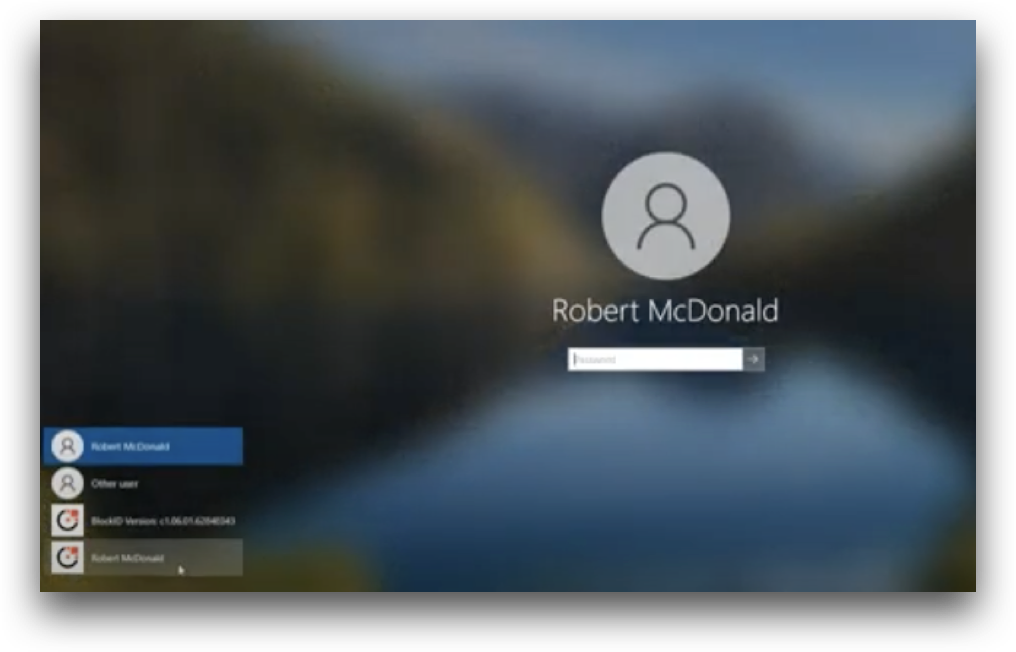
Once the login request has been authenticated, the login process is complete, and you will be immediately logged in to your workstation.
Online Login via Username, Password, and OTP
Users can choose to log in via a username and password, along with the time-based one-time passcode (OTP) displayed on the BlockID mobile application:
-
Select Login with OTP on your workstation.
-
Enter your username and password.
-
Next, open your BlockID mobile app and swipe left to display your six-digit OTP. Enter this OTP on your workstation below your username and password, as shown below, to finish logging in to your account.
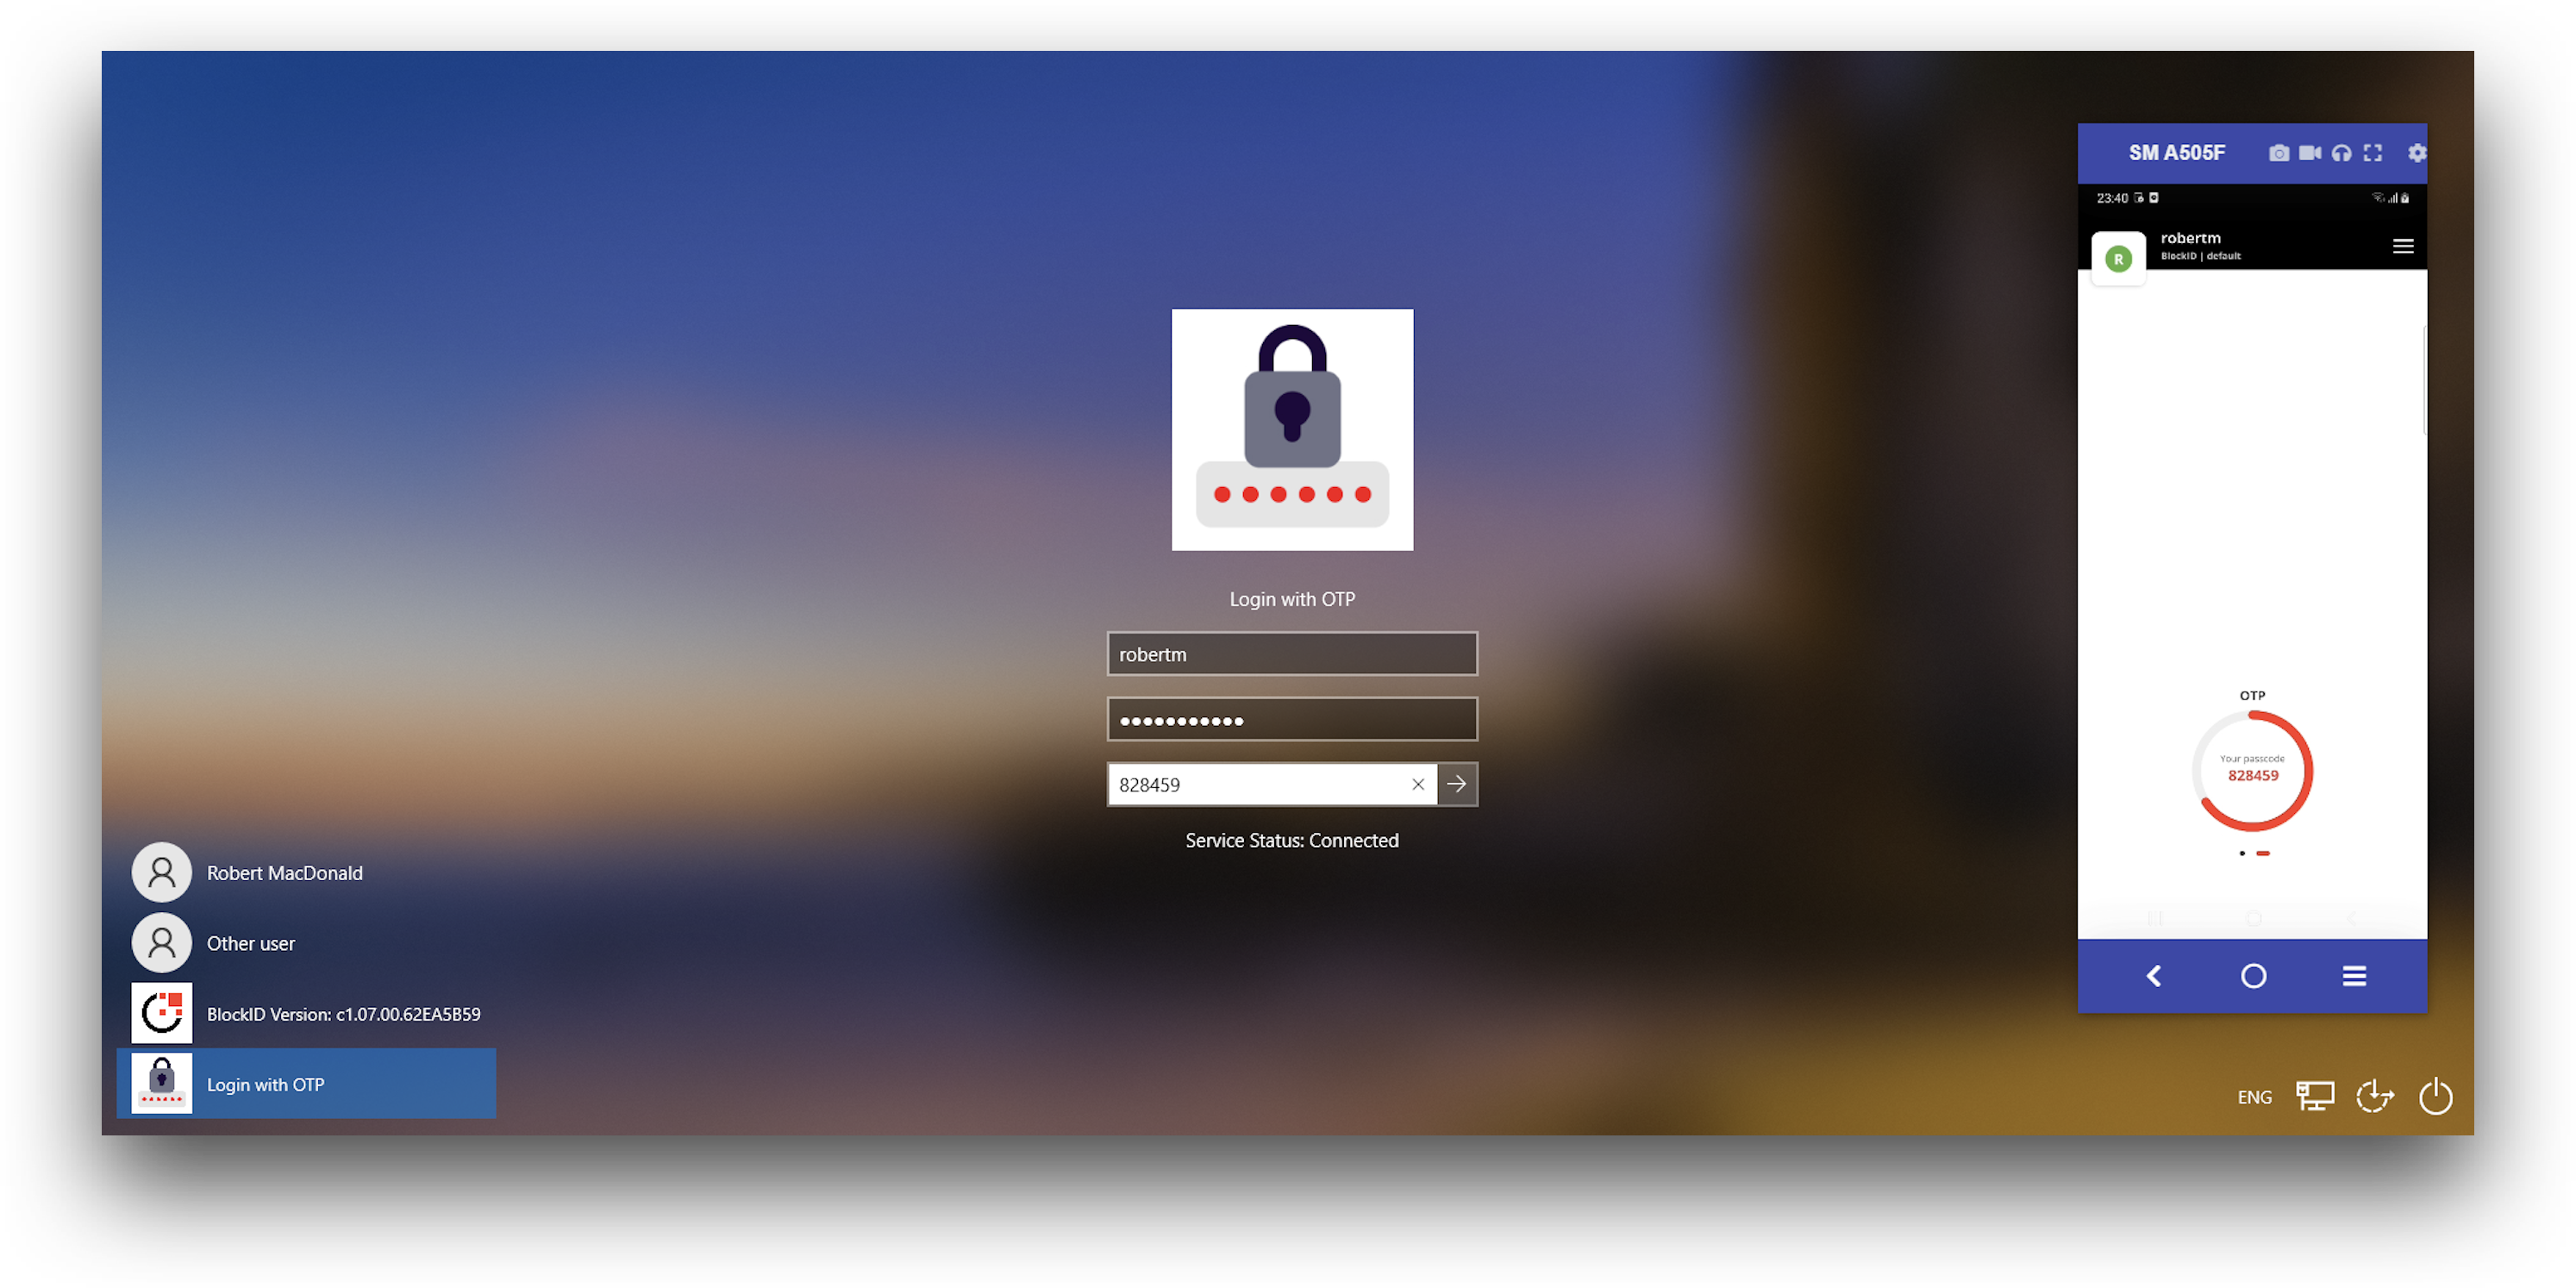
Your OTP code will expire and refresh every 30 seconds. You will want to ensure that you enter your OTP quickly so that it does not expire while you are attempting to logon
Online Login via Username, Password, and Hardware OTP
Users can enable hardware OTP support in the BlockID Configuration application. If your organization uses a hardware device such as a OneSpan to generate OTP codes, you should enable this feature in the BlockID Configuration software:
- Launch the BlockID Configuration App on your Windows workstation.
- Click the Advanced tab, and check Use Hardware OTP.
- Click Save & Close to save the changes.
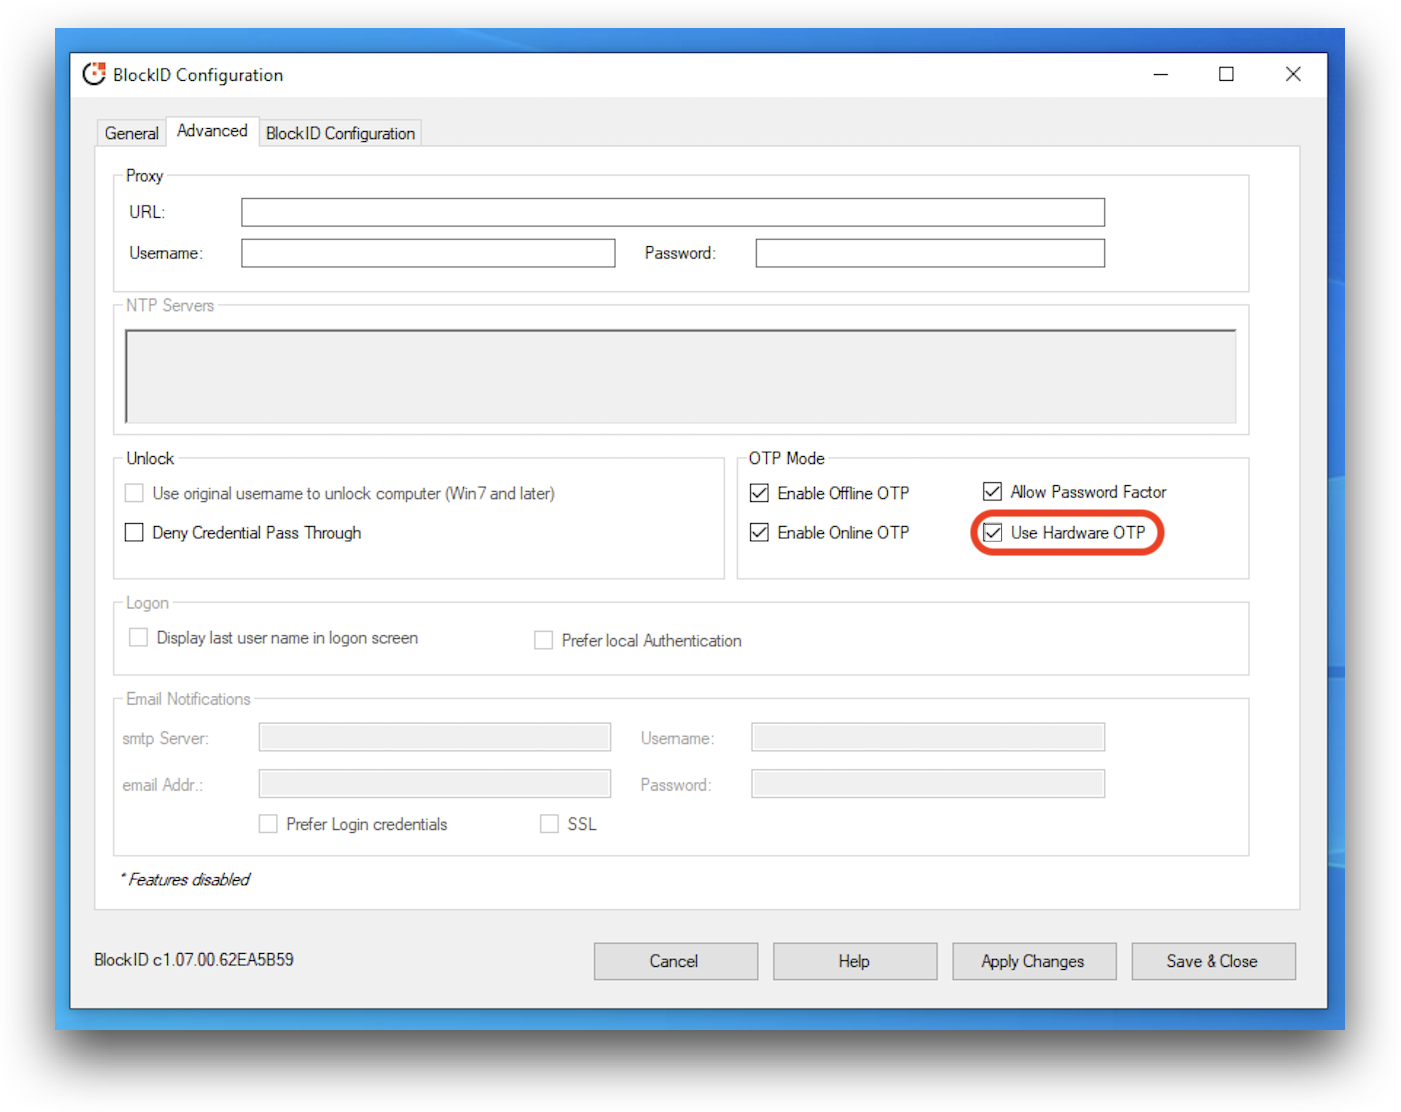
Once enabled, this feature will be available on any future sign-ins.
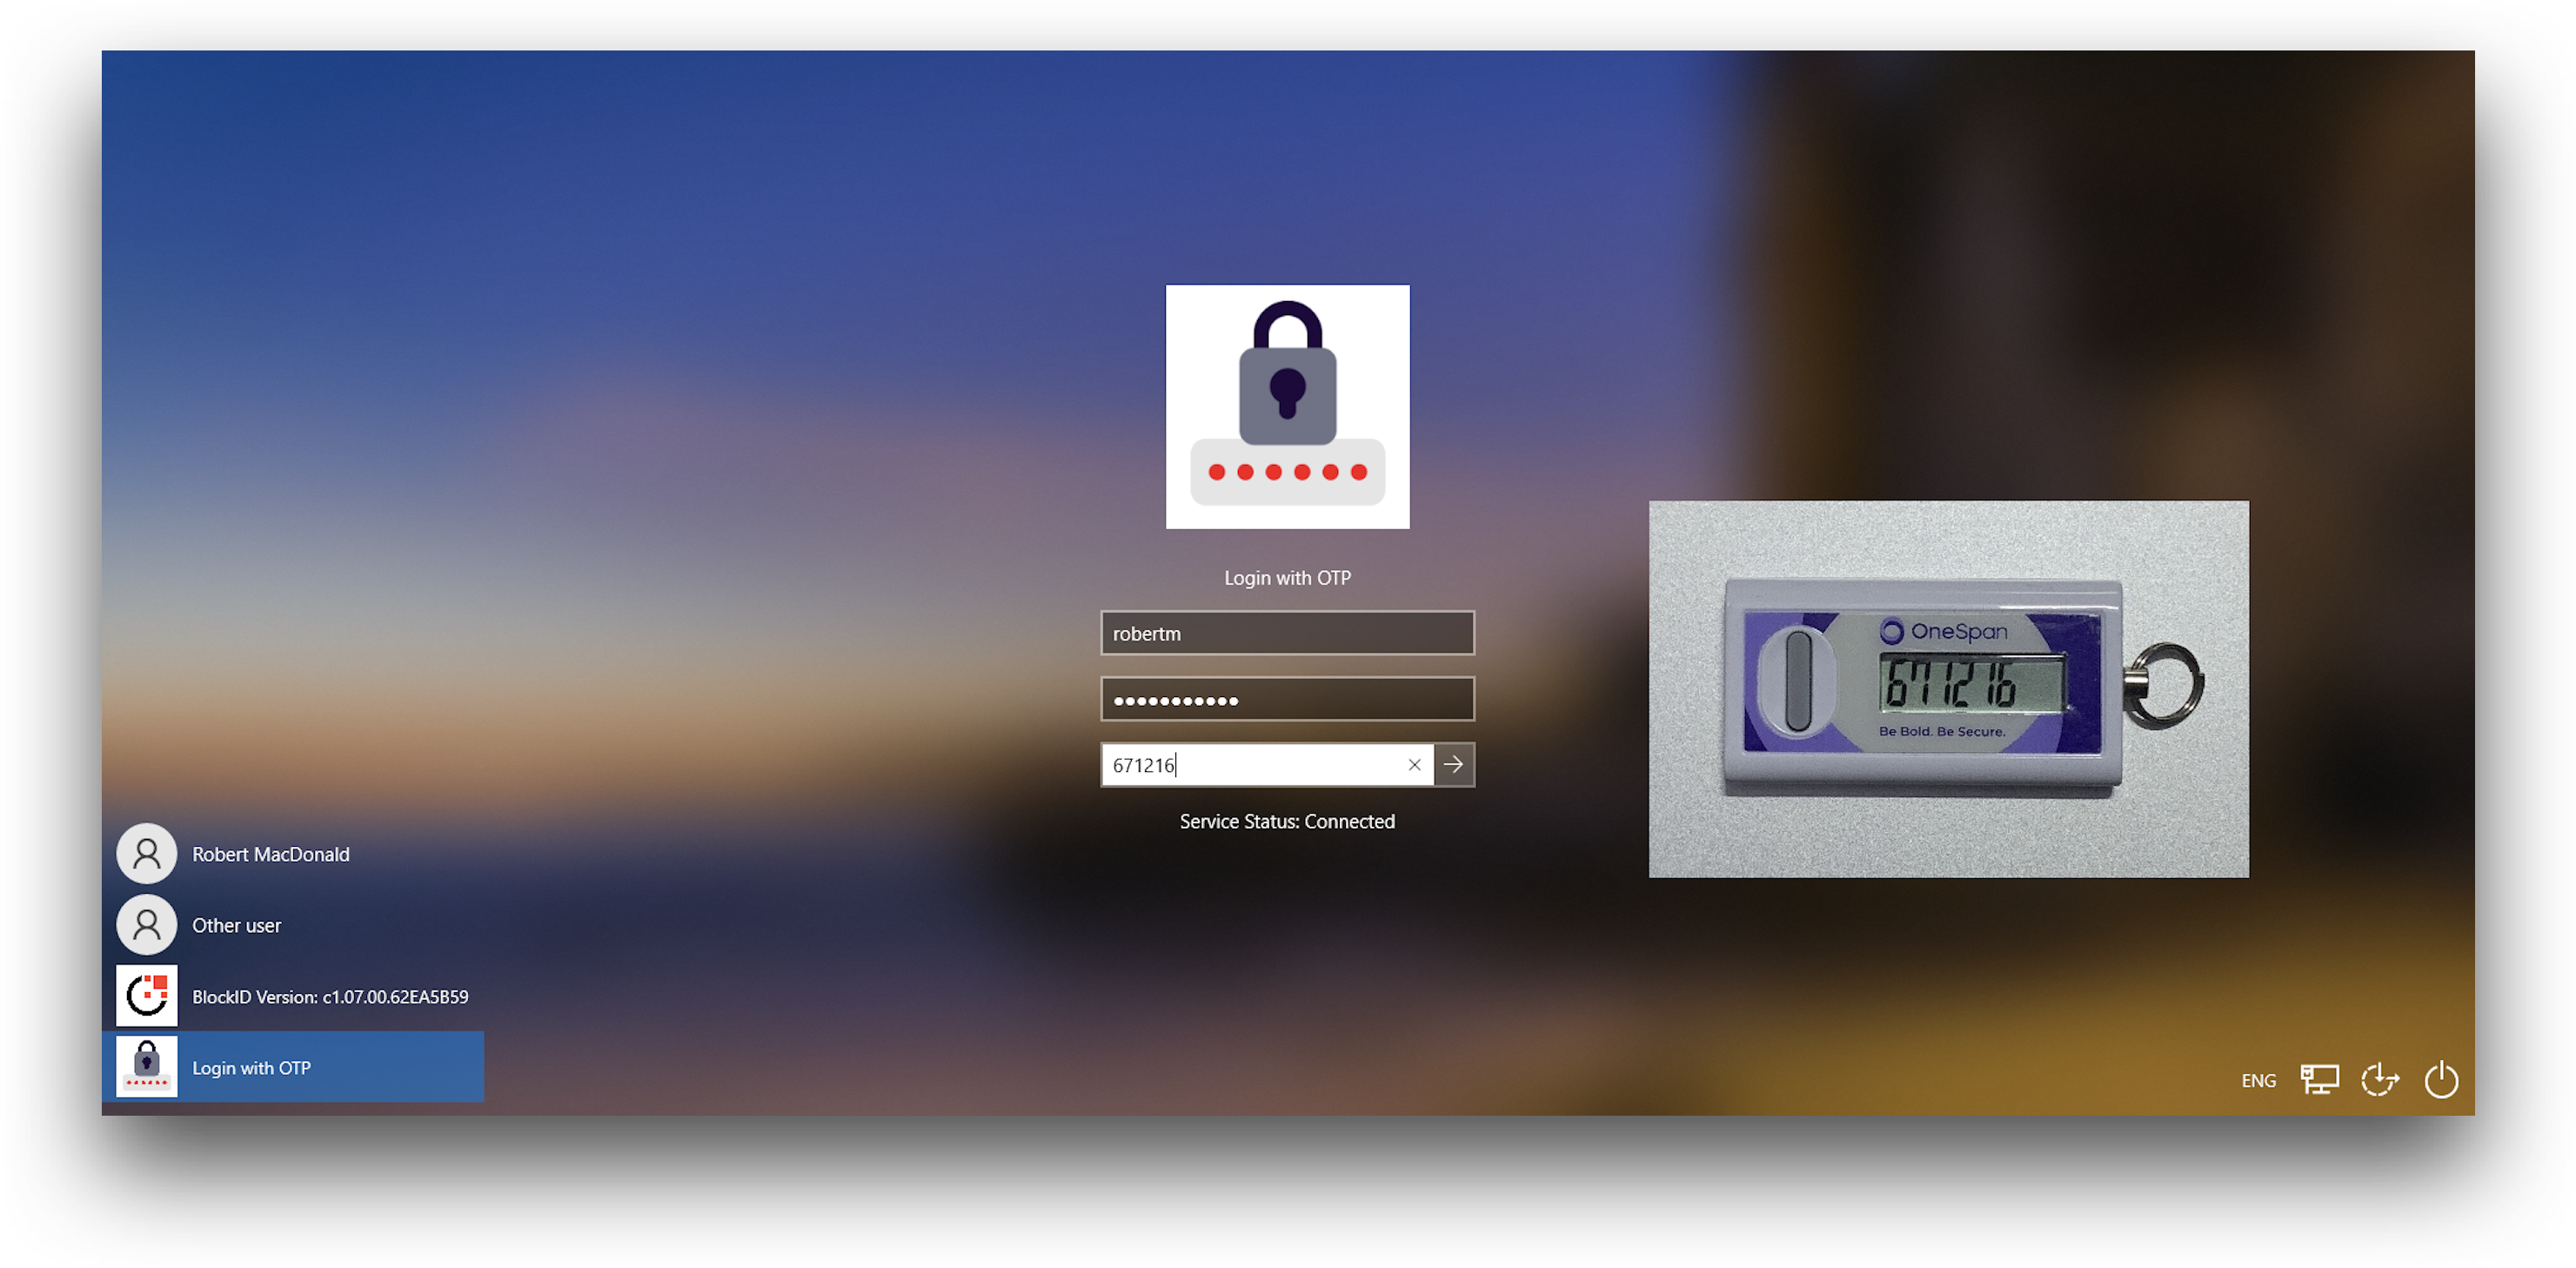
-
On your workstation, select Login with OTP.
-
Enter your username and password.
-
Enter the six-digit OTP that is displayed on your hardware device. Enter this OTP on your workstation below your username and password as shown to finish logging in to your account.
Offline Login via Workstation OTP
The BlockID credential provider installed on the Windows workstation can automatically detect if your workstation is offline and prompt for an Offline OTP. Offline OTP codes are available on the BlockID mobile app and rotate every 30 seconds. Entering the Offline code will unlock the workstation.
When Offline Login is enabled, you can authenticate to your workstation even when not connected to the internet. The workstation will detect when you are offline and present the option to log in with an offline OTP from the workstation login screen.
-
When you are offline, select log in with OTP and enter your BlockID Username.
-
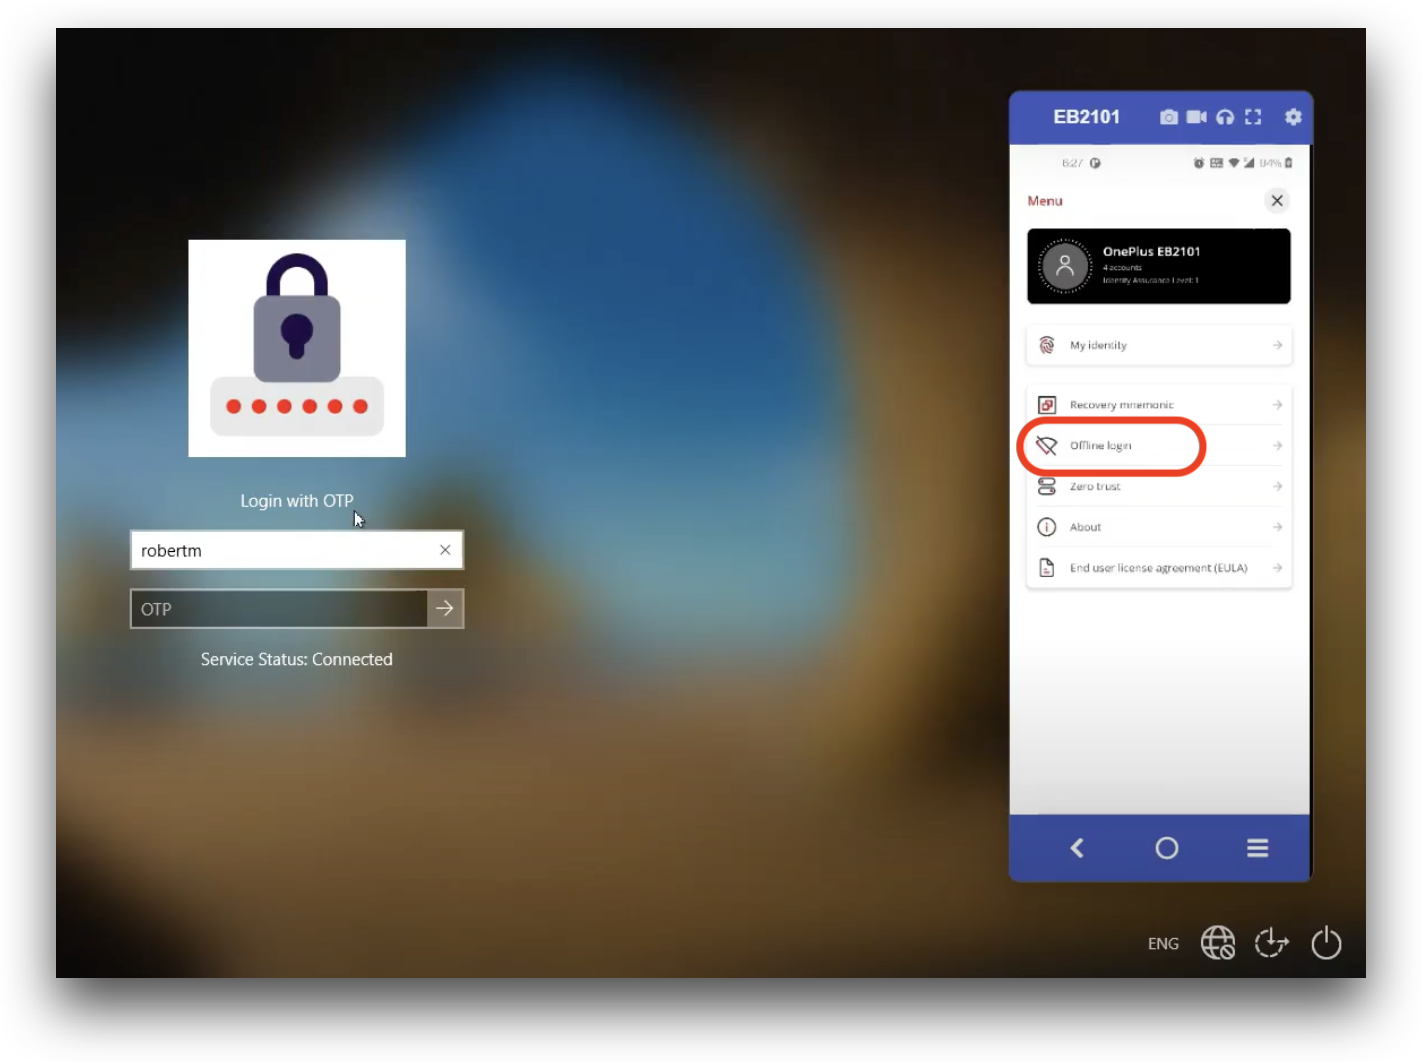
On your phone, open the BlockID Mobile App and click the three-bar hamburger menu to access the Menu.
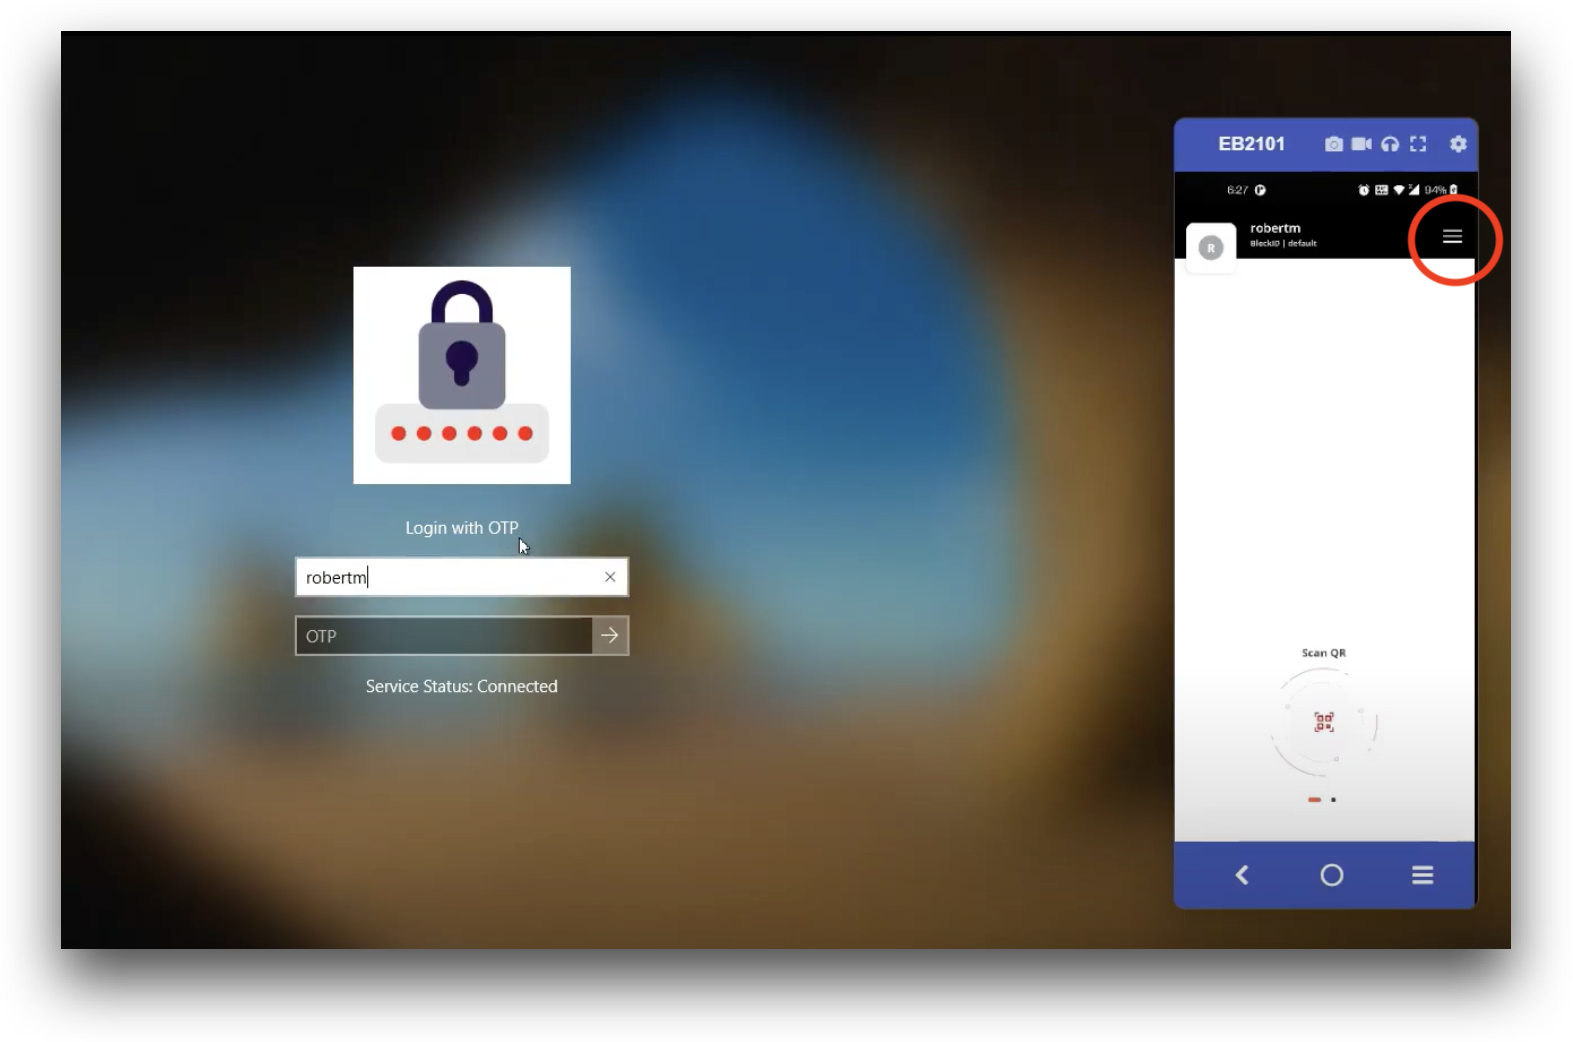
- From the menu, select Offline Login
- Enter the six-digit OTP code from your phone on your workstation and click the arrow to complete the login
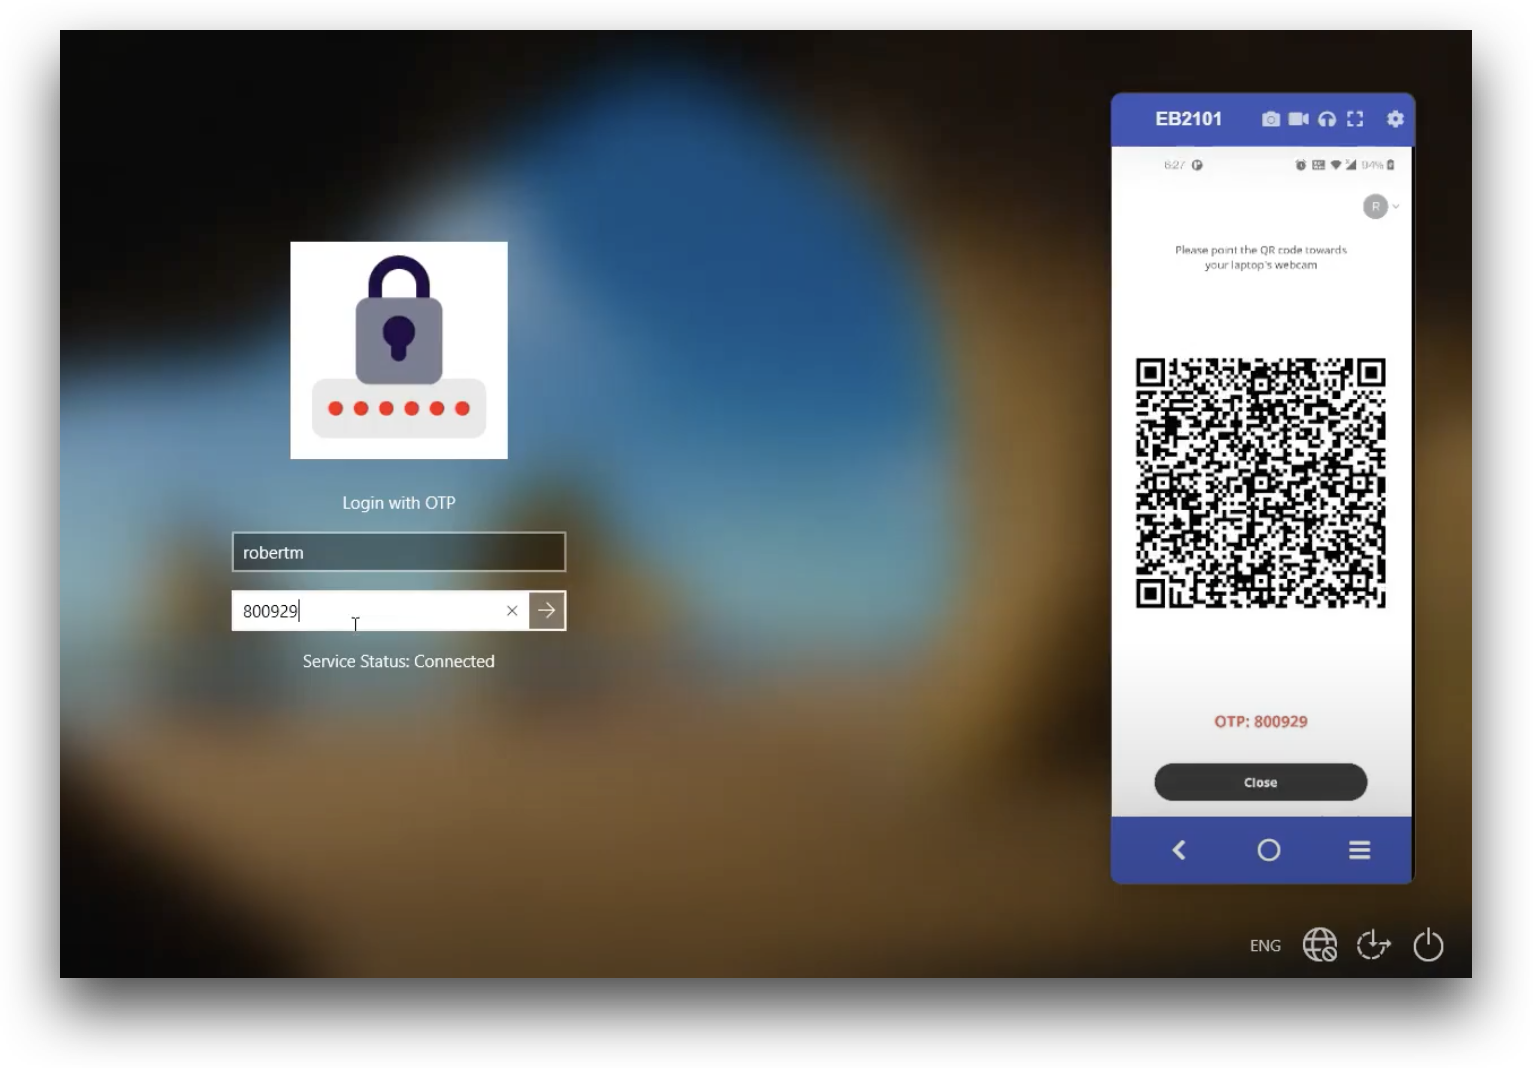
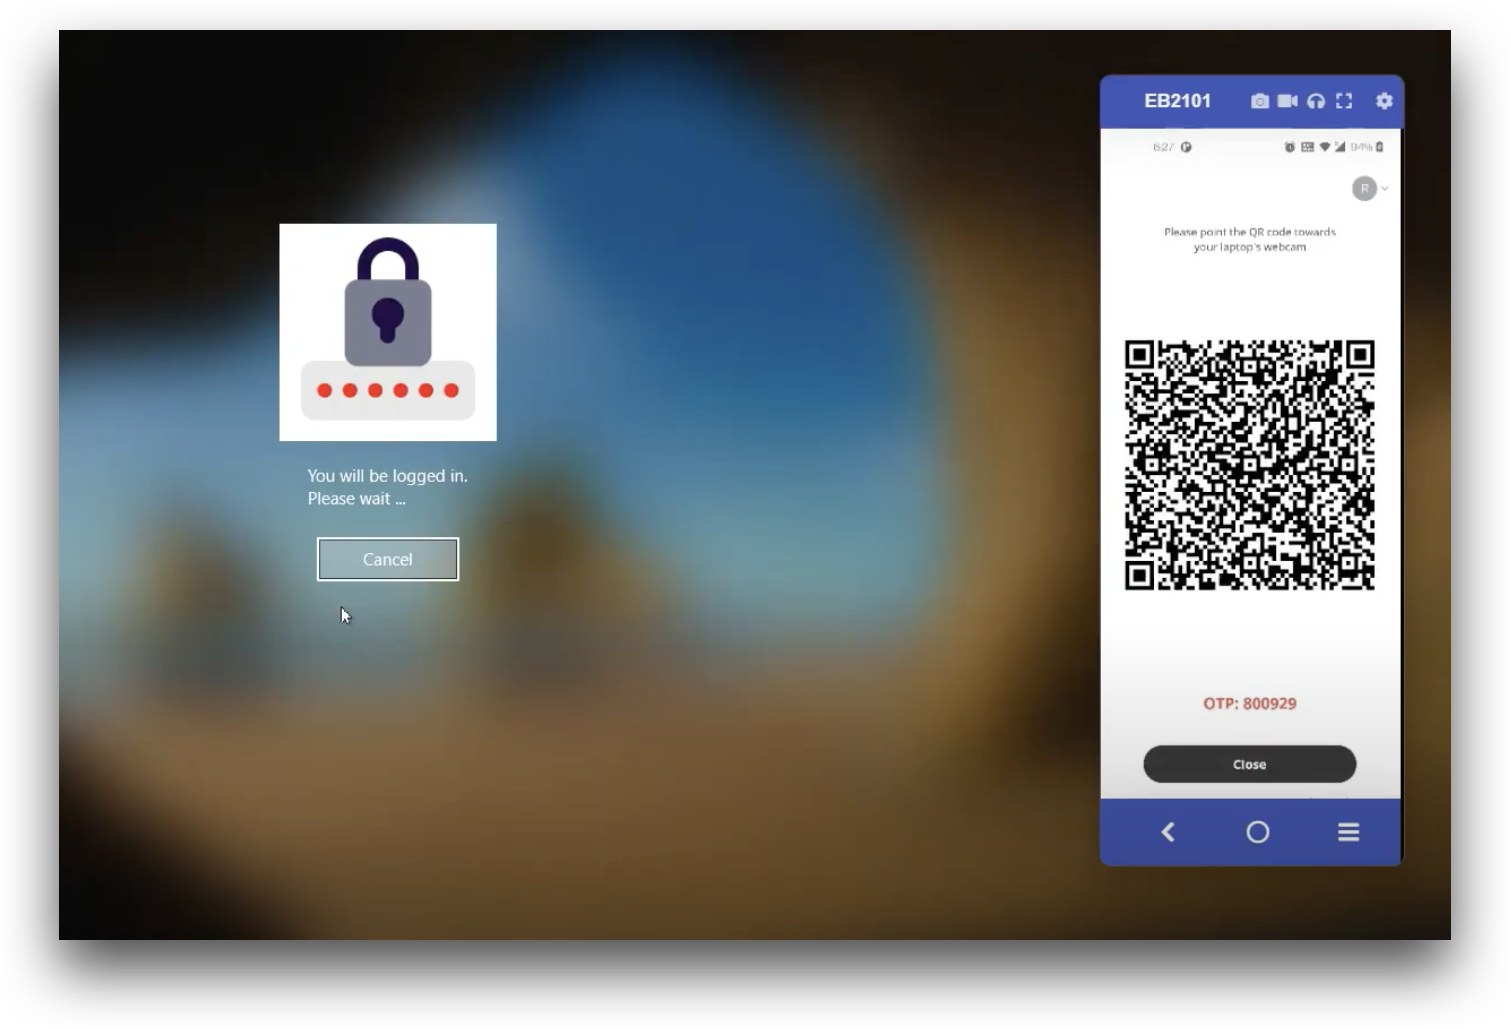
Once the OTP code has been accepted, you will be immediately logged into your workstation.
Disabling Offline Login
Offline Login is enabled by default. If you wish to disable offline login, follow the following steps:
- Launch the BlockID Configuration App on your Windows workstation.
- Click the Advanced tab, and uncheck Enable Offline OTP.
- Click Save & Close to save the changes.
