General Settings
Overview
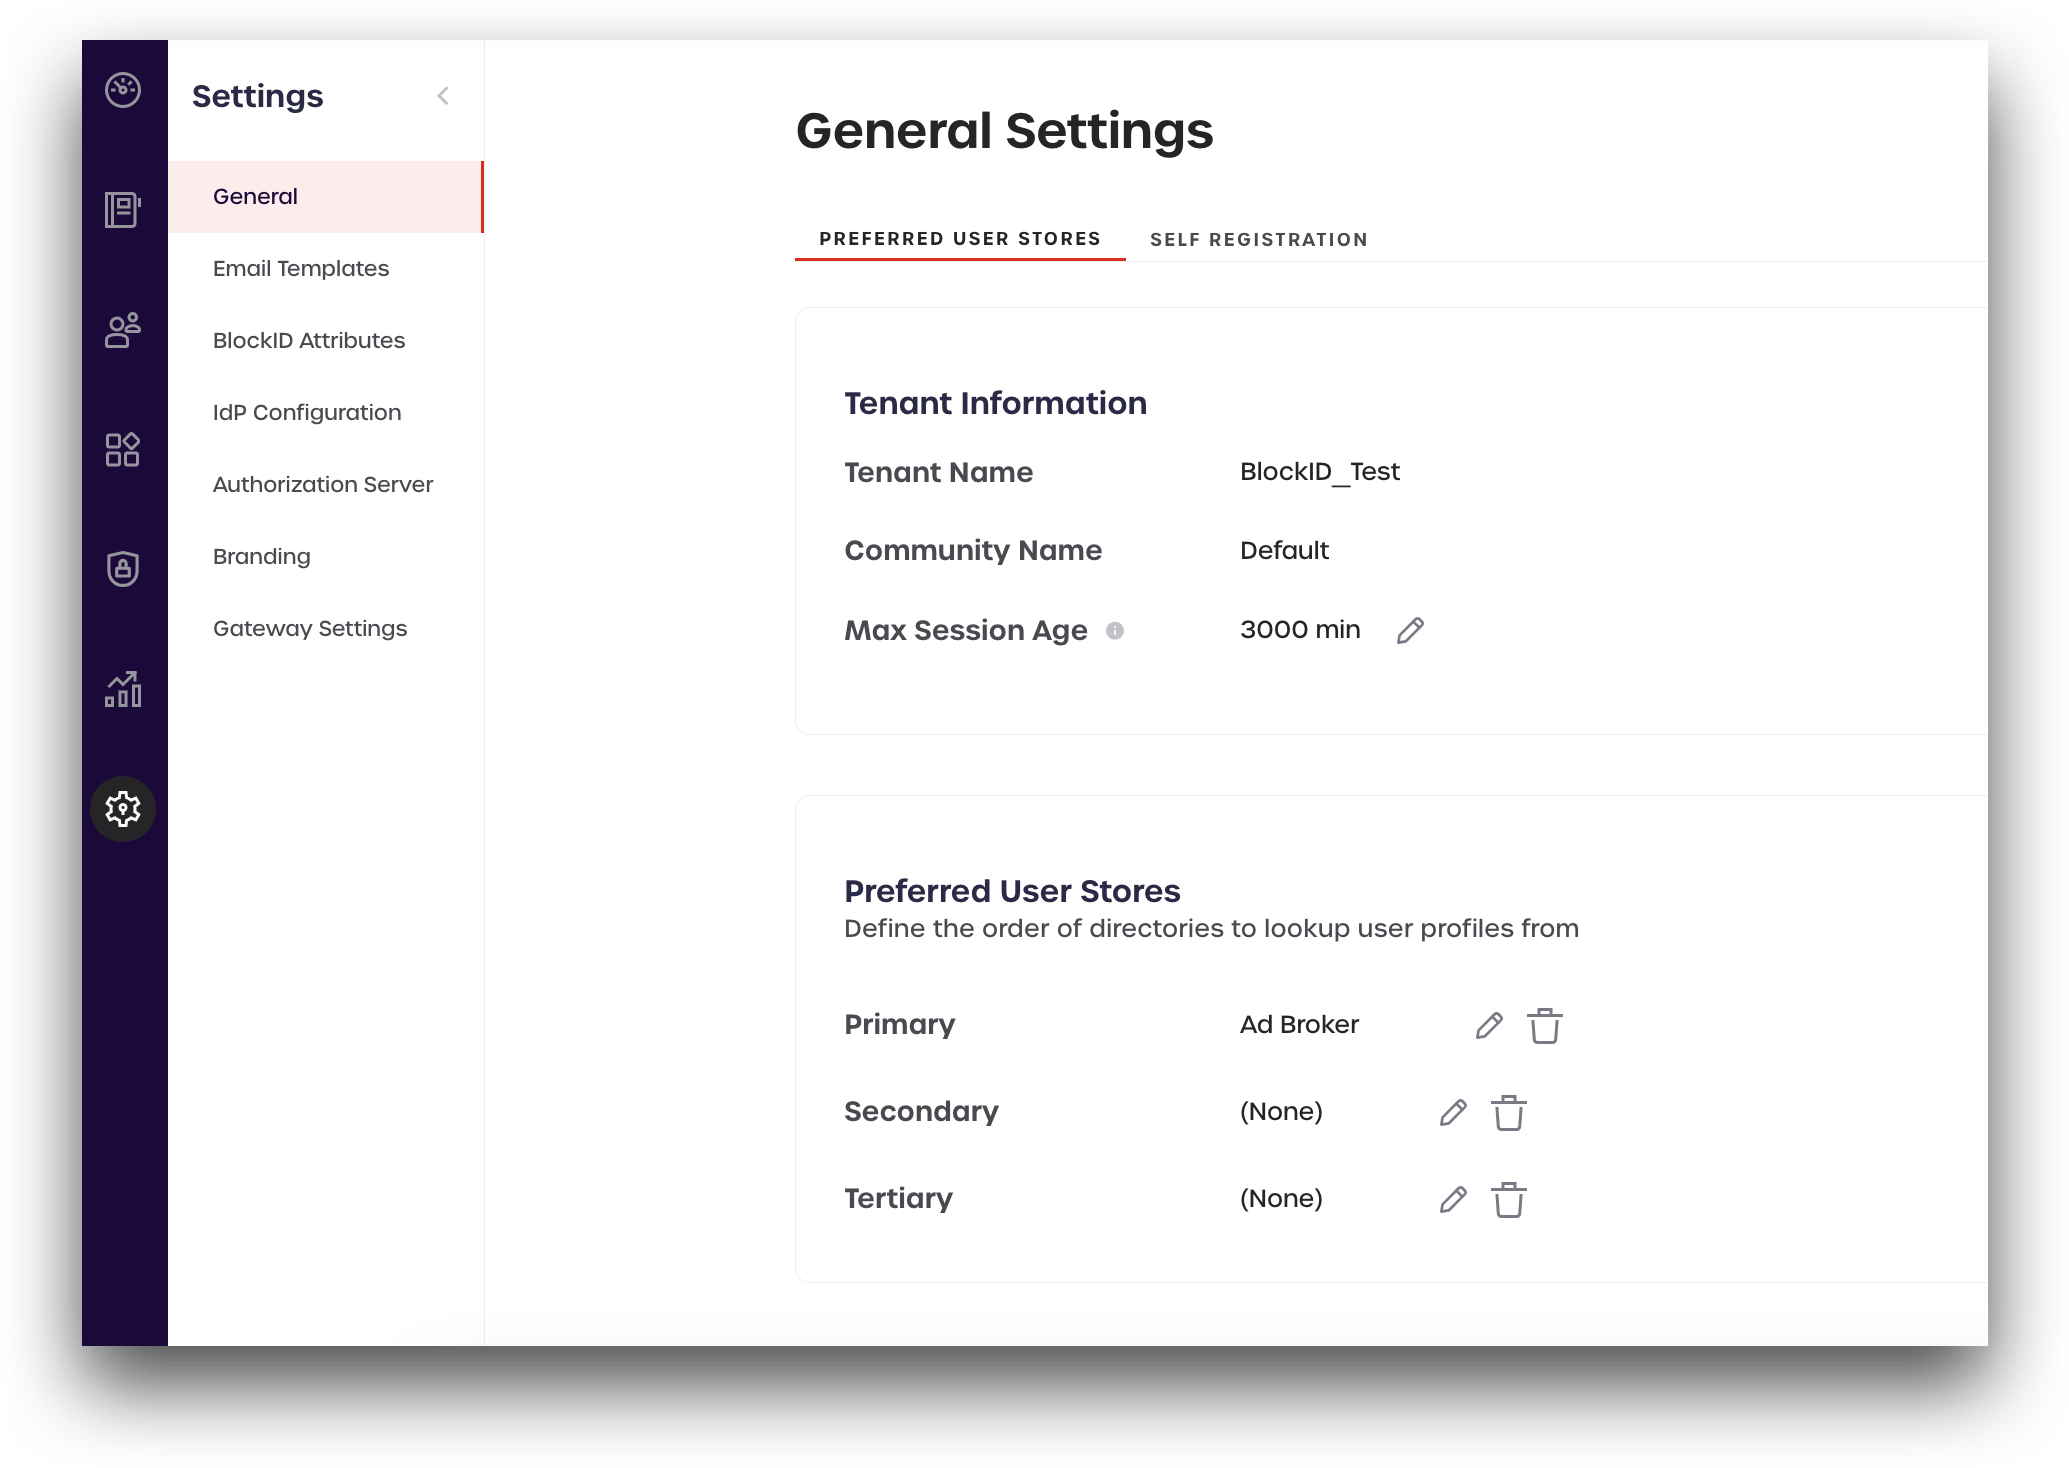
The General Settings page enables tenant and community administrators to view and configure basic settings for their tenants. It displays essential tenant details, such as the tenant name and community name. Administrators can specify the duration for which AdminX user sessions remain active before users are logged out and redirected to the sign-in page.
This page contains two tabs:
-
PREFERRED USER STORES - Administrators can use the user store to search the source of the registered user. You can select up to three user stores (directories). When a user attempts to log in by entering their username or scanning a QR code, the user management system will first search for the user in the database, then proceed to the first preferred store, followed by the second, and finally the third preferred store. If you have integrated Active Directory (AD) into the directories but have not set it as a preferred user store, users from that directory will not be able to log in.
-
SELF REGISTRATION - To allow users to self-register for a tenant, administrators must enable the Self register users option.
To access the General Settings page, follow these steps:
- Log in to a tenant as a community administrator.
- Navigate to Settings > General. The General Settings page is displayed.
Managing Preferred User Stores
Setting a preferred user store enables tenant and community administrators to designate a primary user directory for their tenant. User profiles will be searched first in the primary user store, then in the secondary and tertiary stores. New user registrations will be added to the database. For more information on configuring user directories, see the following topics:
User directories need to be created and configured before setting your preferred user stores. For instructions on how to connect a user directory to your tenant, refer to the links above.
Setting Preferred User Stores
To set a preferred user store for your tenant, follow these steps:
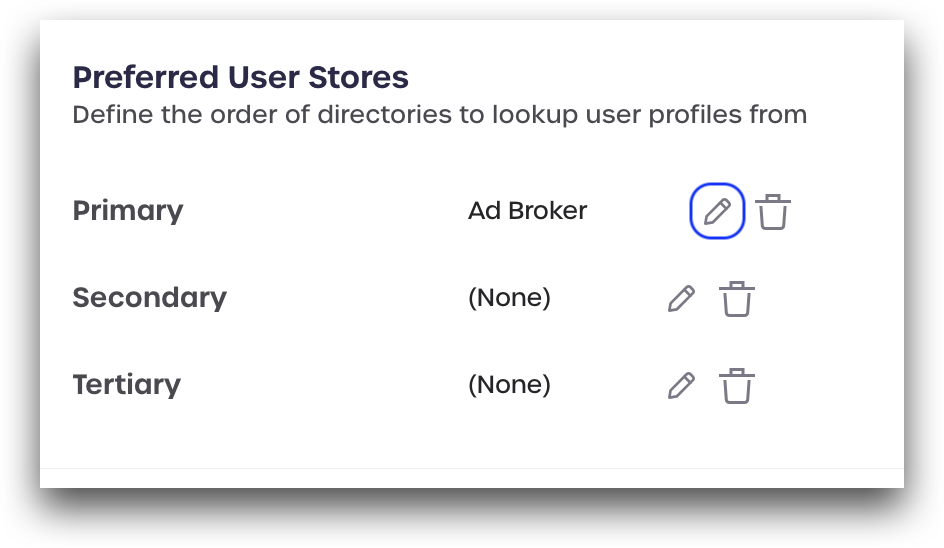
- In the Preferred User Stores section, click the pencil icon in line with the Primary row.
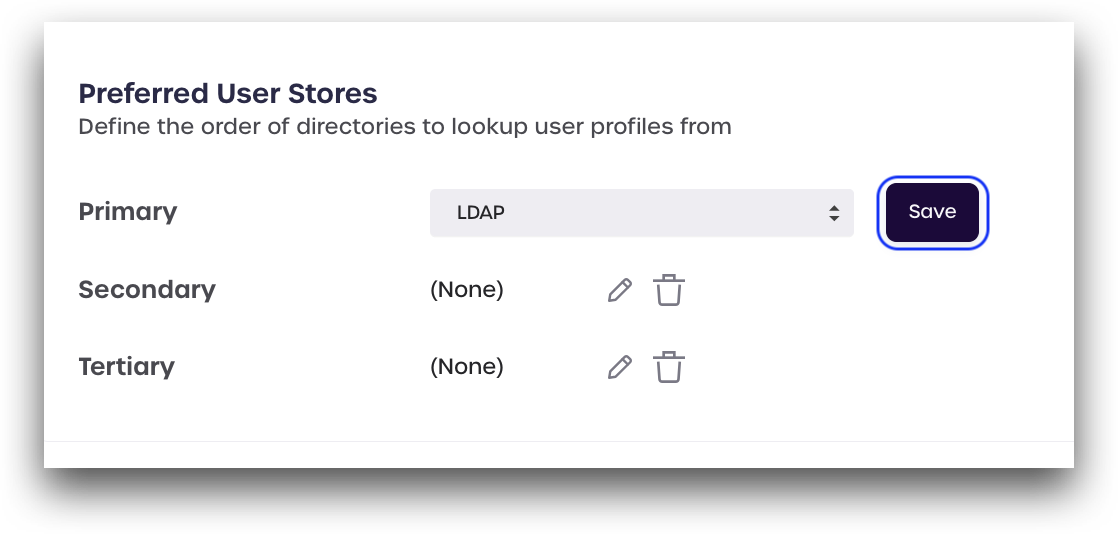
- Select a user directory from the drop-down menu and click save. The list of user directories is populated from directories linked to your tenant.
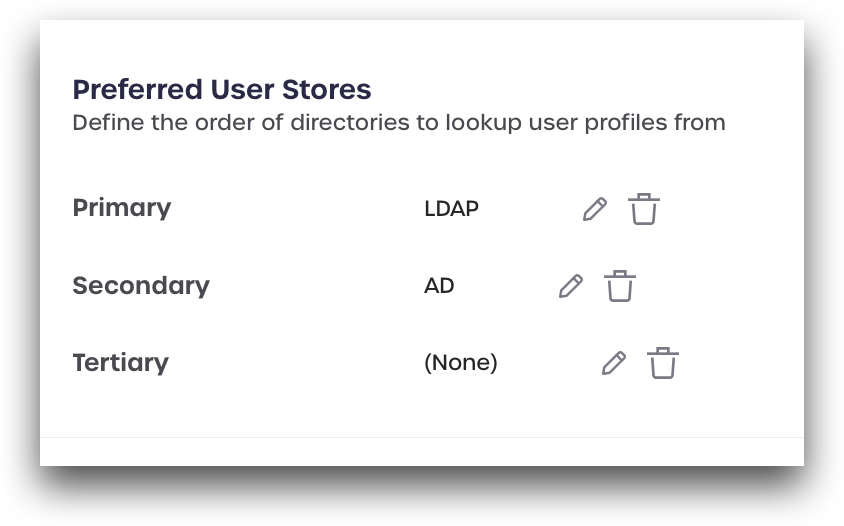
- Repeat step-1 and step-2 if you want to configure your secondary and tertiary preferred user stores, if required.
Removing Preferred User Stores
To remove a preferred user store, follow these steps:
-
Identify the user store you wish to remove.
-
Click the trash icon in line with that corresponding user store row.
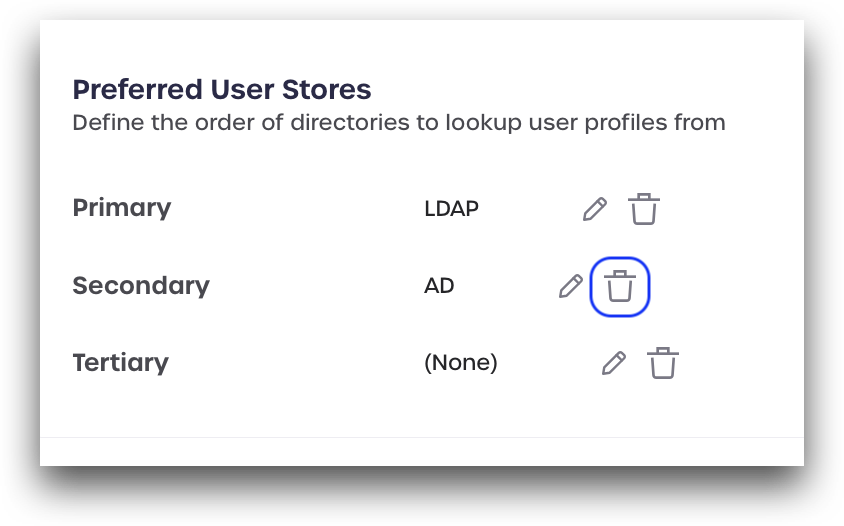
- Click continue.
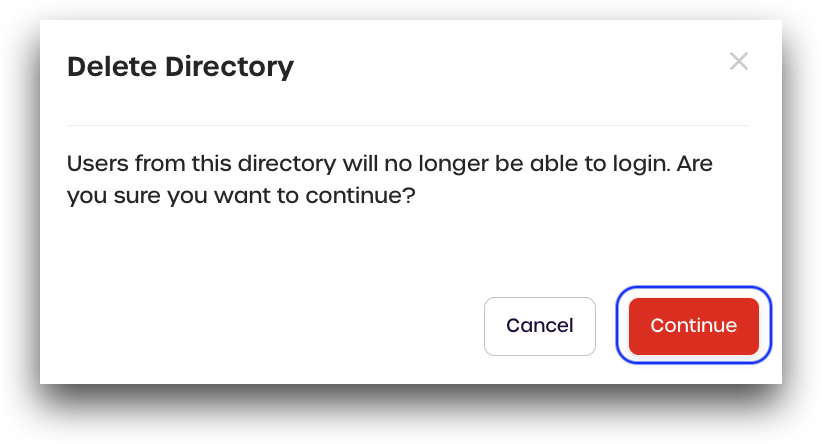
User accounts from the removed user store will no longer have access to log in.
Managing Tenant Information
This section allows administrators to view the tenant and community information and also allows to set the maximum session duration for their tenant.
Max Session Age
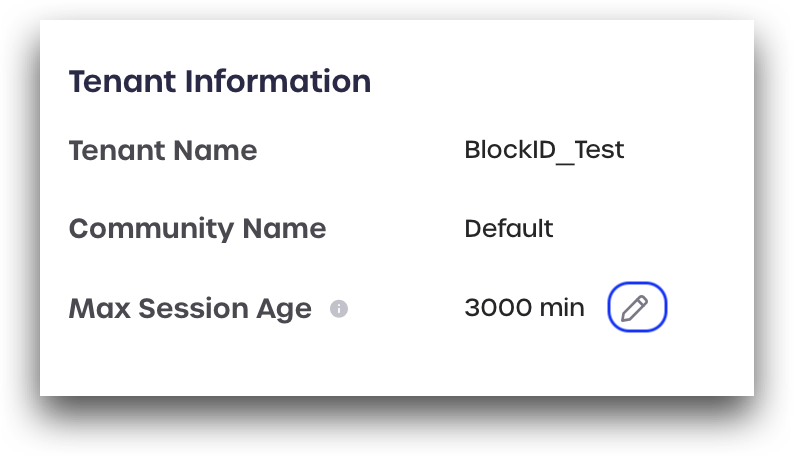
The maximum session age determines how long a session remains active on your tenant before users are automatically logged out and redirected to the sign-in page. To modify the current maximum session age for your tenant, follow these steps:
- In the Max Session Age field, click the pencil icon on the right of the listed minutes.
- Specify a new maximum session age in minutes.
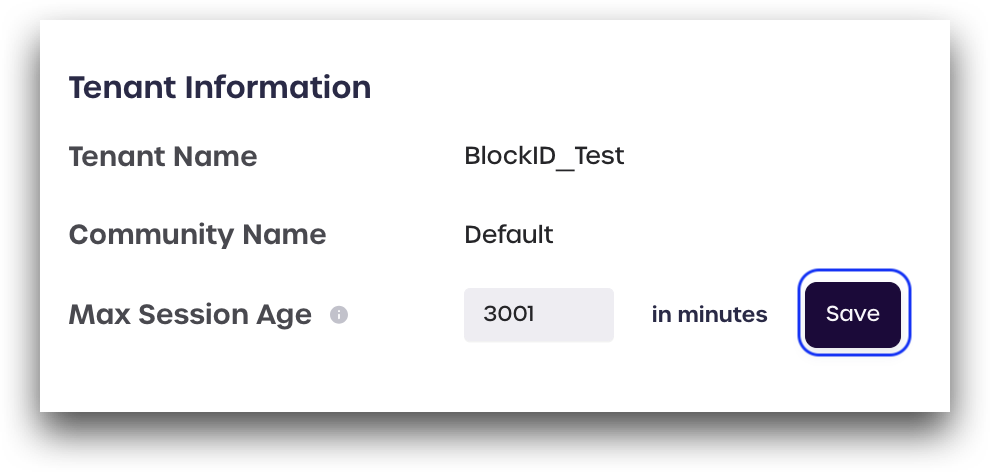
- Click Save.
Self-Registration
When the Self register users option is enabled, users are allowed to create a new account and onboard themselves to the AdminX interface from the sign-in page. Depending on your organization's security policies, this ability may or may not be desirable. Administrators can enable or disable this feature from the General Settings > Self Registration page.
To access the Self-Registration page, follow these steps:
- Log in to a tenant as a community administrator.
- Navigate to Settings > General.
- In the General Settings page that is displayed, click the Self-Registration tab.
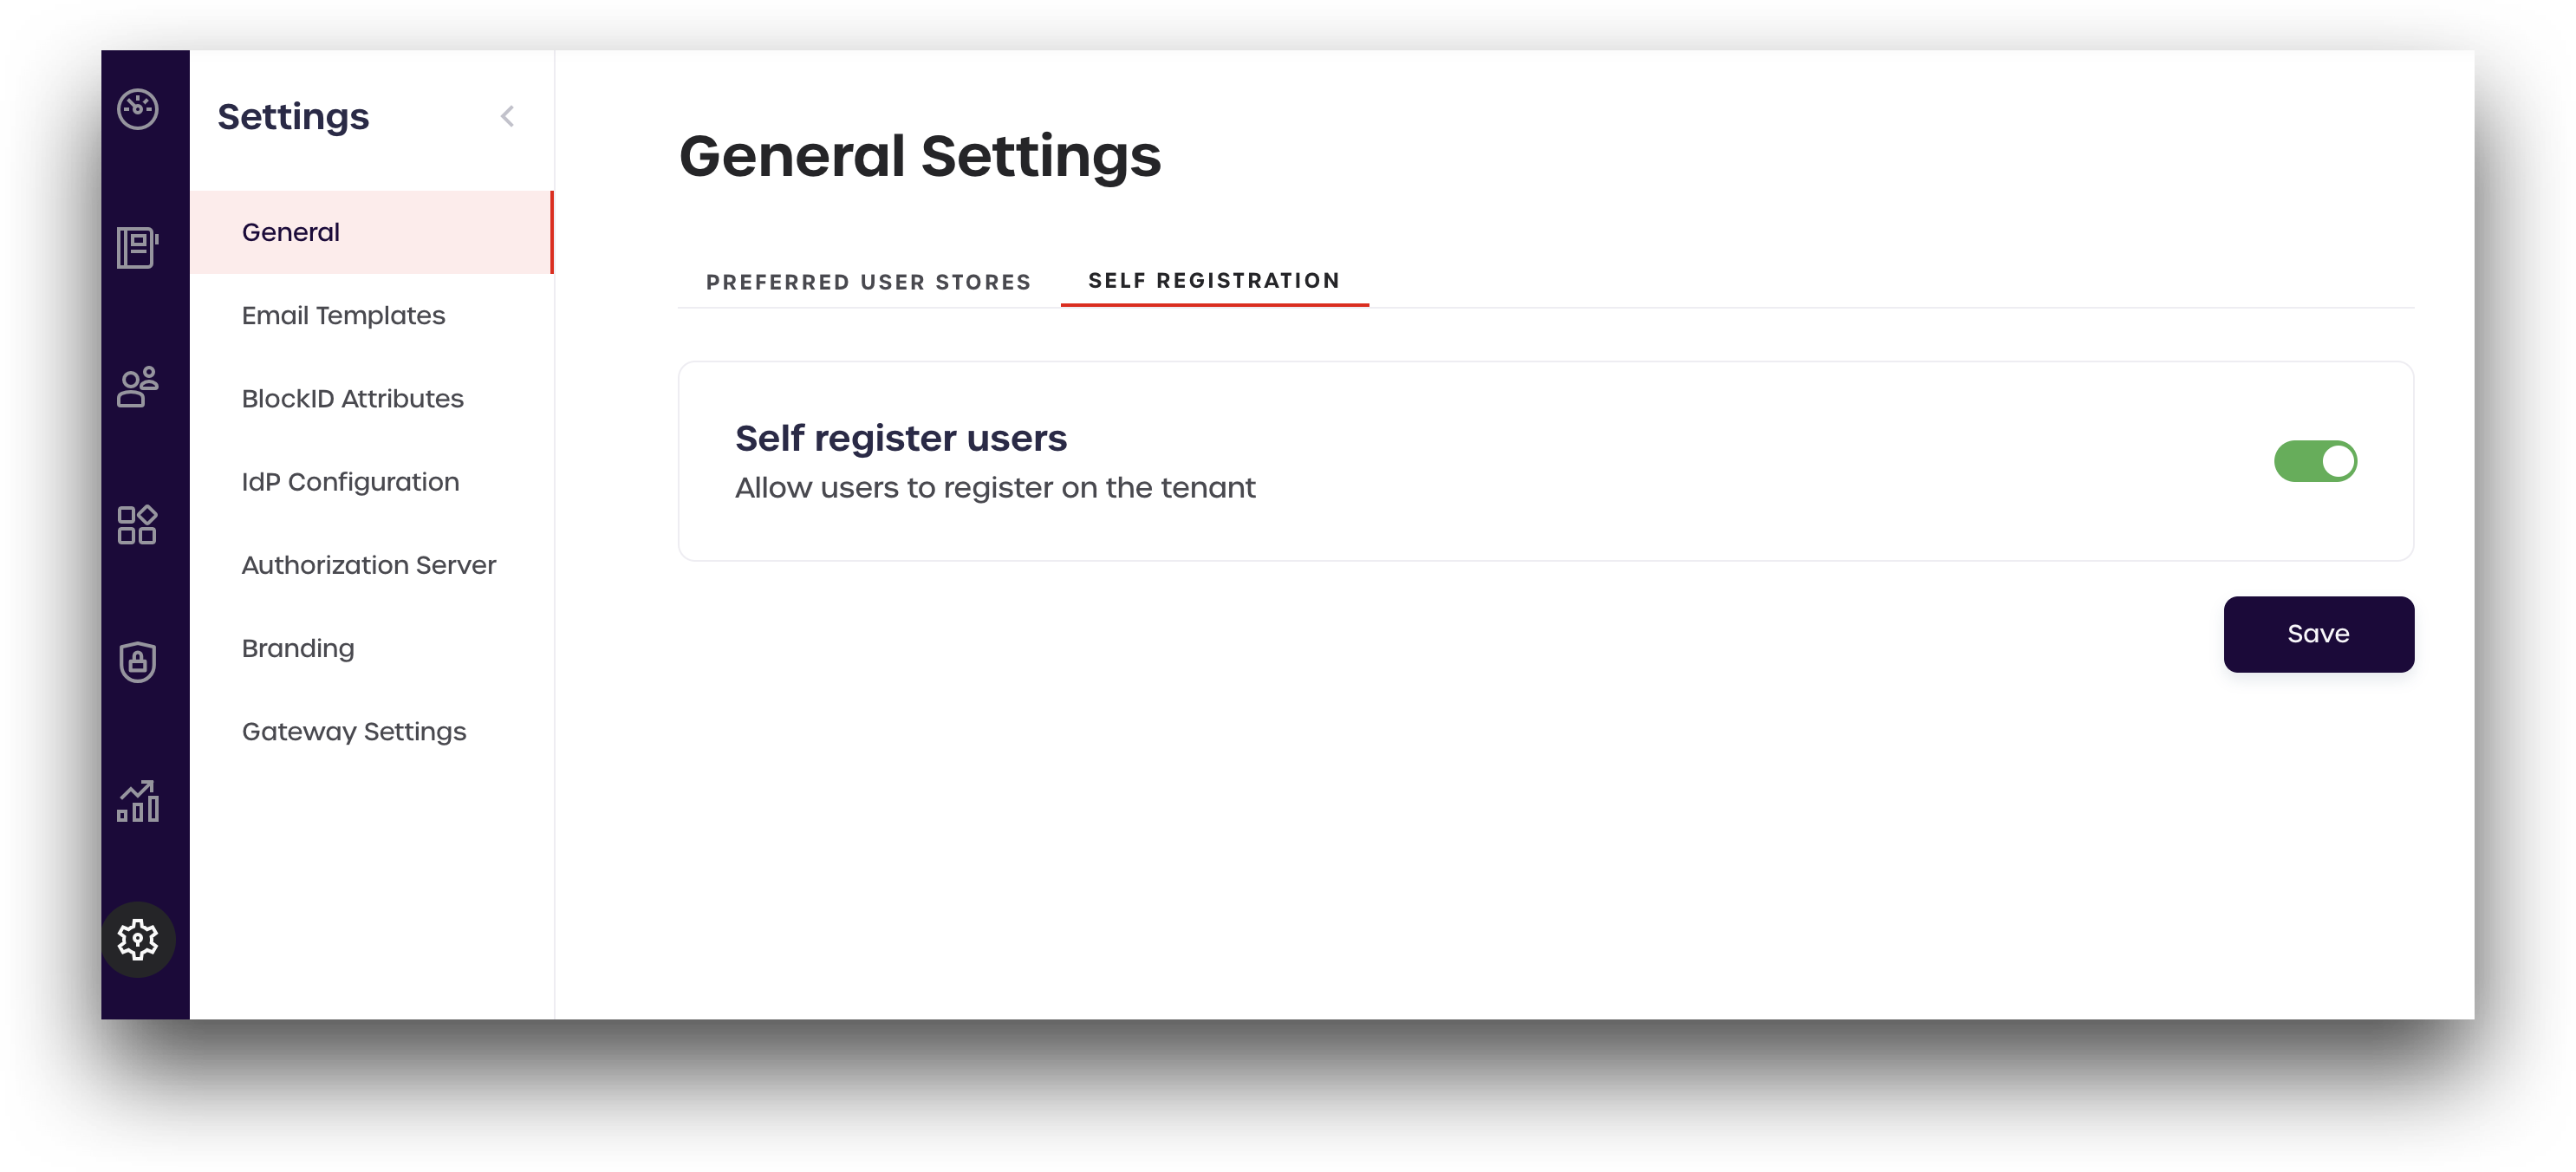
To enable the self registration option, turn the Self registers users slider ON else turn it off, and then click Save.