Setting Up 1Kosmos as an Identity Provider
You can configure Okta as a service provider (SP) in addition to using it as an identity provider (IdP). When Okta acts as a service provider, it integrates with an external Identity Provider using SAML.
Configuring SAML
To configure SAML, you must perform the following tasks:
Adding a SAML Identity Provider
To add SAML as an Identity Provider, follow these steps:
-
In the Admin Console, navigate to Security > Identity Providers.
-
Click Add identity provider, and then select SAML 2.0 IdP.
-
Click Next.
-
Configure the General Settings options.
Field Description Name Enter a name for the IdP. -
Configure the Authentication Settings options.
Field Description IdP Usage Select an authentication method. The following values are available to select:
- SSO only - Use this option for the single sign-on.
- Factor only - Use this option for multi-factor authentication.Account matching with Persistent Name ID Select the Use Persistent Name ID (Higher Security) check box to determine the associated user account by matching the Name ID with the External ID. If no match is found, Okta uses the IdP username value for account matching. -
Configure the Account matching with IdP Username options.
Field Description IdP username Select the entity in the SAML assertion that contains the username. Filter Select the Only allow usernames that match defined RegEx Pattern check box if you want to enter an expression as a username filter. Match against Select the user attribute to match against the IdP username. Account link policy Select the Enable automatic linking check box to automatically link the user's IdP account with a matching Okta account. IdP Issuer URI Enter the issuer URI from the IdP. IdP Single Sign-On URL Enter the sign-on URL from the IdP. IdP Signature Certificate Upload the certificate from the IdP that's used to sign the assertion. Click Browse files, select the certificate file, and then click Open. Request Binding Select the appropriate SAML Authentication Request Protocol binding that Okta uses to send SAML authorization request messages to the IdP. Request Signature Select the Sign SAML Authentication Requests option to sign the SAML authorization request messages sent by Okta. If this option is selected, Okta will automatically send the authorization request to the URL specified in the IdP Single Sign-On URL field. Response Signature Verification Select the type of response signatures that Okta will accept when validating incoming responses. The following values are available to select:
- Response
- Assertion
- Response or AssertionResponse Signature Algorithm Select the signature algorithm that Okta uses to validate the SAML messages and assertions that it receives from the IdP.
- SHA-1
- SHA-256Destination Enter the destination attribute that Okta includes in the SAML authorization request. Okta Assertion Consumer Service URL Select an option to specify whether to use a trust-specific assertion consumer service (ACS) URL or one that is shared across the organization. The following values are available to select.
- Trust-specific
- Organization (shared)Max Clock Skew Specify the duration for how long the assertion remains valid. -
Click Finish. After creating an IdP, click Download metadata to access the Okta SAML metadata for the 1Kosmos provider.
Configuring Identity Provider Routing Rules
You can configure routing rules for each identity provider or for different combinations of user criteria.
To configure the routing rules, follow these steps:
-
In the Admin Console, navigate to Security > Identity Providers.
-
On the Routing Rules tab, click Add Routing Rule.
-
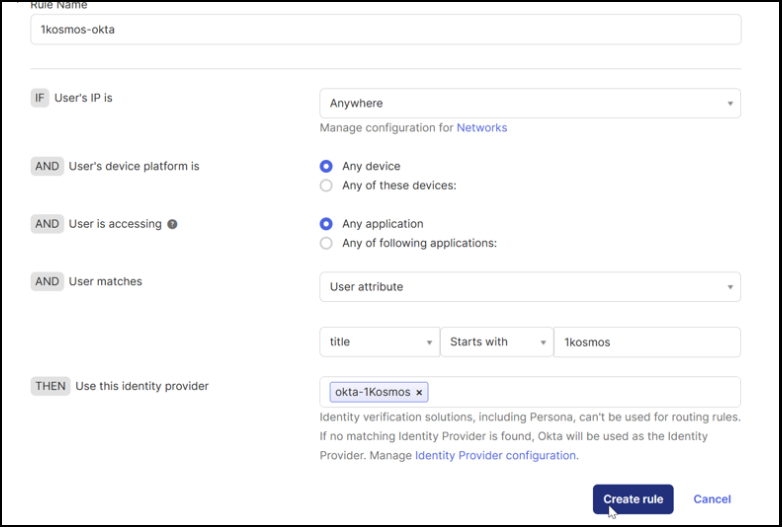
Enter a Rule Name.
-
Configure the routing conditions.
Field Description IF User’s IP is Select a network zone. AND User’s device platform is Select the device that can be used for configuring rules. AND User is accessing Select the type of application the user should access. AND user matches Select the login attributes that the user should match. THEN Use this Identity provider Select the IdP to be used when all the conditions are met. -
Click Create rule and then indicate whether you want to activate the rule immediately.
-
To activate the rule, click Activate.
Configuring Applications on 1Kosmos
You can use one of the following methods to configure Okta applications with 1Kosmos.
- Configuring Applications Using SAML 2.0 Generic
- Configuring Applications Using Okta Integration (Prebuilt)
Configuring Applications Using SAML 2.0 Generic
To add new applications, follow these steps:
-
Log in to the 1Kosmos tenant as a community administrator.
-
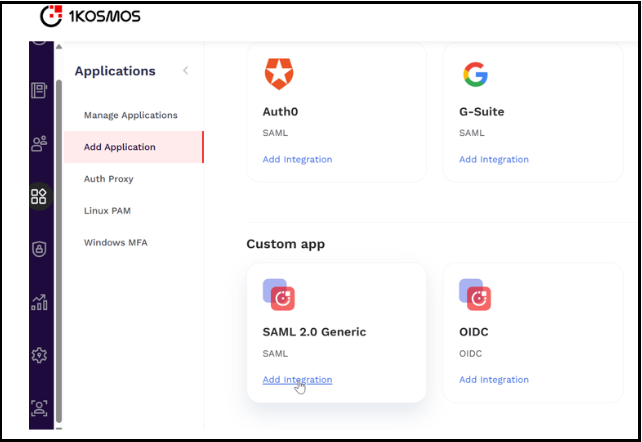
Navigate to Applications > Add Applications.
-
In the Saml 2.0 Generic tile, click Add Integration.
-
In the wizard page that is displayed, click Add Application.
-
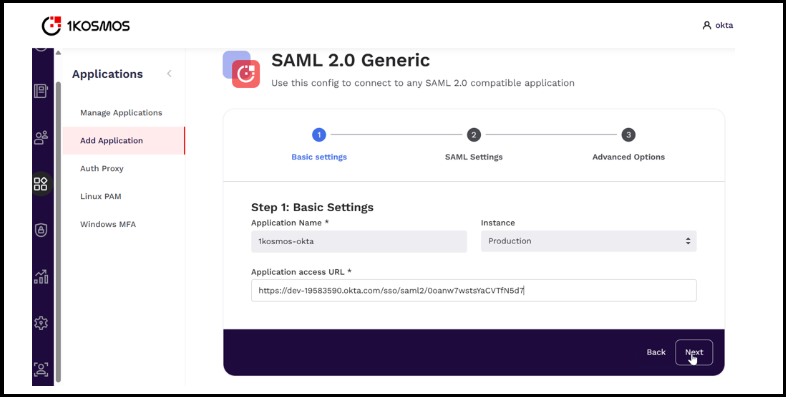
In the Basic Settings section, specify the application name, its URL and the instance to which the configuration is applicable, and then click Next.
-
In the SAML Settings section, navigate to the Assertion Statement (NameID)* section, select the format of the nameid and its value, and then click Next.
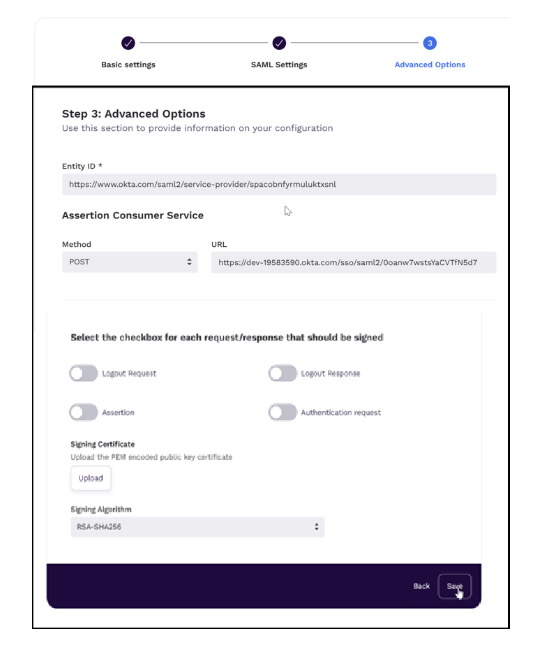
-
In the Advanced Options section, specify the entity id and the Assertion Consumer Service (ACS) details; click Save.
Configuring Applications Using Okta Integration (Prebuilt)
To configure applications using Okta, follow these steps:
-
Log in to the 1Kosmos tenant as a community administrator.
-
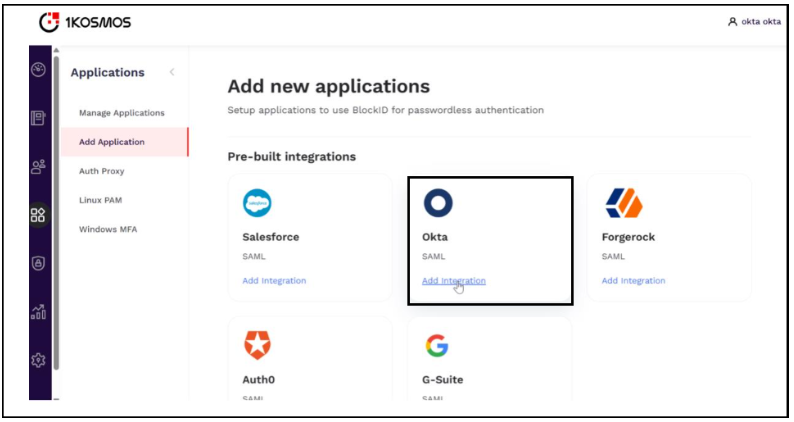
Navigate to Applications > Add Applications.
-
In the Pre-built integrations section, click Add integration under the Okta tile.
-
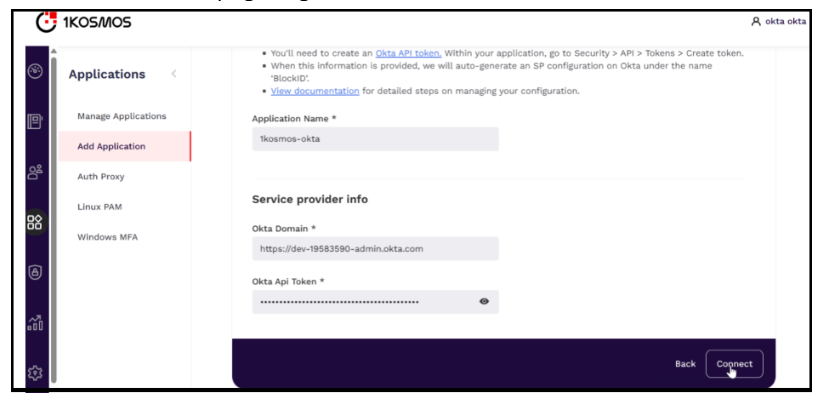
In the Okta page that is displayed, enter the application name, service provider name, and the Okta Api token, and then click Connect. The added application is displayed on the home page of Manage applications.
noteYou can use the Okta API token link located under the Before we begin section on the Okta page to generate a token.
Testing the Integration
To test the integration, follow these steps:
-
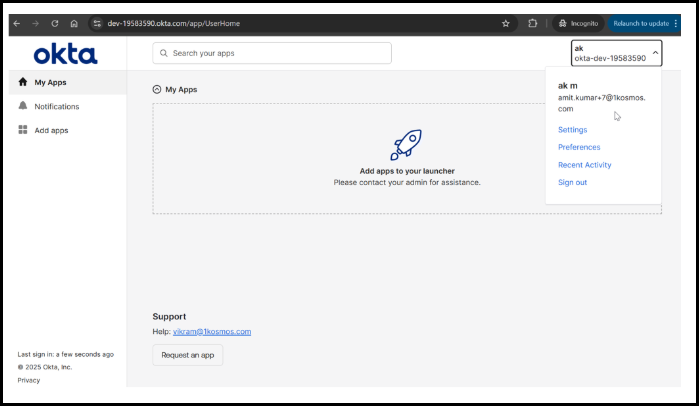
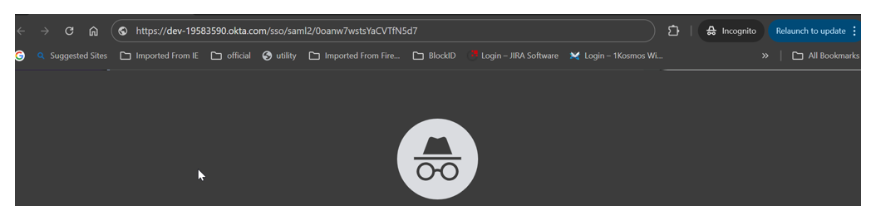
Open the application URL.
-
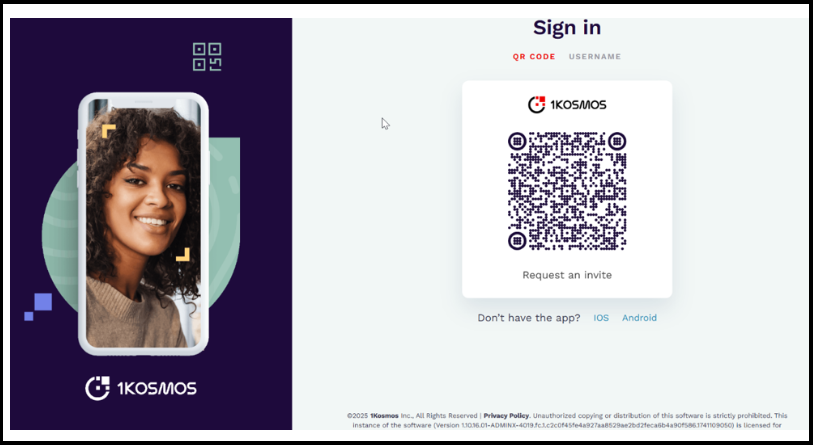
You will be redirected to the 1Kosmos Login page.
-
Use the 1Kosmos app to scan the QR code. You will be redirected to the landing page of the Okta application.