Integration with Okta
Overview
This document describes the procedure to configure the BlockID Admin Console as a passwordless authentication solution for your organization's Okta users. This integration will allow your users to log in to their Okta account leveraging their biometrics. The biometric options include Touch ID / Face ID and LiveID.
Before you Begin
You will need the following resources and privileges to complete this integration:
- Admin access to the following:
- BlockID Admin Console. To register, visit (link)
- Okta instance. To register for a trial subscription, visit Okta.
- Install on your mobile device:
- BlockID mobile application (Compatible with iOS and Android devices). Visit BlockID for Android or BlockID for iOS to download the application.
Assumptions
- With the above prerequisites, you should now successfully be registered and be able to login to:
- Your organization's Okta instance with access to the BlockID Admin Console.
- BlockID Admin Console application. Ensure the email address used to login to this application is the same as the one used to login to Okta.
- Installed and registered the BlockID mobile application.
- Launch the BlockID mobile application and follow the on-screen instructions to register your app with the BlockID Platform to enroll your biometrics. Visit the Enroll Biometrics (Touch ID / Face ID and LiveID) section of BlockID mobile application User Guide for step by step understanding of the Biometrics Enrollment process within the BlockID mobile application.
There are two sets of configurations that need to be performed to enable this integration:
- Configure BlockID Admin Console as an Identity Provider (IDP) within Okta.
- Configure Okta as a Service Provider (SP) within the BlockID Admin Console.
List of Topics:
- Configure BlockID Admin Console as an Identity Provider within Okta
- Configure Okta as a Service Provider within BlockID Admin Console
- Test the SAML Single Sign-On Connection
- References
- Glossary
Configure BlockID Admin Console as an Identity Provider within Okta
Perform the below-mentioned steps:
Add BlockID Admin Console as a SAML Identity Provider
Log in to your Okta site and navigate to the Admin console.
In the Okta Admin console screen, navigate to *Security > Identity Providers > Add Identity Provider > Add SAML 2.0 IdP.*
In the Add Identity Provider pop-up window, perform the following configurations:
General Settings:
- Name: Enter the name of your identity provider. For example, BlockID.
Authentication Settings:
- IdP Username:
saml.subjectNameId. - Filter: Use default filter settings.
- Match against:
Okta Username. - If no match is found:
Create a new user(JIT).
- IdP Username:
JIT Settings: Use default JIT settings.
SAML Protocol Settings:
IdP Issuer URI: Enter the issuer URI. To get the IDP issuer URI from your BlockID Admin Console, navigate to *Administration Console > Federation > SAMLv2* and copy the IDP URI link provided in the Identity provider’s column.
IdP Single Sign-On URL: Enter the sign-on URL from the IdP. To get the IDP single sign-on URL from your BlockID Admin Console, navigate to *Administration Console > Federation > SAMLv2* and click on the URI link provided in the Identity provider’s column. In the IDP Service URL End Points tab, copy the URL available in the Single SignOn Service field.
IdP Signature Certificate: Click Browse files and locate the certificate issued by BlockID Admin Console. To check the steps for getting the certificate details, visit the Issue Certificate from BlockID Admin Console Application topic.
Click Add Identity Provider.
Download the SAML metadata
- Navigate to *Security > Identity Providers*.
- Click on your identity provider’s name (selected as BlockID) to expand the settings and click Download Metadata.
- Save the metadata file to use it within the BlockID Admin Console.
Add a Routing Rule
Routing Rules allows you to add user criteria based on the user's location, device, email domain, attributes, to evaluate end-users before redirecting them to the identity providers.
- Navigate to *Security > Identity Providers > Routing Rules > Add Routing Rule*.
- In the Add Rule pop-up window, enter the following details:
- Rule Name: Enter the appropriate rule name.
- User’s IP is:
Anywhere. - User’s device platform:
Any device. - User is accessing:
Any application. - User matches:
Anything. In this, select the required condition available from the list and add value as per the selected option. For example, select the User Attribute option and add value as j.doe and save. Hence, a user whose name starts with j.doe will only be allowed to redirect to your Okta site and other users will not be able to access this Okta site as the BlockID Admin Console will restrict access. - Use this identity provider:
BlockID.
- Click Create Rule > click Activate.
Hence, whenever any user tries to sign in, the added active routing rule checks the criteria and allows users to access the identity provider’s site if the criteria match.
Configure Okta as a Service Provider within BlockID Admin Console
Perform the below-mentioned steps:
- Login to BlockID Admin Console, navigate to *Administration Console > Federation > SAMLv2*. The SAMLv2 screen is displayed.
Save Identity Provider's Certificate and Set IDP Assertion Claim details
- Click on the identity provider’s URL link.
- From the *IDP Core configuration > Signing Certificate* section, copy the certificate details and save it in the following format:
-----BEGIN CERTIFICATE-----
 Certificate details
-----END CERTIFICATE-----
- Save the certificate with .cert extension.
- In the IDP Assertion Claims Mapping tab, link the appropriate LDAP and Session attribute values to the Claims for each Label.
- Map the
nameIdentifiertoemail. privatepersonalidentifiertoemail.givennametofirstname.surnametolastname.localitytolocality.streetaddresstostreetaddress.stateorprovincetostate.- Click Save.
- Map the
These mapped fields will be available in the *SAMLv2 > Service Providers > SP Assertion Claims Mapping* tab for the imported service provider.
Add Okta as a Service Provider
In the SAMLv2 screen, navigate to *Service Providers > Import Service Provider*.
In the Import Service Provider screen, enter details for the following fields:
Select Circle of Trust (COT) - Select the appropriate option. Here, the COT is by default created for each Community with your identity provider link and list of entities.
Service Provider Logo (Optional) - Select the appropriate image file for the logo.
Import Service Provider Metadata - Select your IDP metadata file downloaded from Okta's Download the SAML metadata identity provider section.
Service Provider Name - Enter the appropriate name for Okta.
Service Provider Initiated SSO URL - Enter the SSO URL for your Okta domain. For example, "https://1kosmosblockidt.okta.com/".
Click Upload File. The newly imported SP link for Okta will be available in the list of service providers.
Click on the newly added Okta link.
In the Edit screen:
- In the SP Core Configuration tab: check the following details are selected:
- Select the checkbox for each request/response that should be signed: ensure that the
AssertionandAuthentication Requestoptions are selected. - NameID Value:
nameidentifier.
- Select the checkbox for each request/response that should be signed: ensure that the
- In the SP Assertion Claims Mapping tab: Select the checkbox for the following options:
- privatepersonalidentifier
- nameIdentifier
- givenname
- surname
- locality
- streetaddress
- stateorprovince
- In the SP Service URL End Points tab:
- Select POST.
- Ensure Okta login URL is added.
- Click Confirm and Save.
- In the SP Core Configuration tab: check the following details are selected:
Test the SAML Single Sign-On Connection
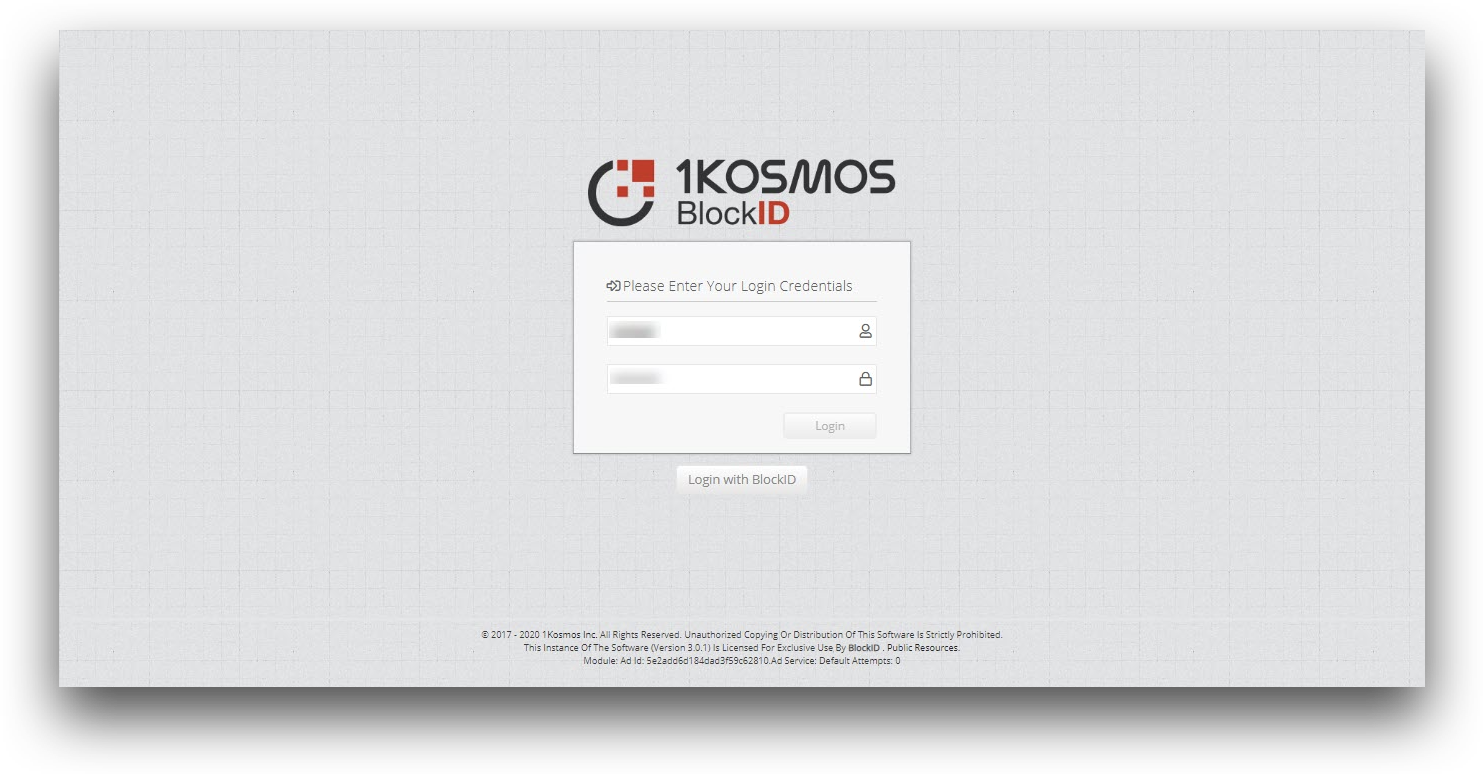
- In your browser, enter the BlockID’s Okta Domain URL. You will be redirected to your BlockID Admin console’s single sign-on page.
- Click Login with BlockID. The login screen is displayed with the QR code to be scanned from your BlockID mobile app.

- On the BlockID mobile application’s Home screen, click on the ‘Scan QR’ button.
- Scan the QR code. The confirmation pop-up window is displayed asking to
Allow BlockID to access this device’s location?. - In the confirmation pop-up window, select
Allow only while using the app. The Authentication screen is displayed with thePlease authenticate using <Biometric_option> from 1kosmosmessage. - Click Authenticate and perform the appropriate authentication method. The pop-up window is displayed with
Thank you! You have successfully authenticated to Log Inmessage upon successful authentication. - In the login screen for BlockID Admin Console, click Link User.
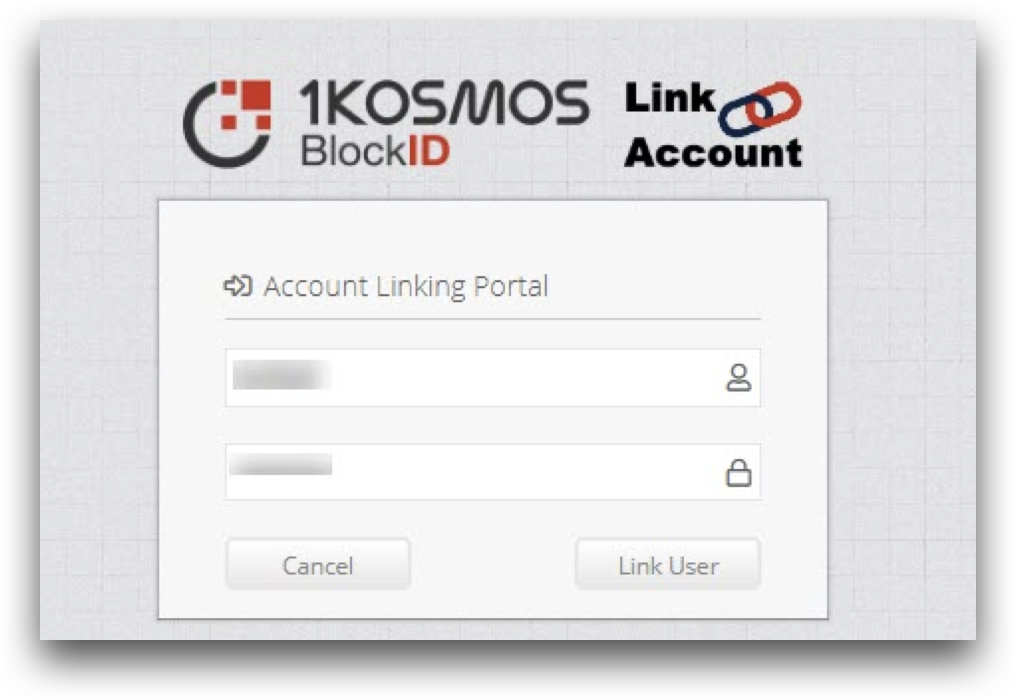
This will link your BlockID mobile app credentials to BlockID Admin Console and grant access to your Okta site upon successful authentication.
References
Glossary
C:
- COT: A Circle of Trust (COT) is a group of identity providers (IDP) and service providers (SP) that trust each other and in effect represent the confines within which all federation communications are performed. The COT is created for each community with the link for the identity provider and entities.
D
- Domain: It is a unique name defined for your organization within Okta which will be used to access your Okta site.
I
IDP: The identity provider here is the BlockID Admin Console. It is a trusted system functionality that allows you to add and manage identity configurations, authentication, assertion, and service URL endpoint details. It lets you use an authenticated single sign-on (SSO) feature across many networks, platforms, and applications within a federation.
IdP Signature Certificate: BlockID Admin Console serves as an identity provider to its service providers to access multiple web and mobile applications in a secure manner. It provides an authentication certificate to its SPs (to add in their IDP configurations) which contain the identity information of the identity provider.
IdP Single Sign-On URL: This is a single sign-on URL where the end user’s login requests will be redirected to this URL to provide login credentials and will be authenticated to provide access to their apps directly if they are authenticated successfully.
IDP Service URL End Points: This includes both “Single SignOn Service” and “Single Logout Service” URLs to provide in service provider’s SAML configurations.
S
- SP: A service provider is an organization that hosts other applications or services and would use BlockID Admin Console’s single sign-on feature for passwordless authentication of their end-users. You will be able to import multiple service providers and add their configuration details.
SAML: The Security Assertion Markup Language (SAML) integration feature allows you to add the identity provider authorization credentials and provide these configurations to service providers (SP). Here, the identity provider is the BlockID Admin Console. It also provides you the ability to import multiple service providers and add their configurations in BlockID Admin Console. This will enable a passwordless authentication solution for your organization's users (who have logged into the service provider’s site) and allows them to log in to their SP account using their BlockID Admin Console credentials.
Single Sign-On: Single sign-on (SSO) is a user authentication feature that allows users to securely log in to multiple applications using single login credentials.
SP Signing Certificate: In the BlockID Admin console, you will be able to import multiple service providers (SPs) and allow them to use its passwordless authentication service. It imports the SP authentication certificate (to add in their SP configurations) which contains the identity information of the service provider.
SP Assertion Claims Mapping: The fields that are available in this section are selected and provided from the IDP assertions claims section. Select the required fields (to be configured with IDP claims and will be overridden at the service provider’s end) to map it to the fields required for the user to authenticate with that service provider.