Generic SAML Application
Overview
This document describes the procedure to configure your organization's application within the AdminX portal to use it as a passwordless authentication solution for your organization's application users. This integration will allow your users to log in to their application's account leveraging their biometrics. The biometric options include Touch ID / Face ID and LiveID.
Before you Begin
You will need the following resources and privileges to complete this integration:
- Admin access to the following:
- AdminX portal: If your organization is not registered with the AdminX portal, visit the Sign Up page for your organization’s AdminX portal registration. The 1Kosmos representative will create an account for your respective organization within the AdminX portal.
- Application instance. You can use any of your generic applications for SAML integration with AdminX. Note that, we have used Slack (Business+ plan) as a generic SAML app to integrate with AdminX for its passwordless login and authentication.
- Install on your mobile device:
- 1Kosmos mobile application (Compatible with iOS and Android devices). Visit the BlockID for Android or BlockID for iOS to download the application.
Assumptions
- With the above prerequisites, you should now successfully be registered and be able to login to:
- AdminX portal
- Your organization's application account with Admin access.
- Installed and registered the 1Kosmos mobile application.
- Launch the 1Kosmos mobile application and follow the on-screen instructions to register your app with the BlockID Platform to enroll your biometrics. Visit the Enroll Biometrics (Touch ID / Face ID and LiveID) section of the 1Kosmos mobile application User Guide for step by step understanding of the Biometrics Enrollment process within the 1Kosmos mobile application.
Perform the following tasks to enable this integration:
- AdminX portal configurations
- Slack (generic application) configurations
List of Topics:
AdminX portal configurations
This is a generic SAML application integration that allows you to add your organization's application as a Service Provider (SP) in the AdminX console to enable the SAML 2.0 integration and use the AdminX portal as an IDP for your passwordless login. It requires creating an SP configuration in the AdminX console before adding the IDP SAML settings for AdminX within the Slack application.
Make sure to navigate to Settings > BlockID Attributes and check if the username attribute is added or not in the Attributes list, If the username attribute is not available, kindly add add the "username" attribute.
The following steps will be performed by your AdminX portal administrator. The credentials provided during SAML integration are one-time use only. BlockID does not store these credentials, thus it is recommended to change the passwords and revoke tokens after completion of the generic SAML integration.
- Login to the AdminX portal, navigate to Applications > Add Application.

-
In the Add new applications screen, click on the Add integration link for the SAML 2.0 Generic option from the Custom app section.
-
In the SAML 2.0 Generic screen, click Add Application.
-
In the SAML 2.0 Generic screen with the Add application settings, perform the following steps:
- In the Basic settings tab, enter the following values:
- Application Name: Enter the name for your application.
- Application access URL: Enter the application access URL. The Slack application URL should be in the
https://yourdomain.slack.com/sso/samlformat. For example,https://shinobiwarfairy.slack.com/sso/saml.
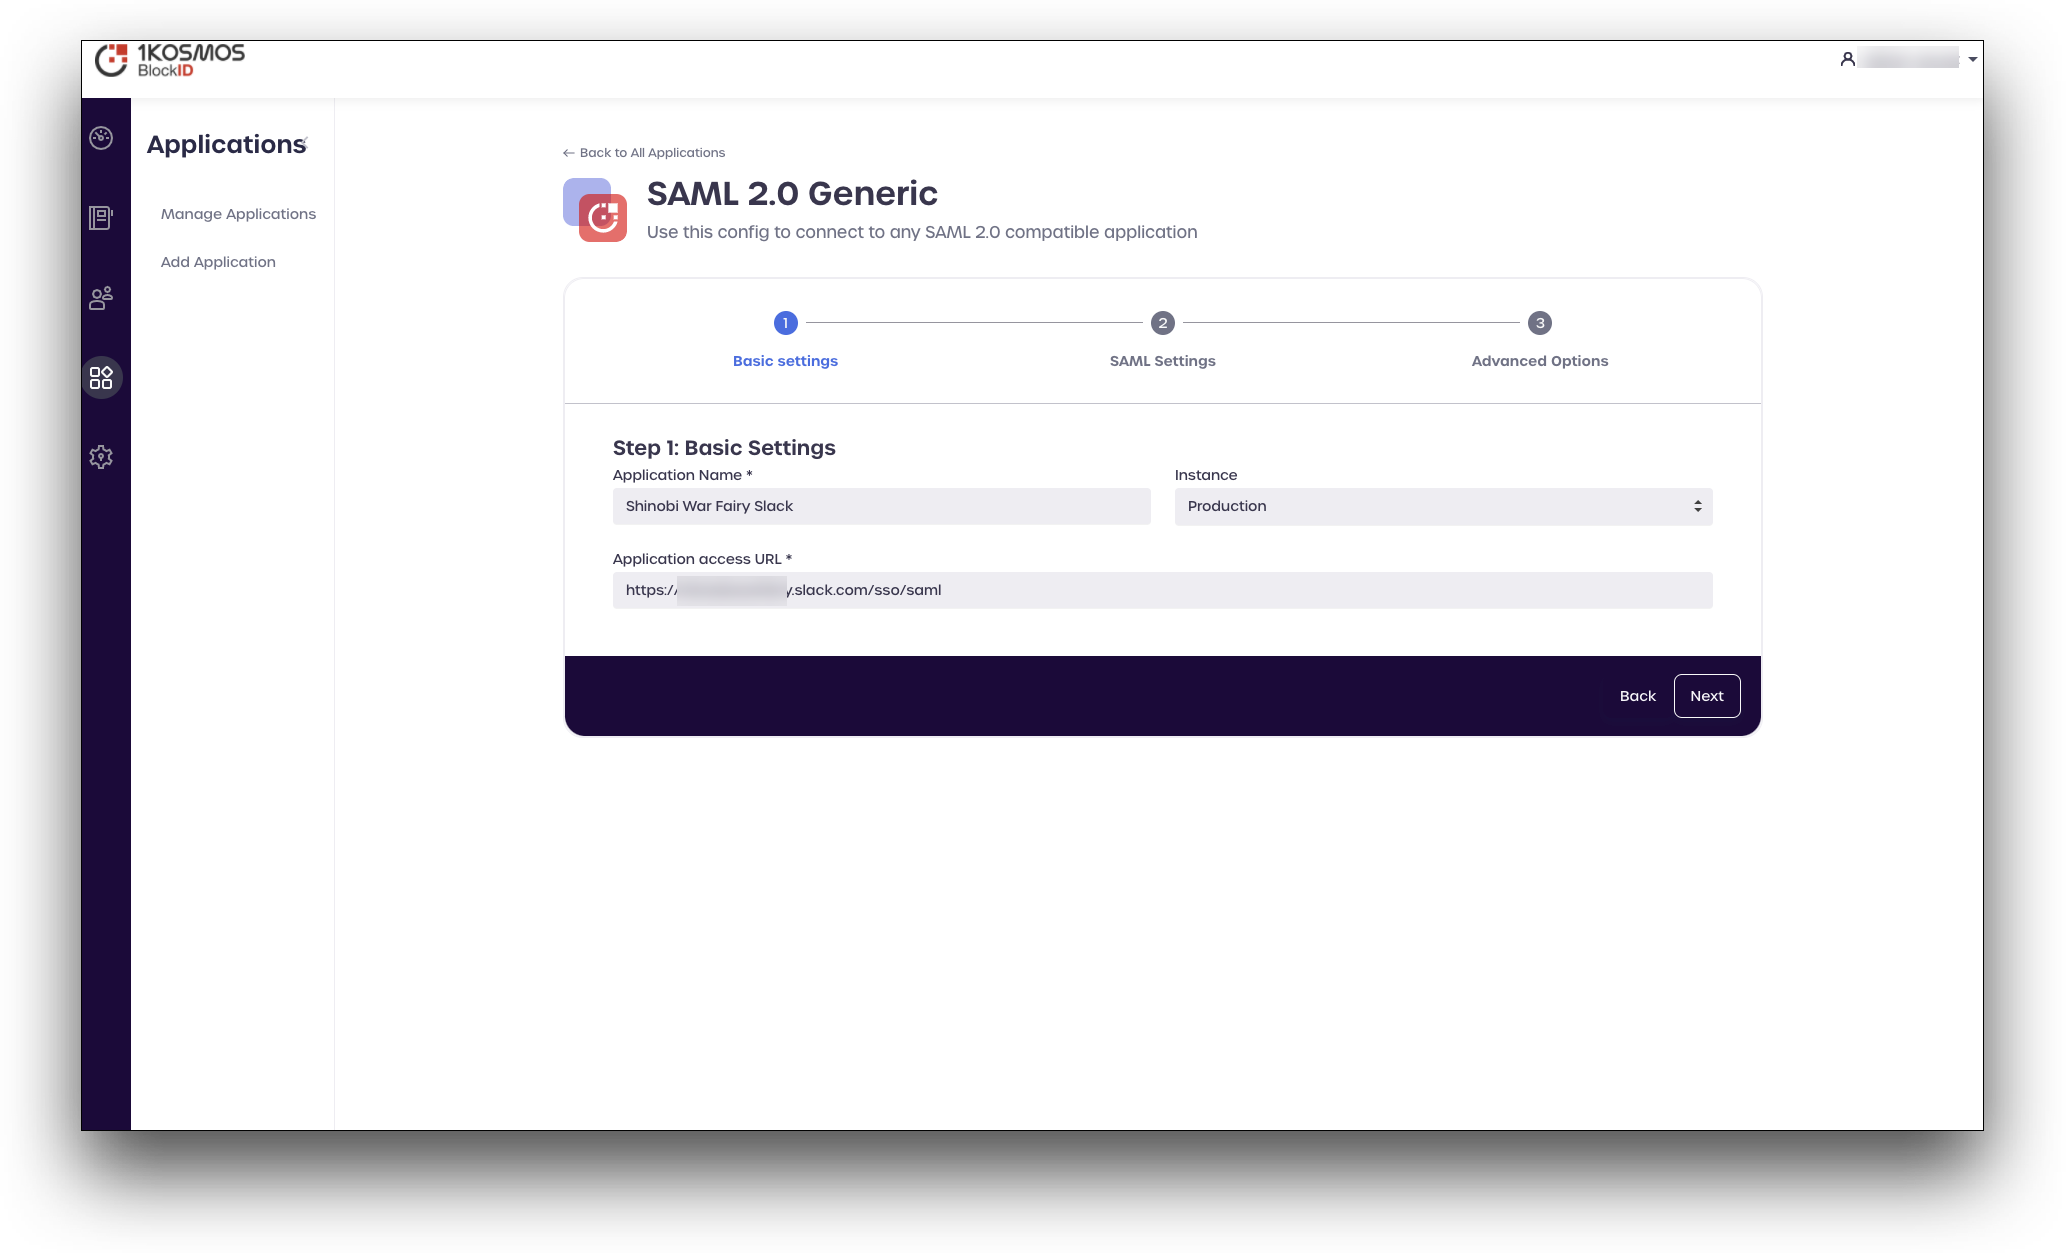
- Click Next. The SAML Settings tab is displayed.
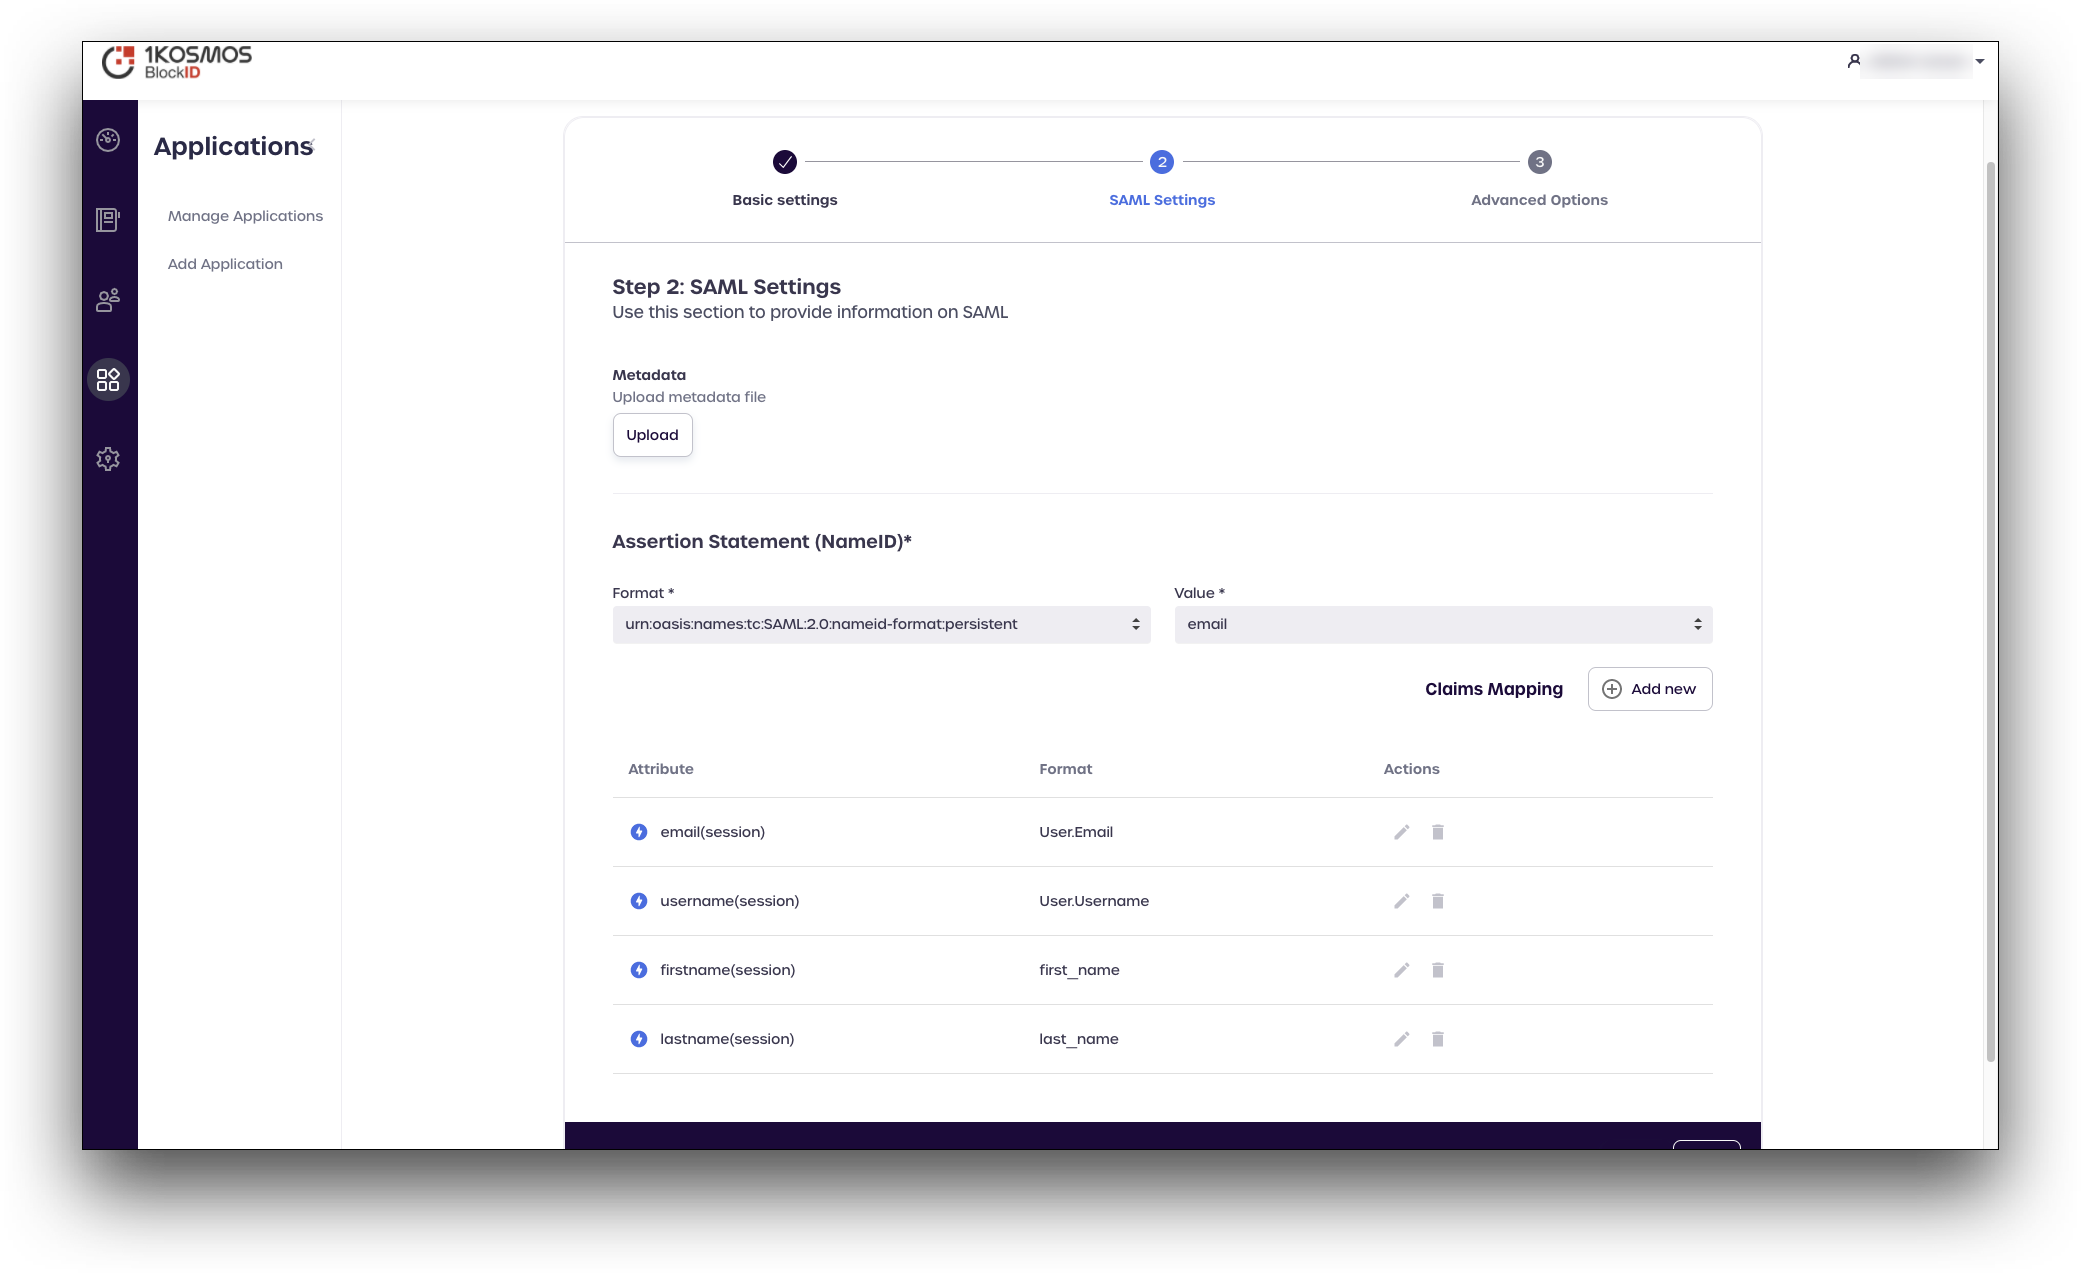
- In the SAML Settings tab, add following attributes settings:
- In the Assertion Statement (NameID) section:
- Format: Enter
urn:oasis:names:tc:SAML:2.0:nameid-format:persistent. - Value:
email.
- Format: Enter
- In the Claims Mapping section, add the following attributes and their formats:
- Attribute:
emailand Format:User.Email. - Attribute:
usernameand Format:User.Username. - Attribute:
firstnameand Format:first_name. - Attribute:
lastnameand Format:last_name.
- Attribute:
- Click Next. The Advanced Options tab is displayed.
- In the Assertion Statement (NameID) section:
- In the Advanced Options tab, enter and select the following details:
- Entity ID: Enter the entityid in
https://yourdomain.slack.comformat. For example,https://shinobiwarfairy.slack.com. - In the Assertion Consumer Service section, perform the following steps:
- Method:
POST. - URL: Enter the SAML assertion Consumer service URL of Slack. The URL should be in the
https://yourdomain.slack.com/sso/samlformat, likehttps://shinobiwarfairy.slack.com/sso/saml.
- Method:
- In the Select the checkbox for each request/response that should be signed section, perfrom the following steps:
- Enable the Signed Assertion option.
- Disable the Logout Request, Logout Response, and Authentication request options.
- Entity ID: Enter the entityid in
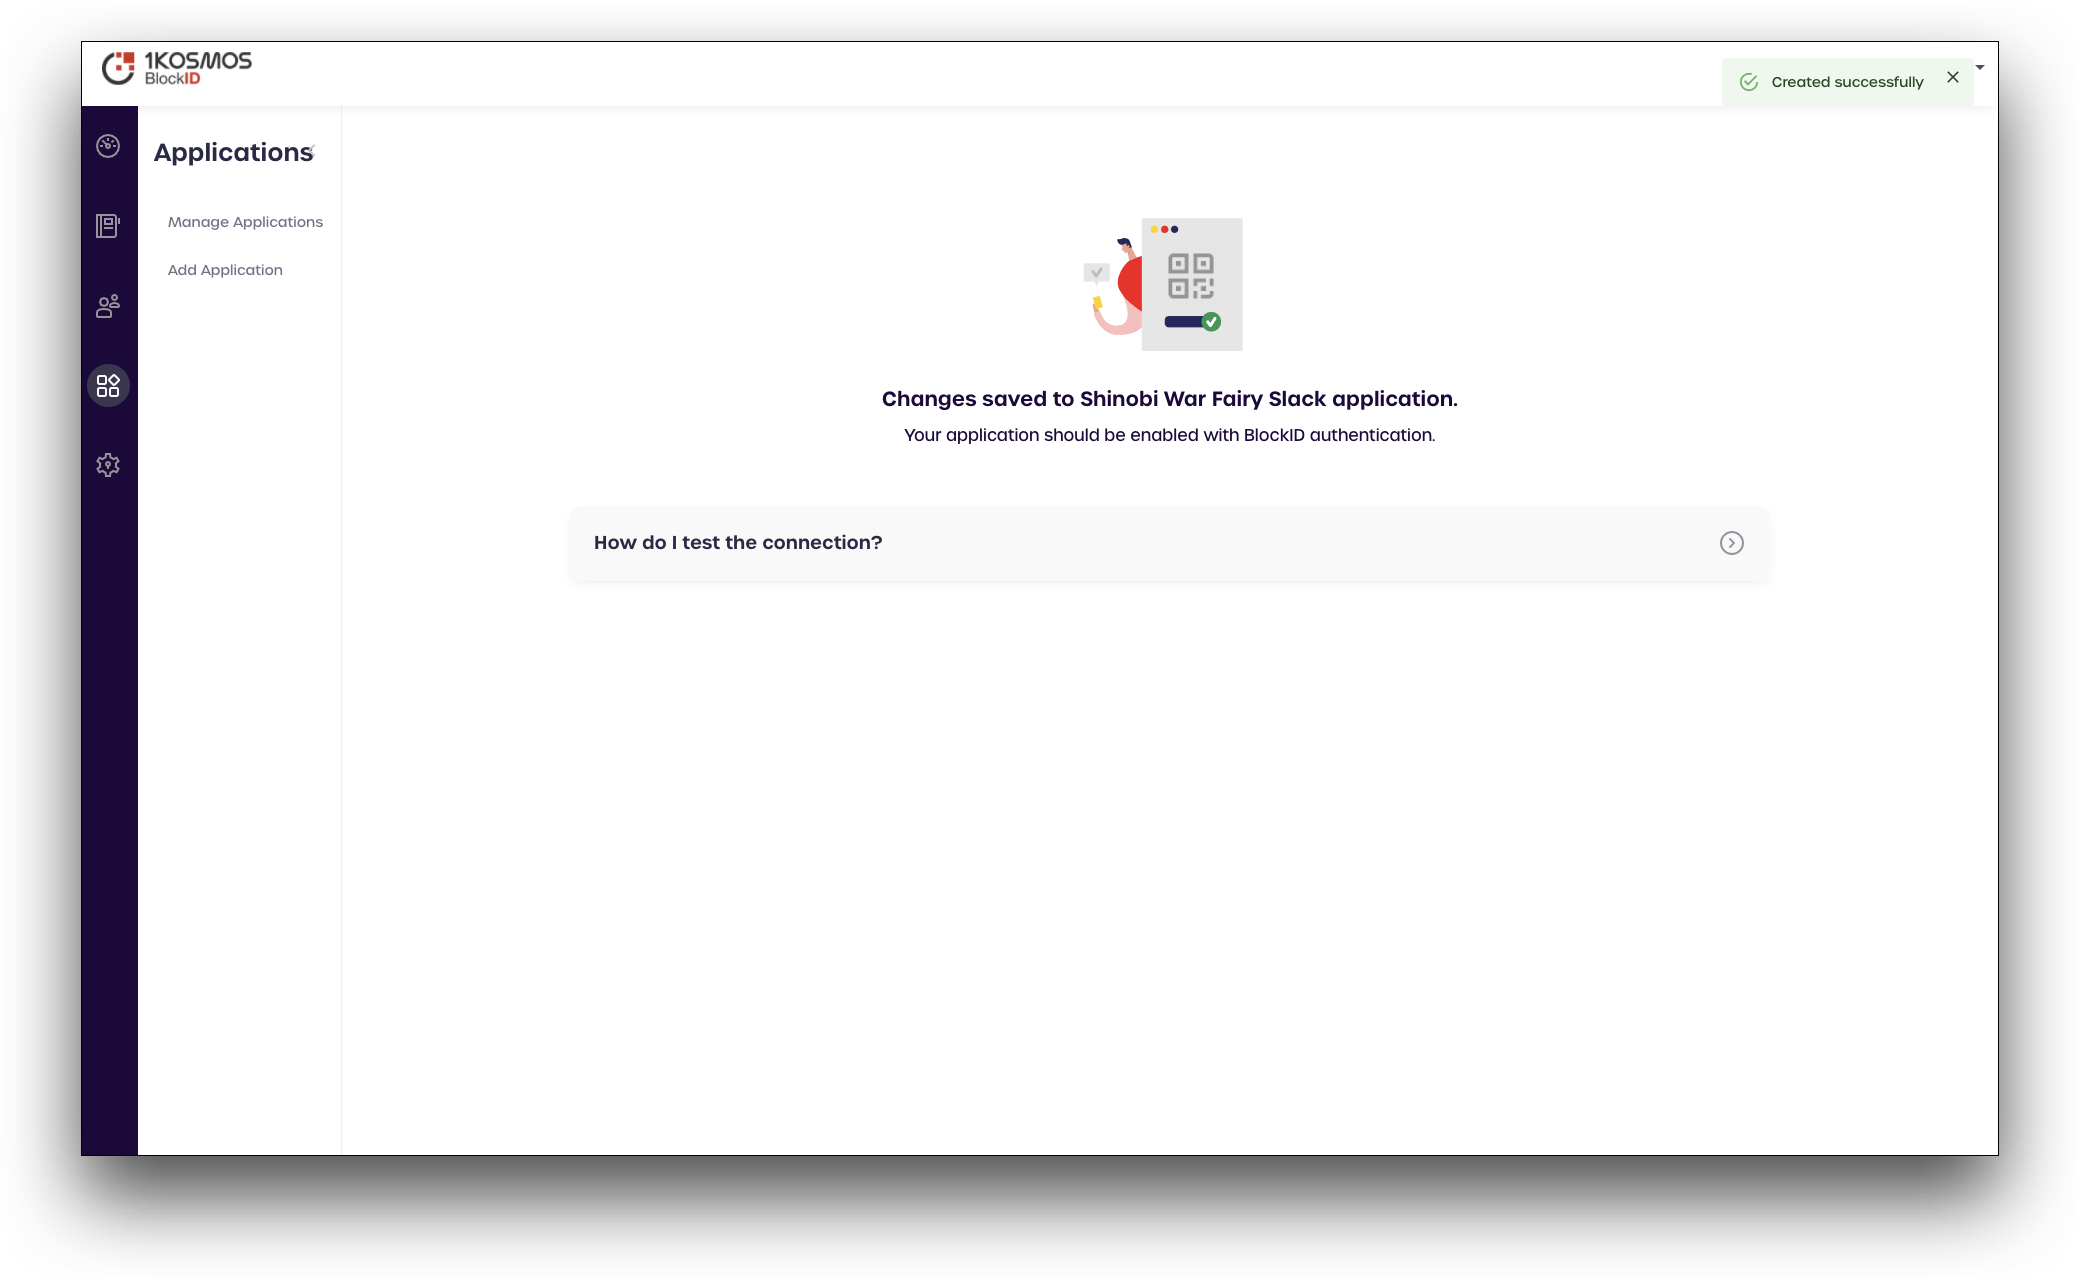
- Click Save. This will add your application (Slack) within the AdminX portal and enable it for passwordless authentication.
- In the Basic settings tab, enter the following values:
-
From the left pane, navigate to Settings" > IdP Configuration. The IdP Configuration screen is displayed.
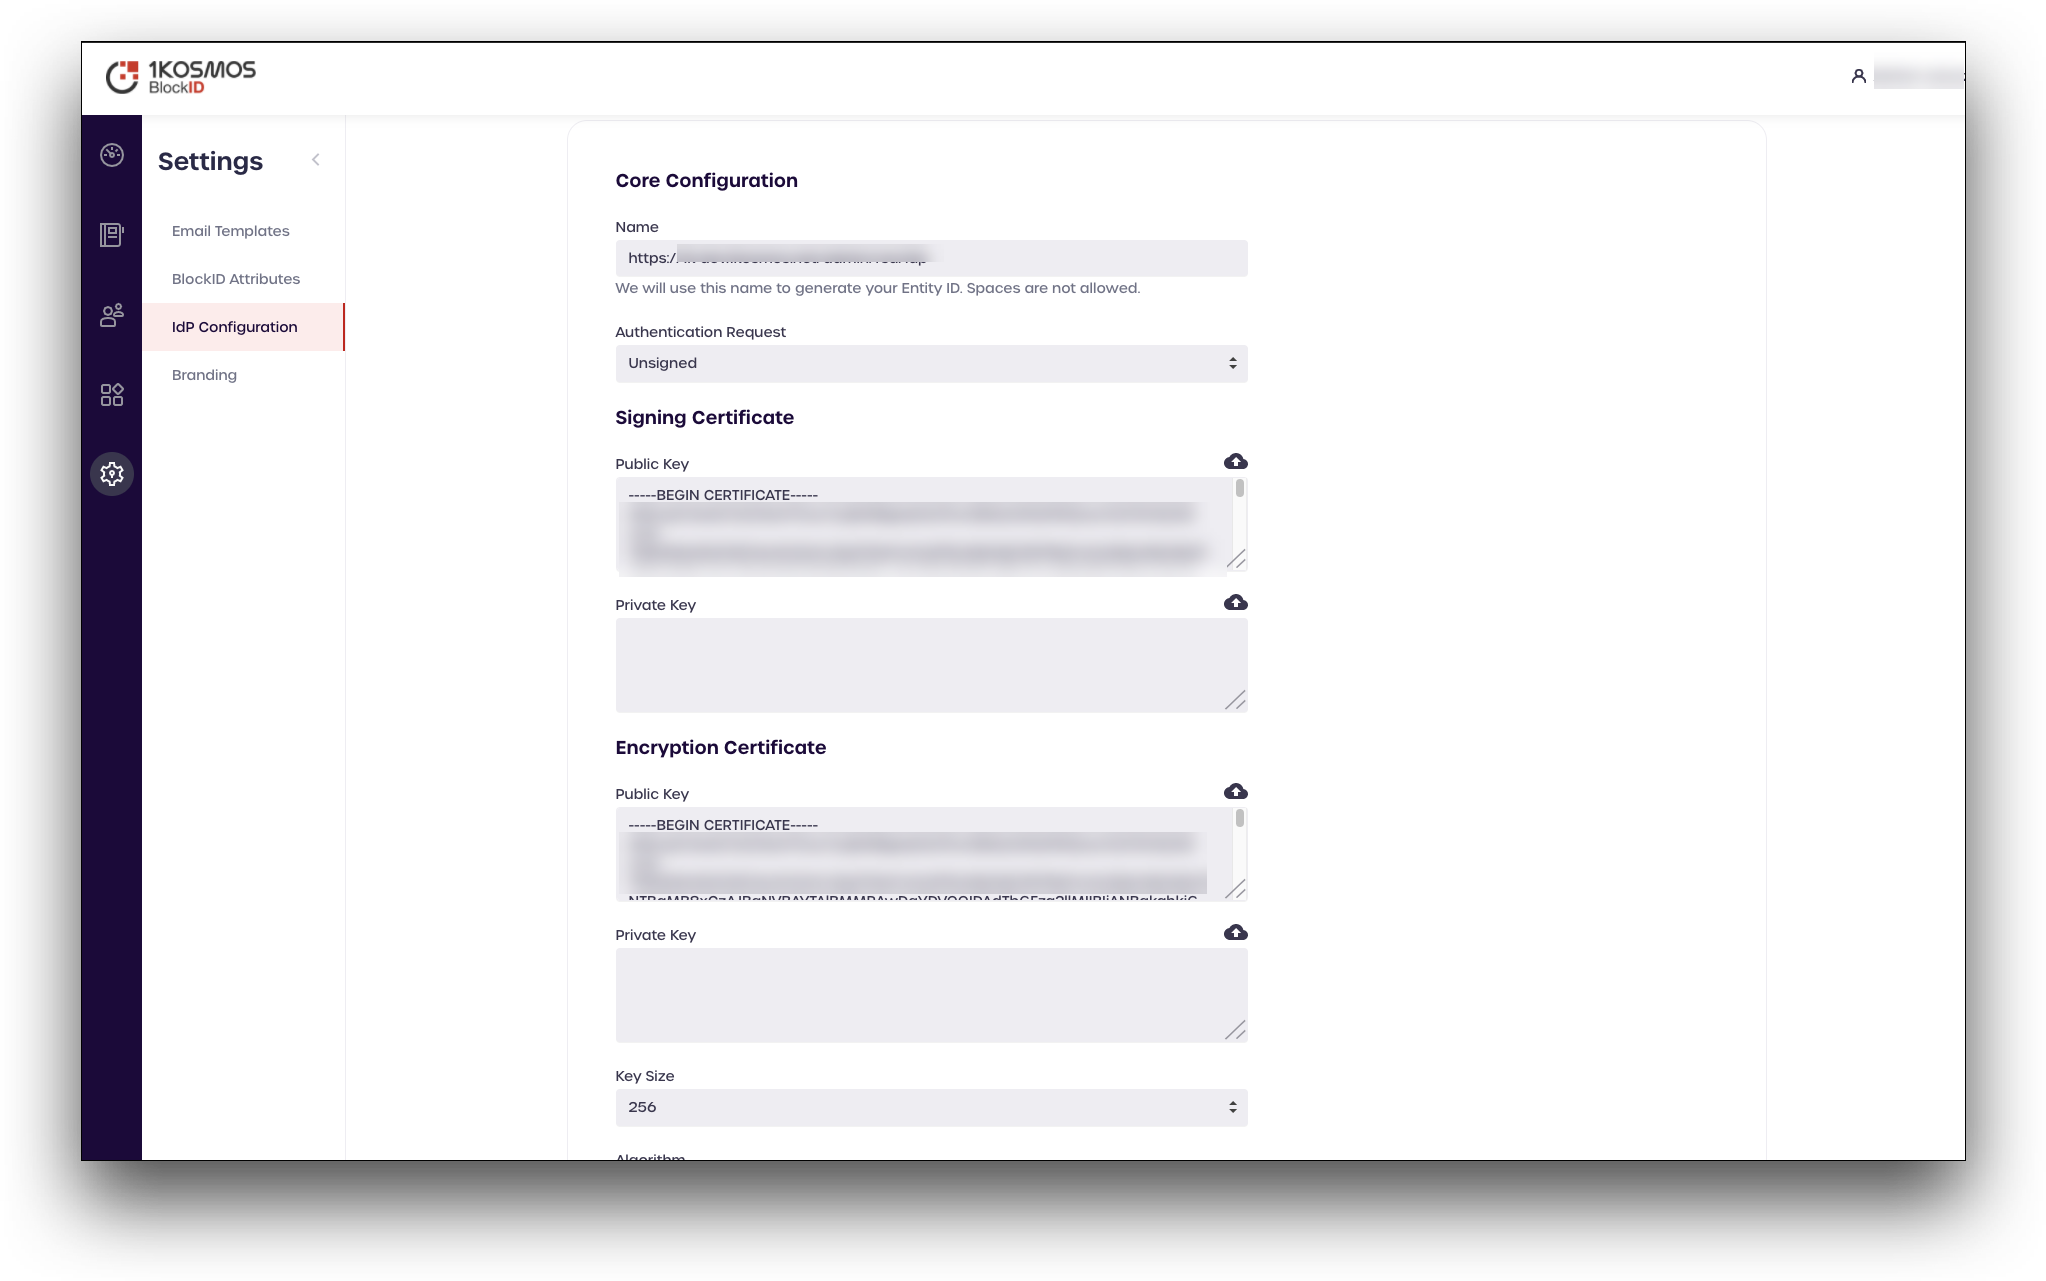
- In the IdP Configuration screen, copy and save the values of the following fields to add to your Slack application's SAML screen:
- Name from the Core Configuration section.
- Public Key from the Signing Certificate section.
- Single SignOn Service from the Service URL End Points section.
Slack configurations
These configurations need to be performed before integrating your Slack application into the AdminX portal.
The following steps will be performed by your Slack administrator. Keep your Administrator account's password handy to use it later in the integration steps.
- Open the Slack application and log in to your workspace as an Administrator.
- From the left pane, click on the name of your workspace and navigate to Settings & administration > Workspace Settings.

- In the Settings & Permissions screen:
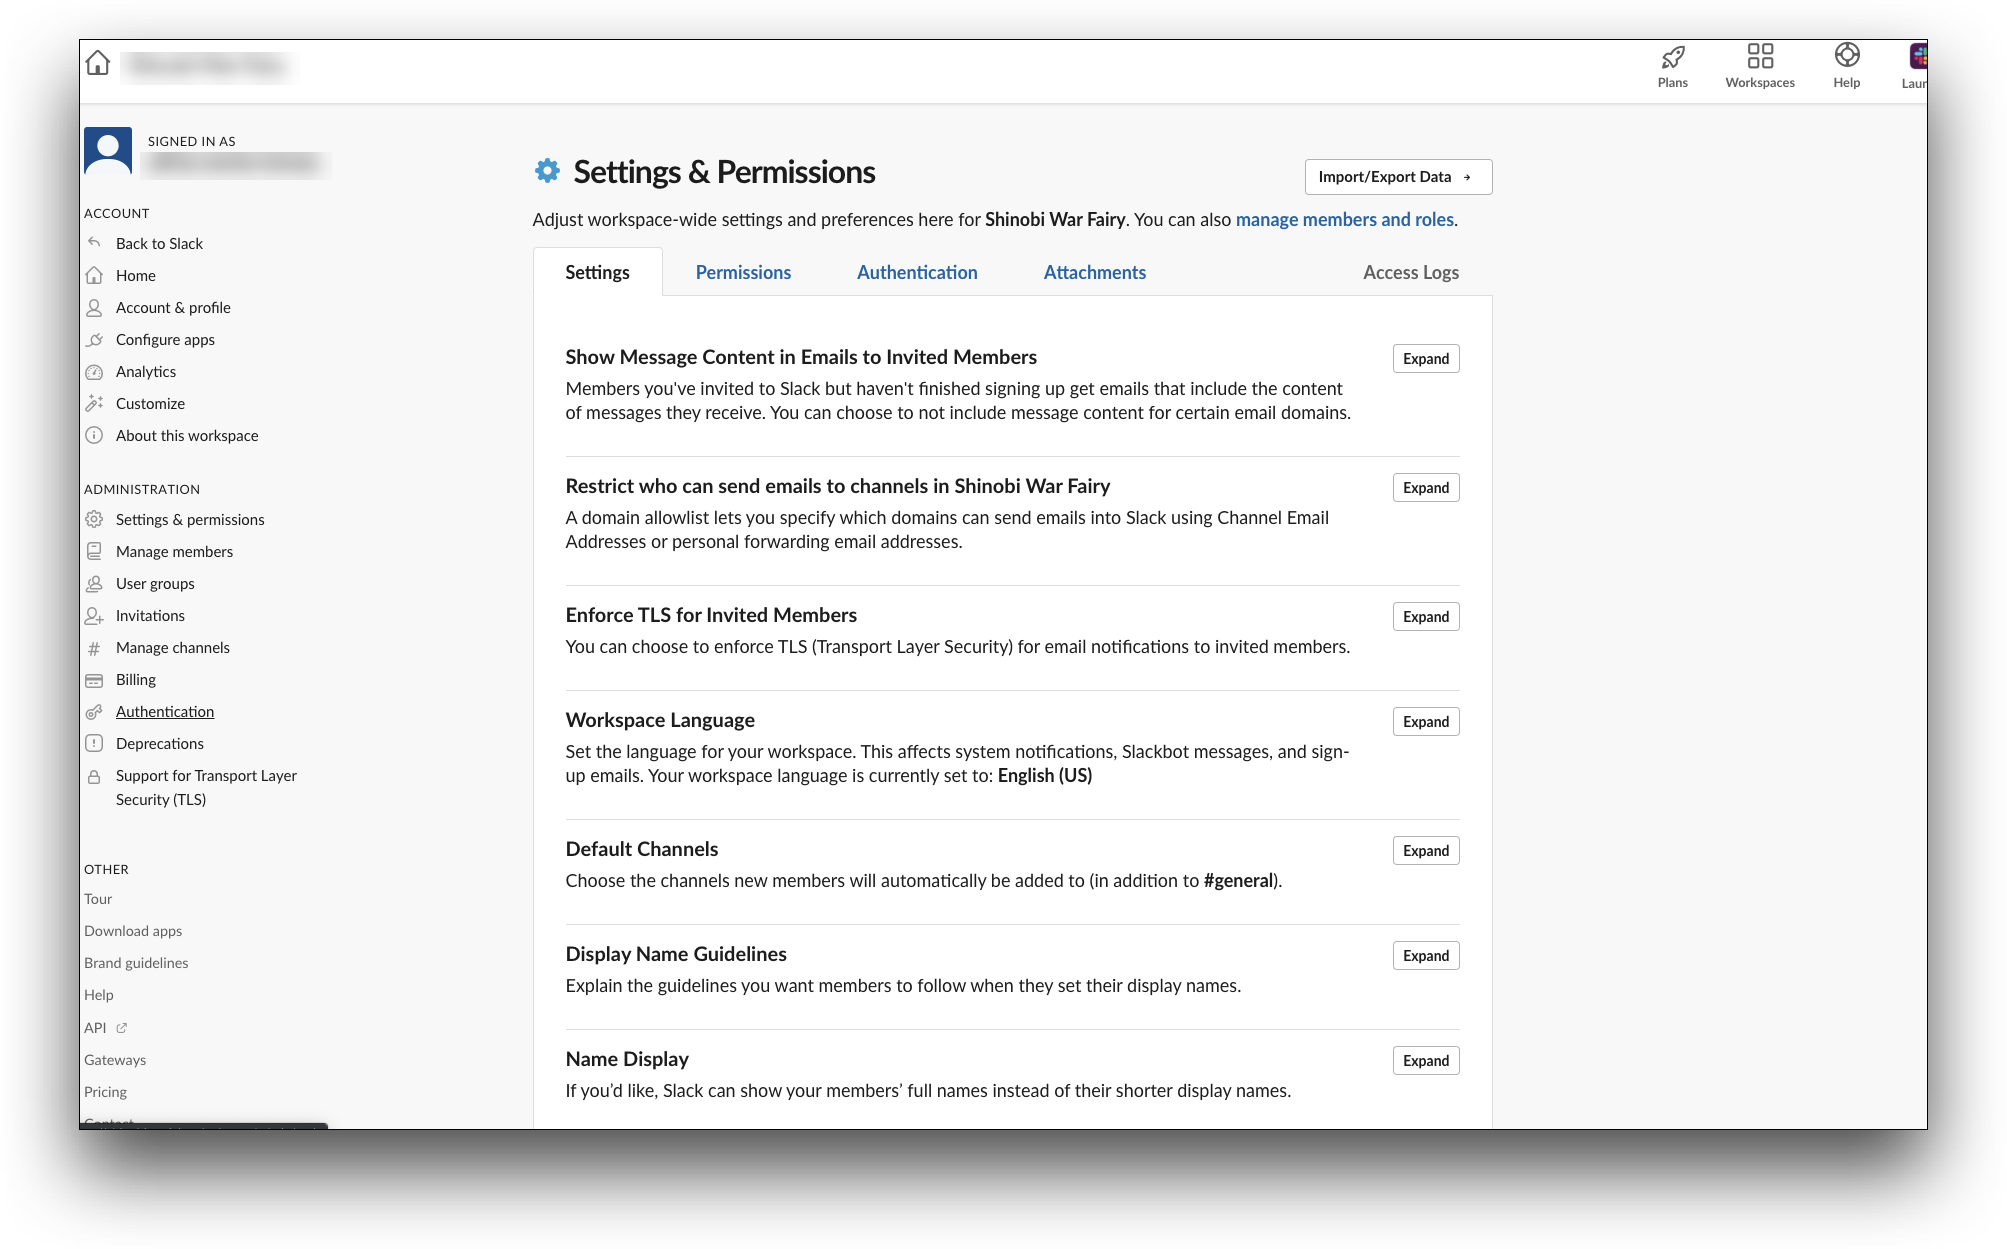
- Click on the Authentication tab
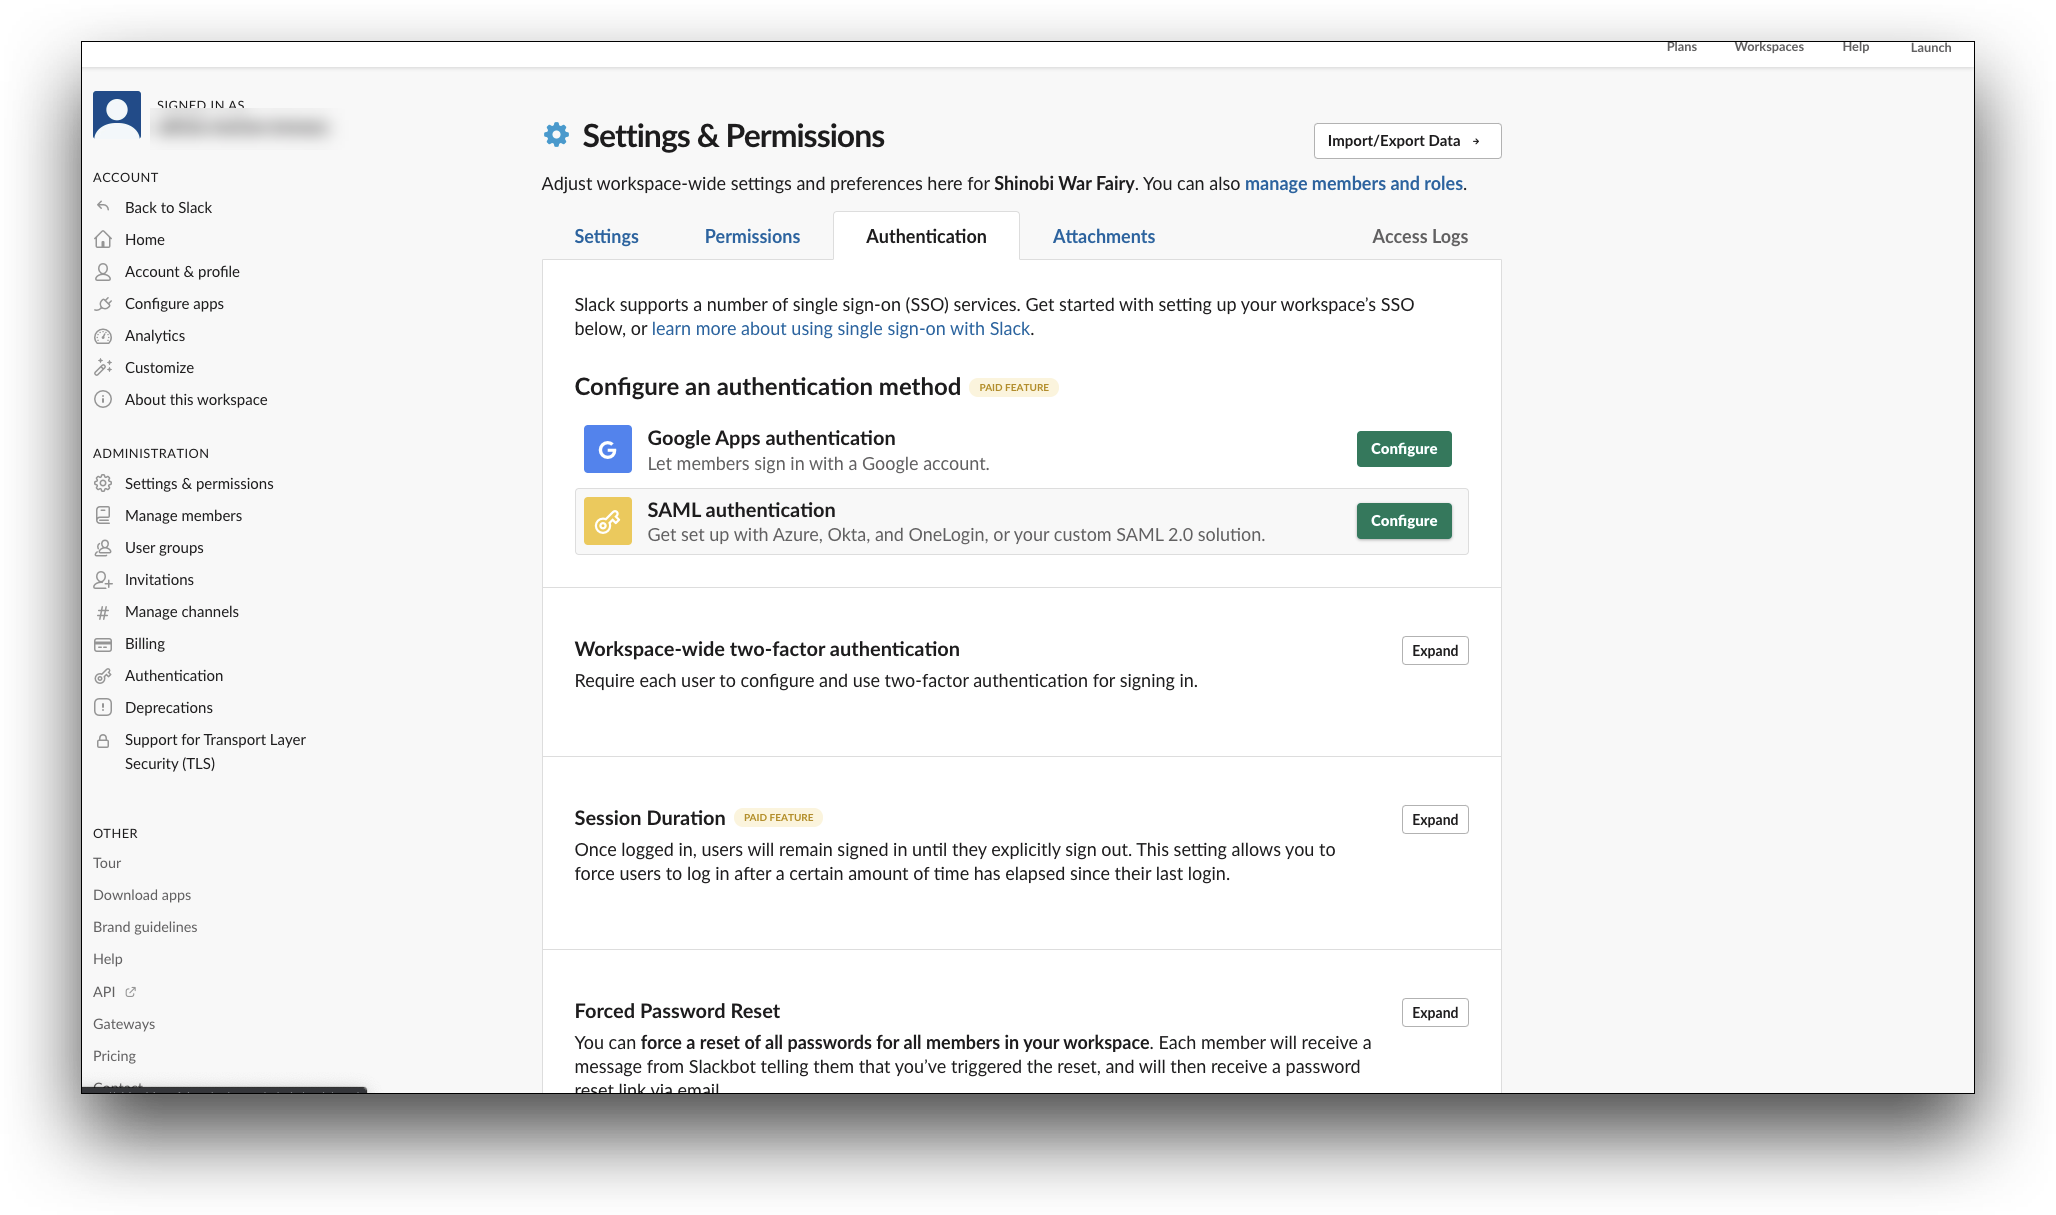
- In the Authentication tab, from the Configure an authentication method section, click Configure for SAML authentication method.
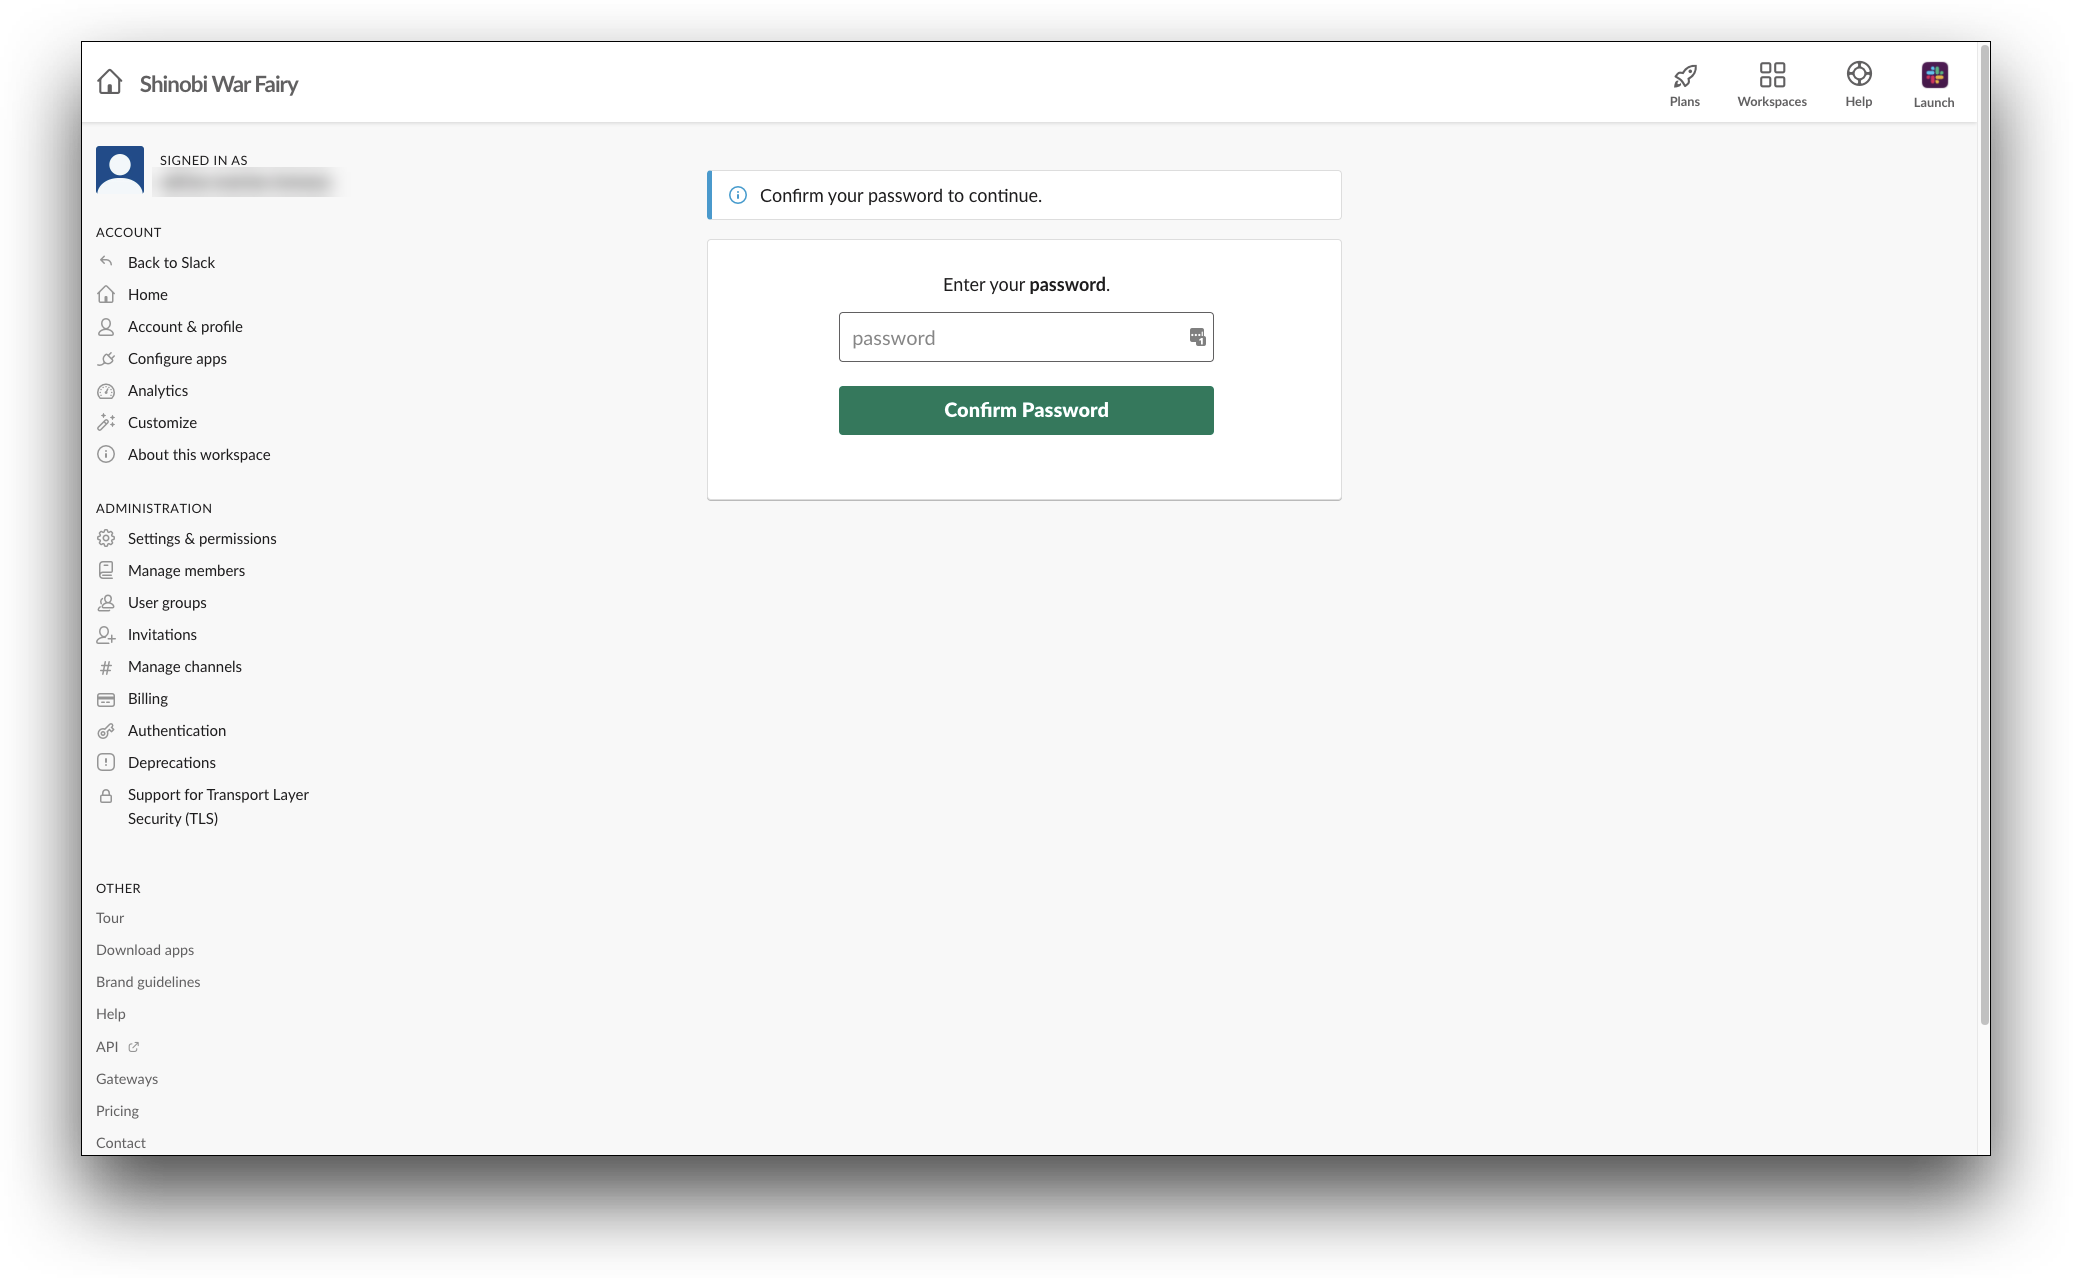
- In the Confirm your password to continue screen, enter your admin account's password and click Confirm Password. You will be redirected to Configure SAML Authentication screen.

-
In the Configure SAML Authentication screen, from the SAML 2.0 Endpoint (HTTP) section:
-
Click on the Custom SAML Instructions link. This link takes you to Custom SAML Single Sign On webpage to check the SAML integration steps.
-
Paste the copied details from the AdminX Console's IDP configuration as mentioned in the 5th and 6th points of the AdminX portal configurations topic.
-
In the SAML 2.0 Endpoint (HTTP) box, paste the value of Single SignOn Service URL field.
-
In the Identity Provider Issuer box, paste the value of the Name URL field.
-
In the Public Certificate box, paste the value of the Public Key URL field.
-
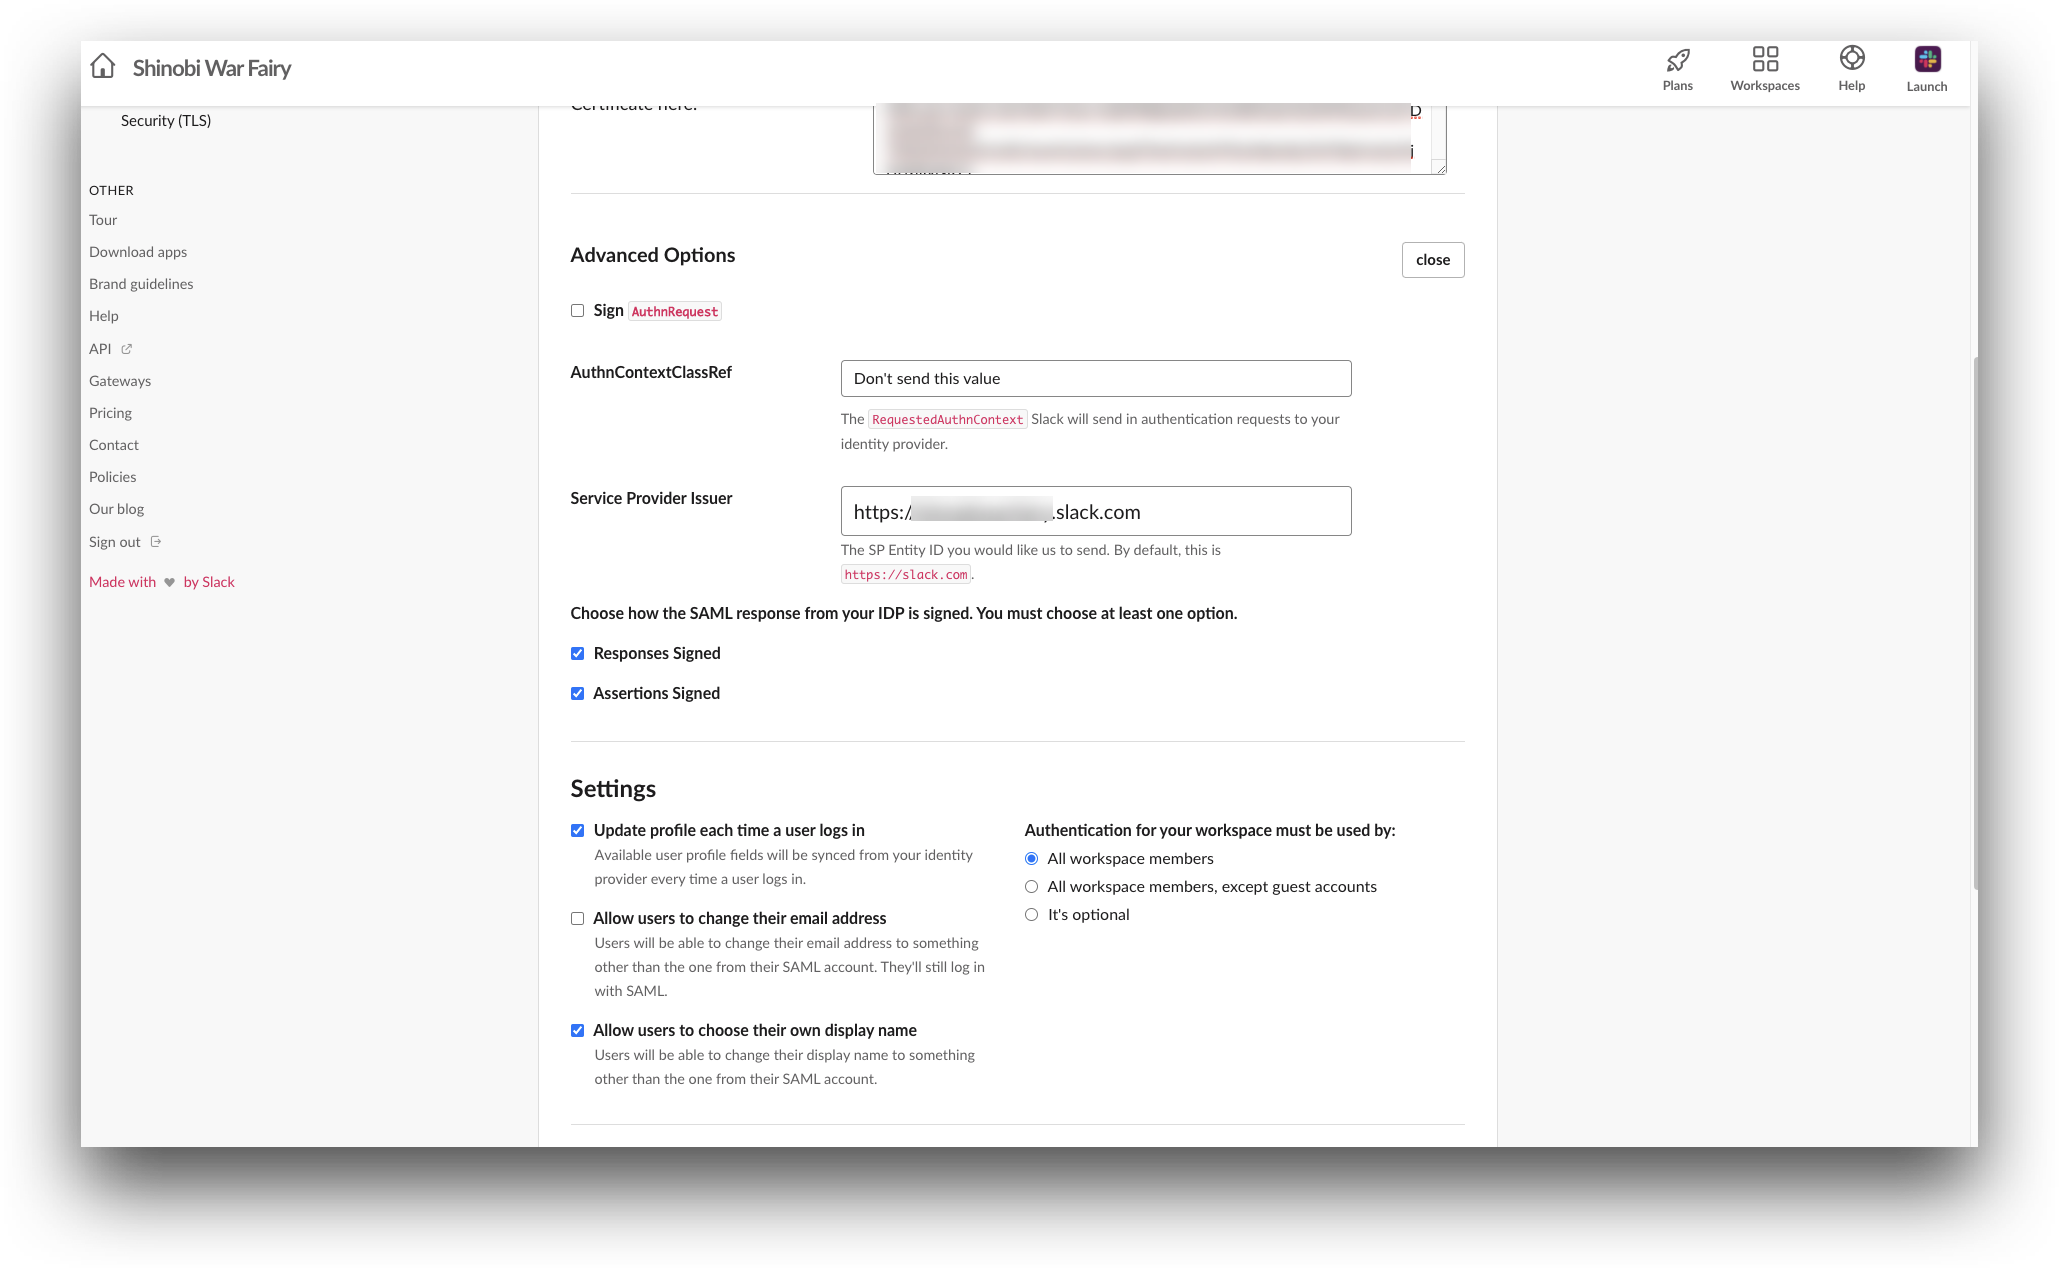
In the Advanced Options section, click expand. The Advanced Options settings are displayed.
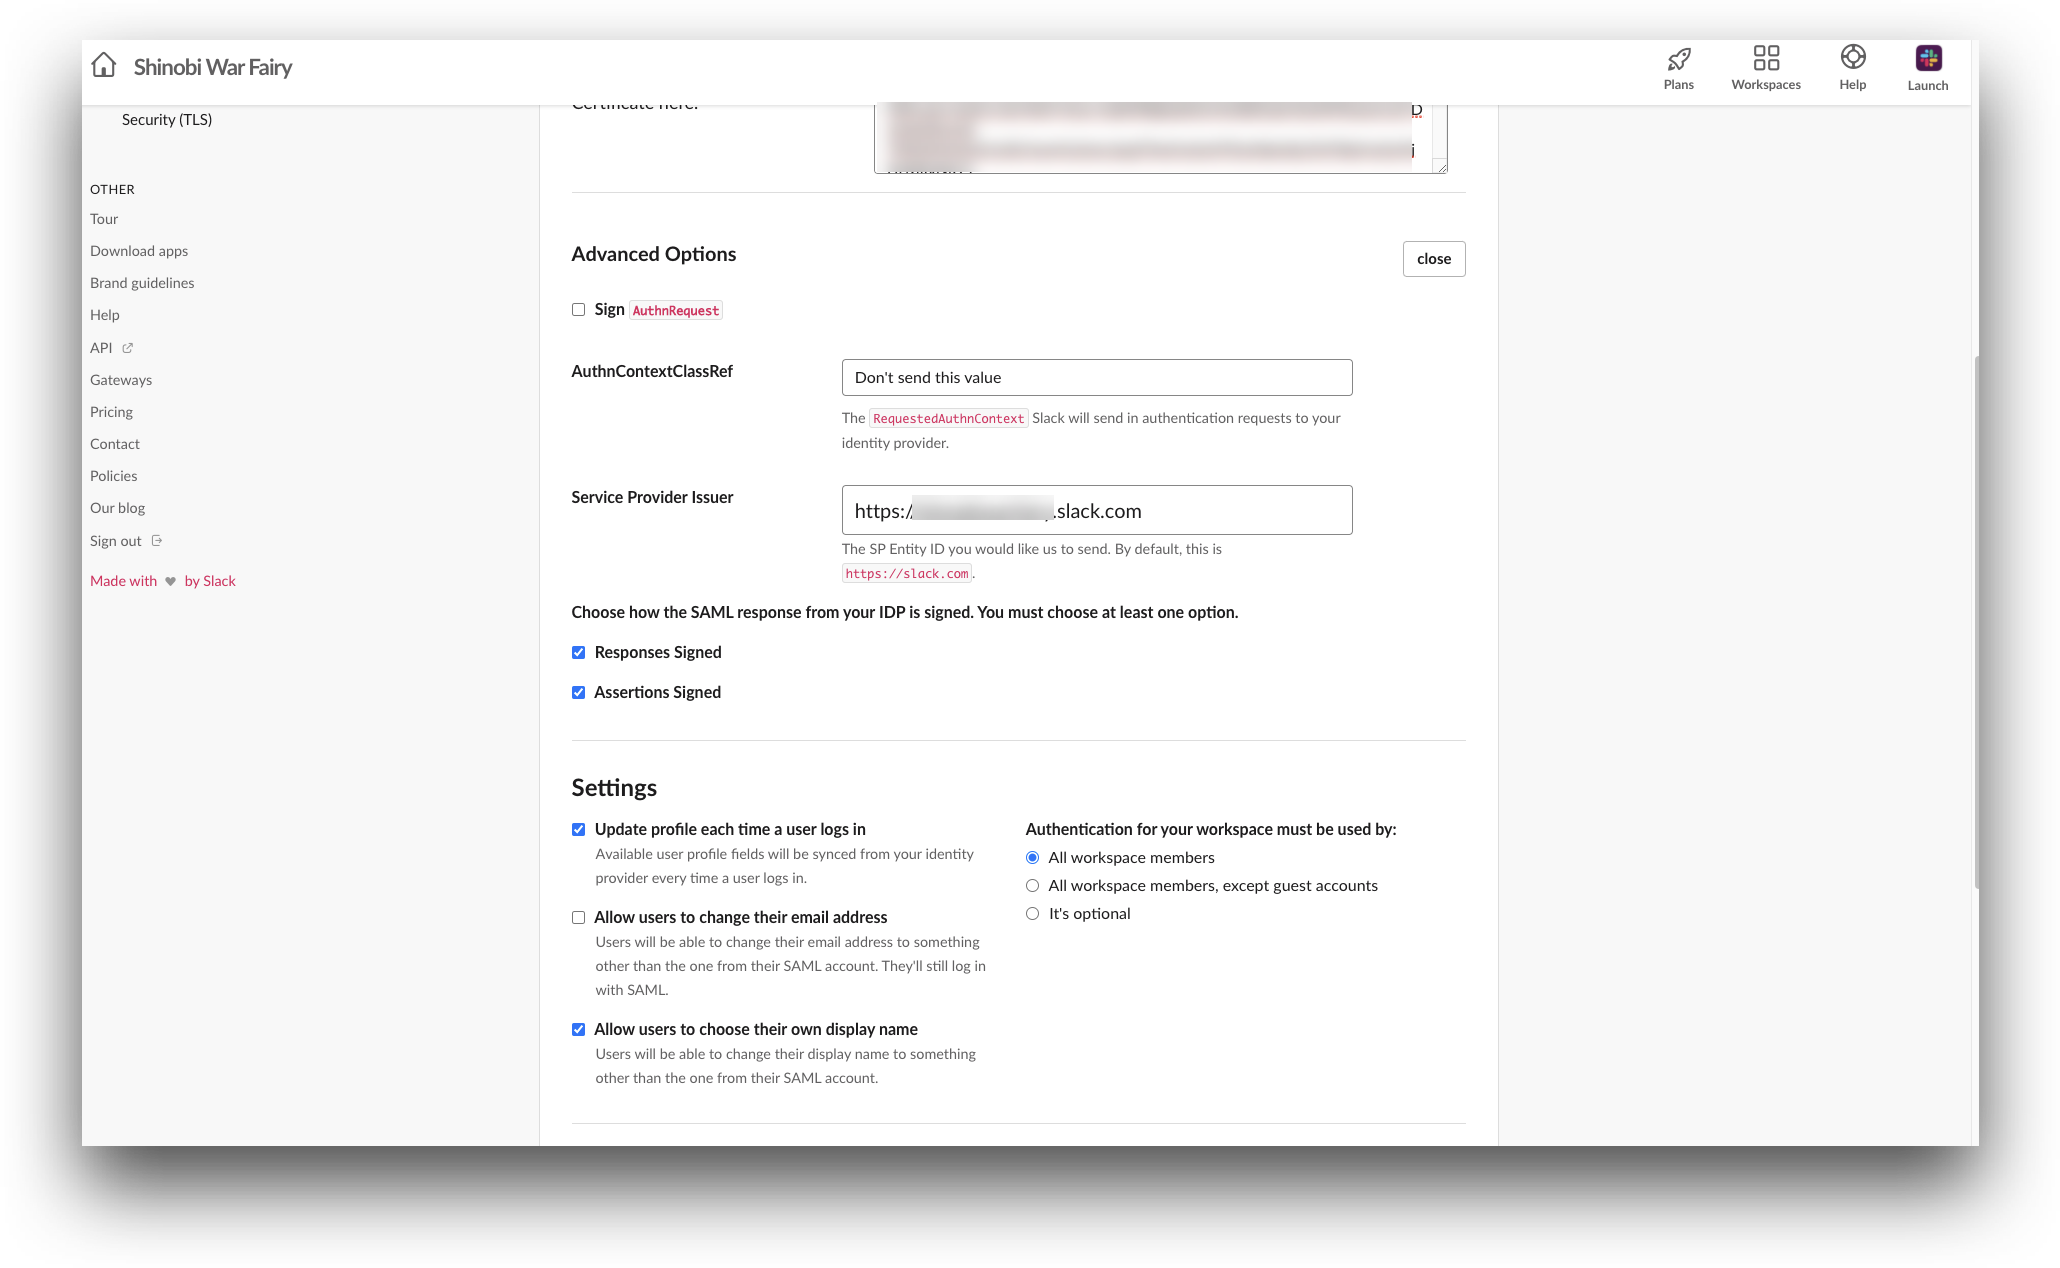
- Perform the following steps:
- AuthContextClassRef: Select
Don't send this value. - Service Provider Issuer: Enter the issuer URL in the
https://yourdomain.slack.comformat. For example,https://shinobiwarfairy.slack.com.
- AuthContextClassRef: Select
- In the Customize section, enter the label name for the Sign In Button Label box.
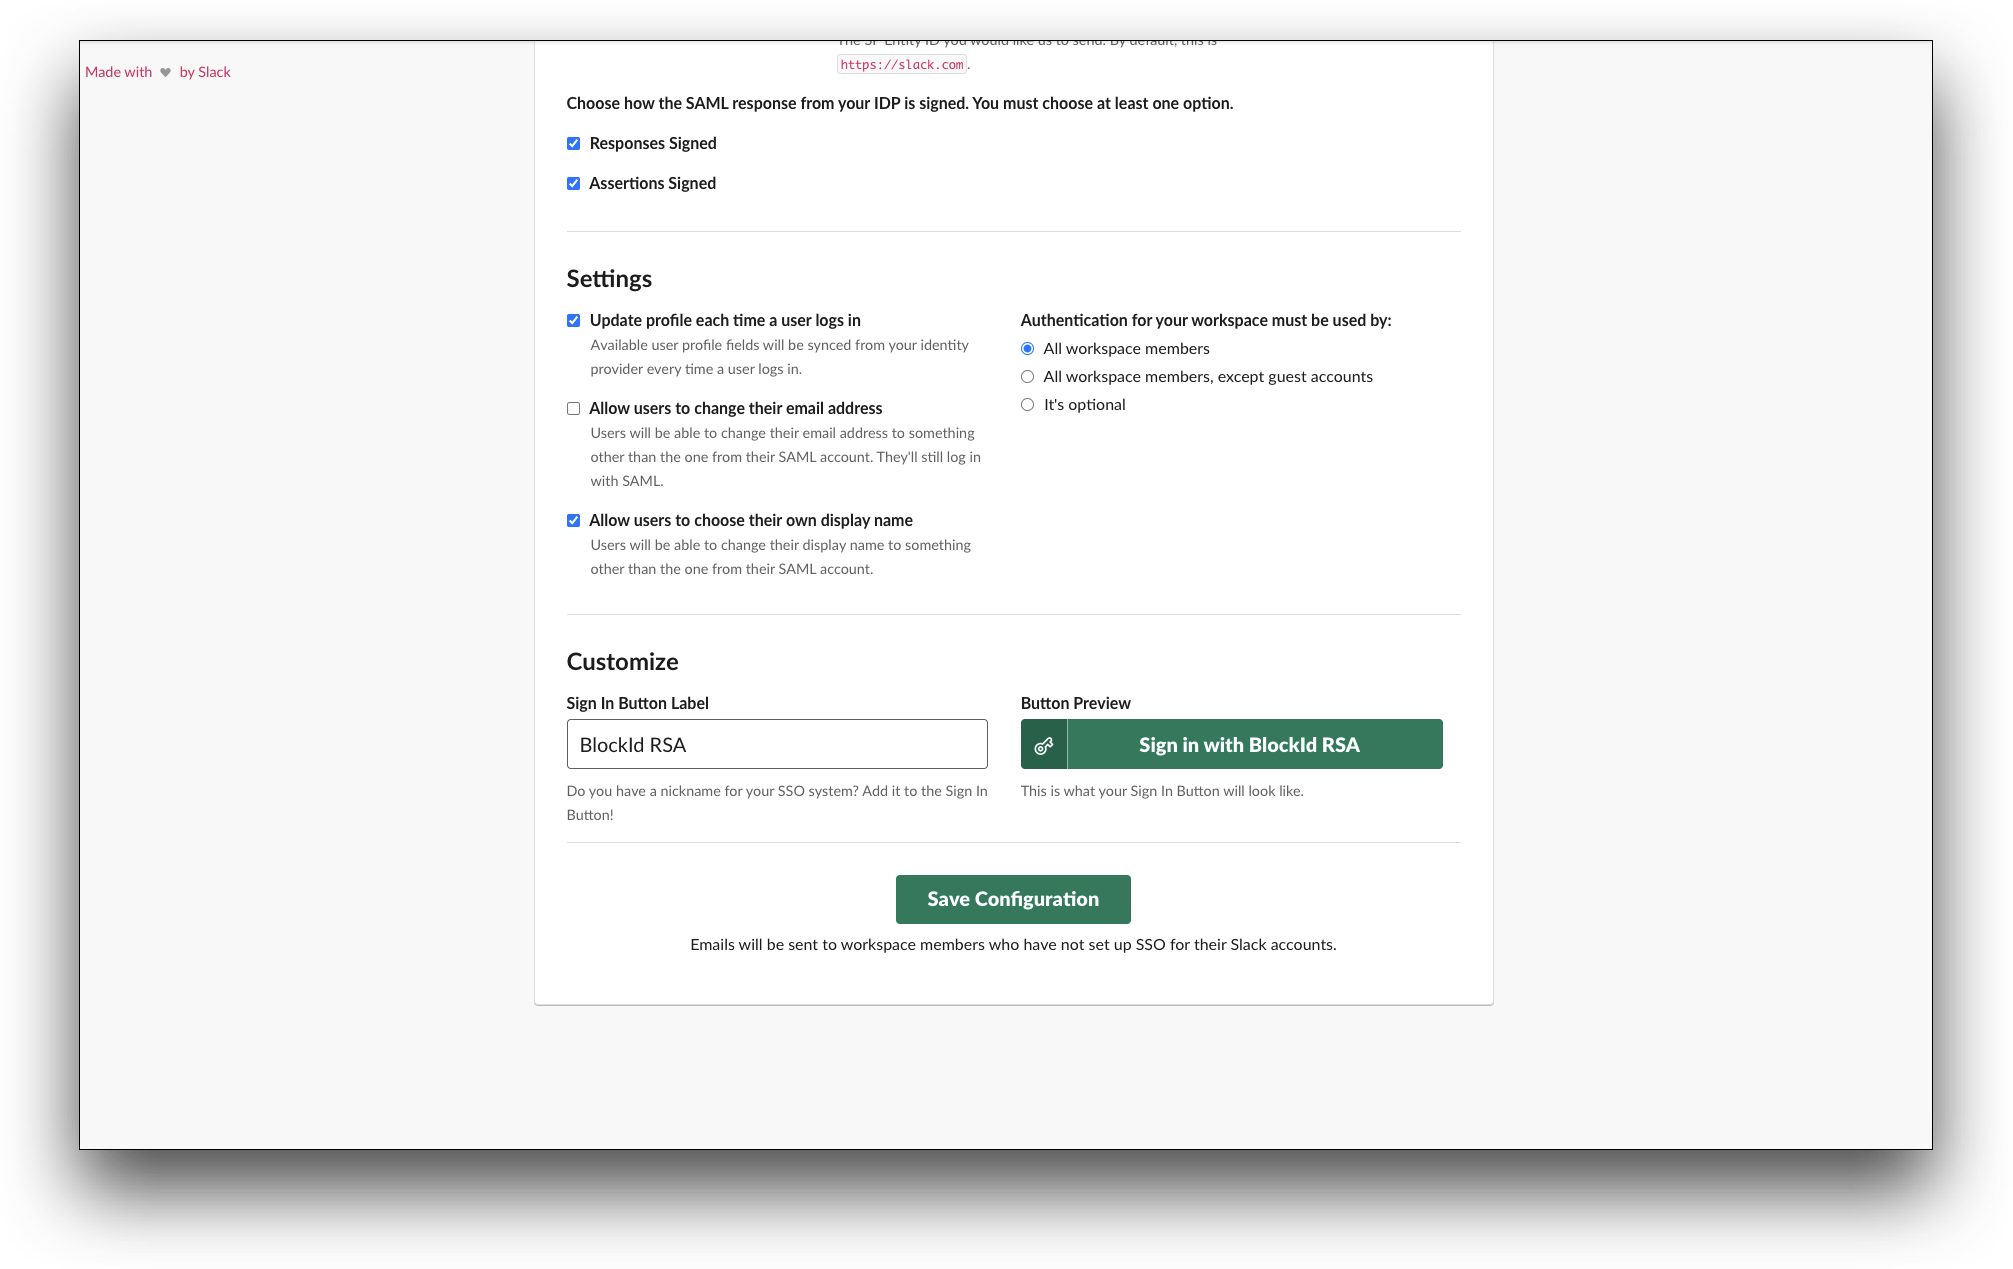
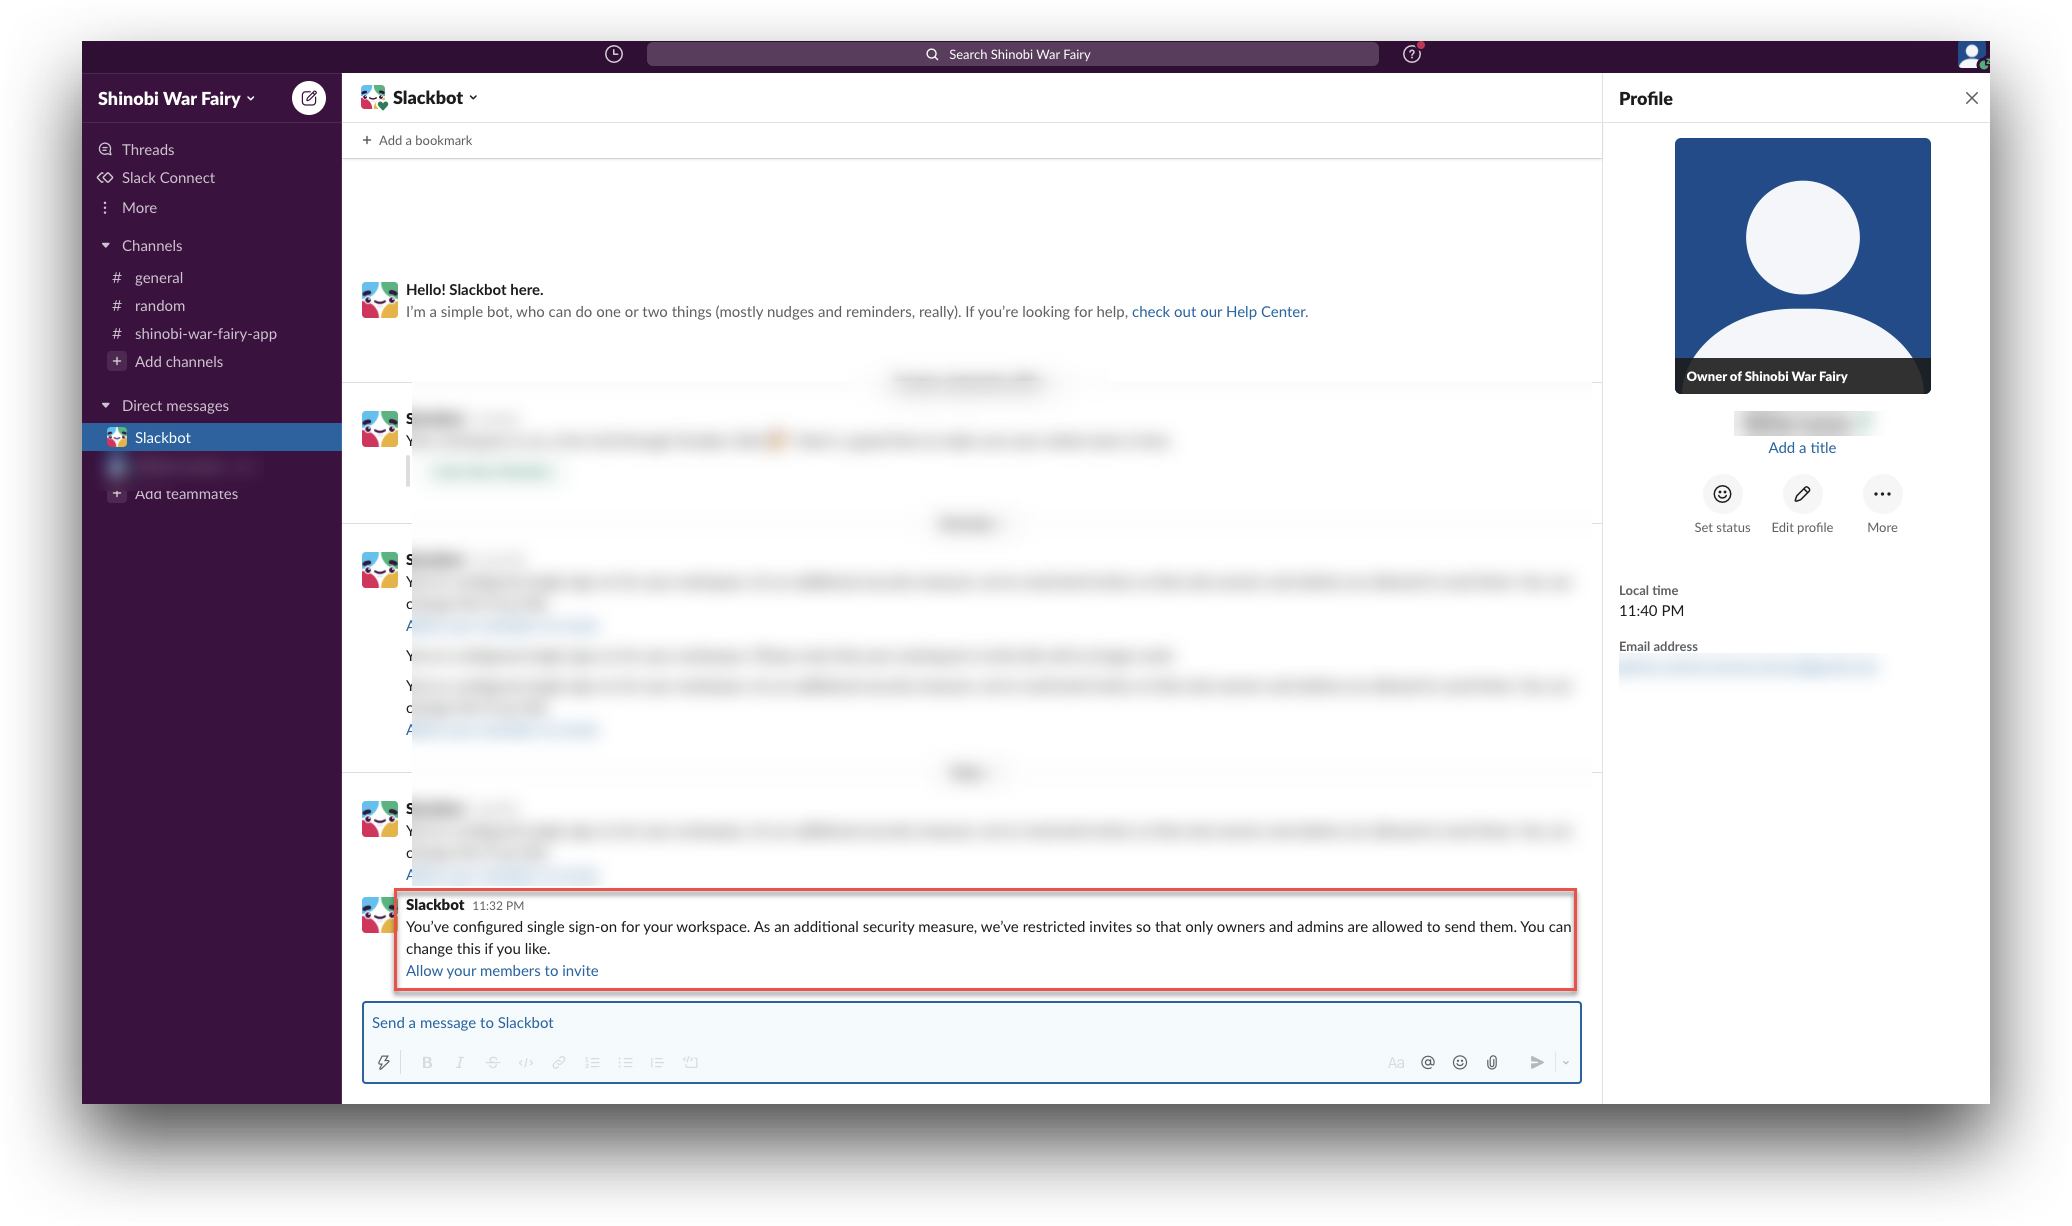
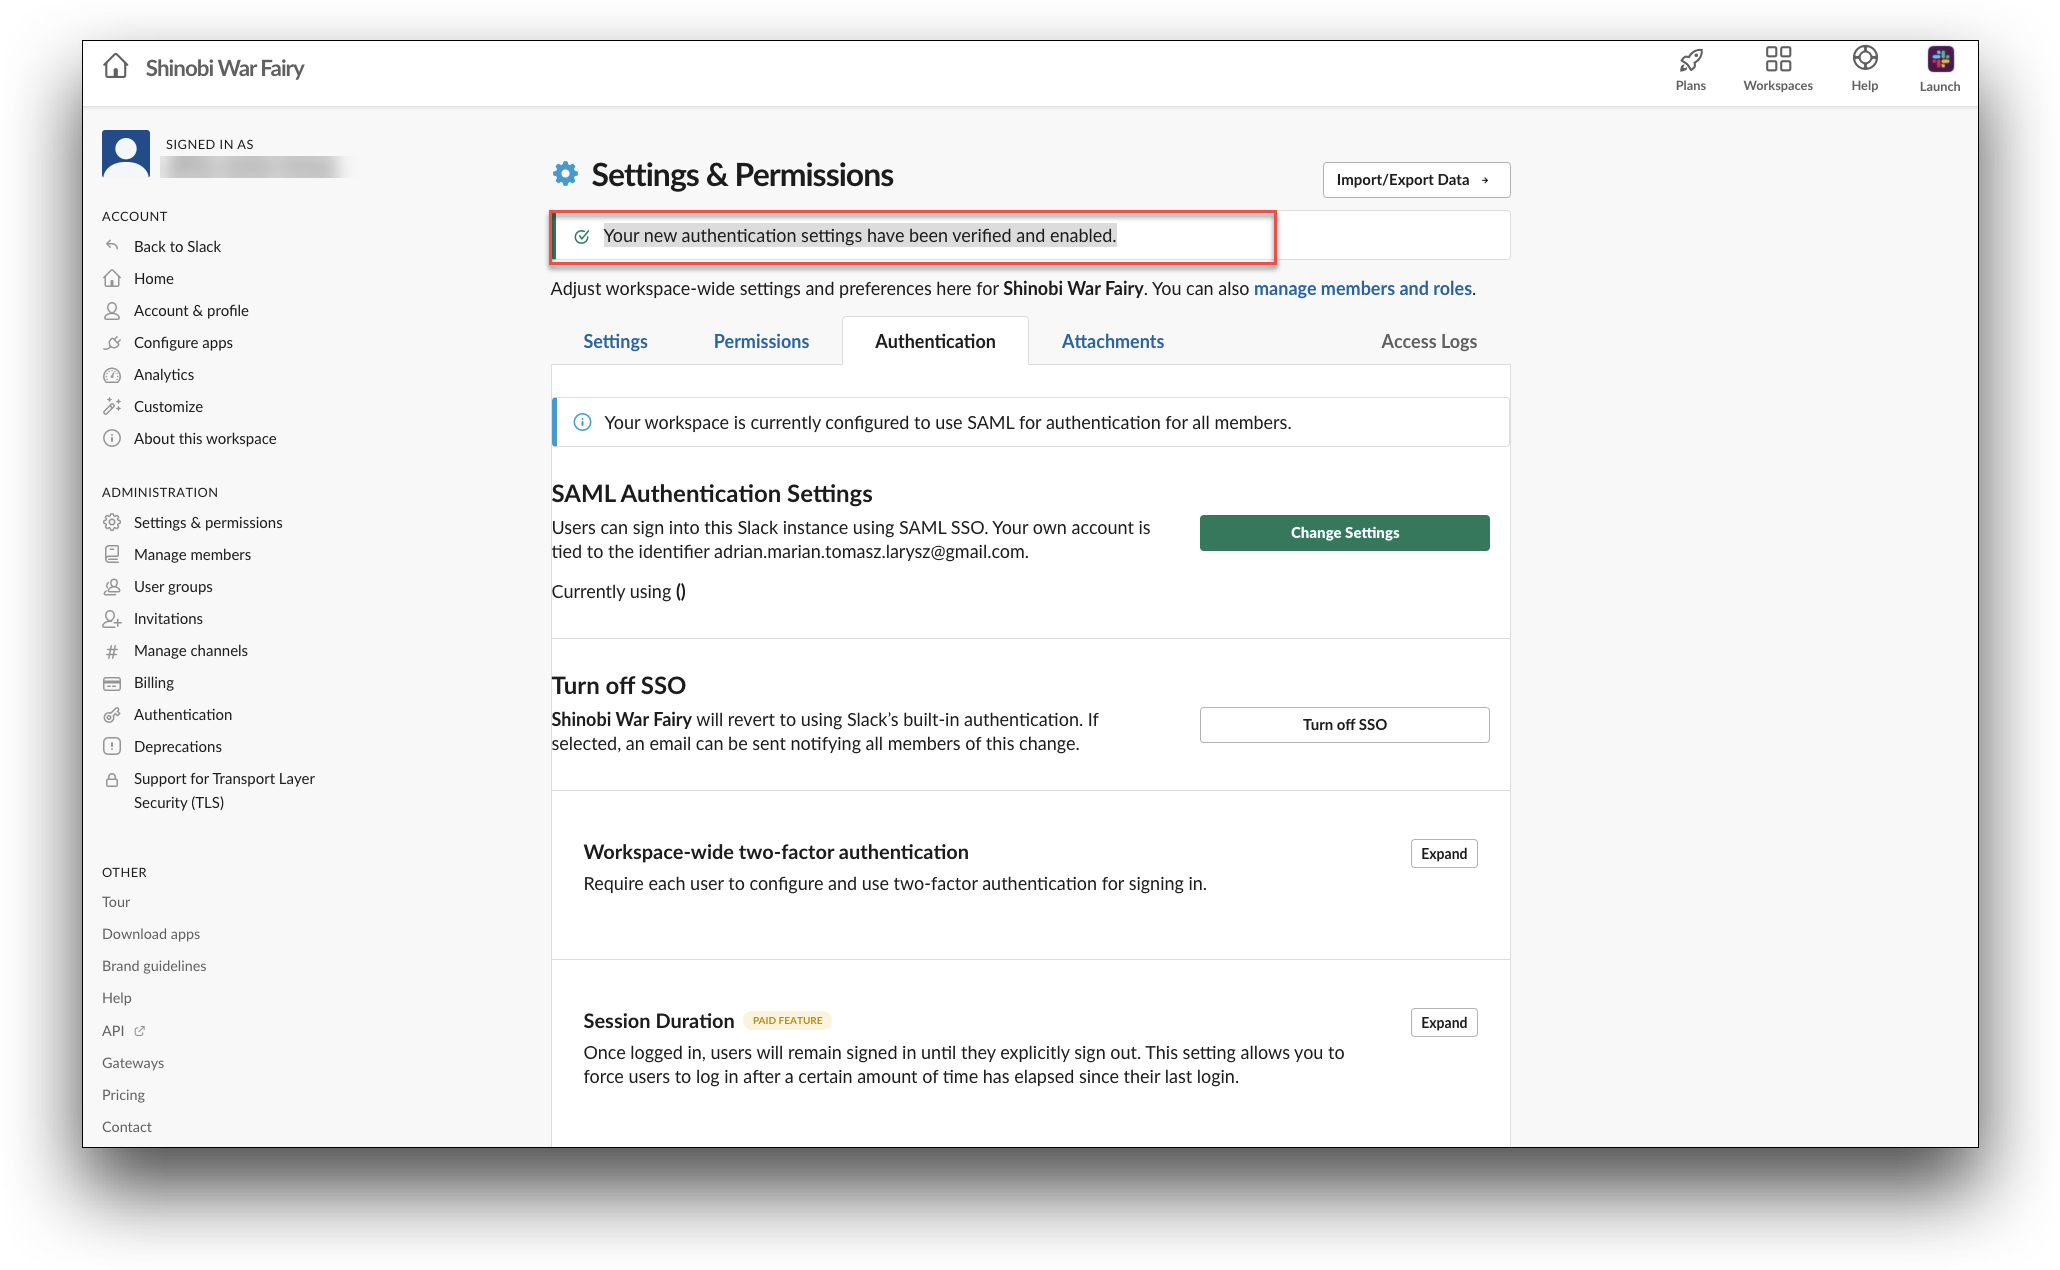
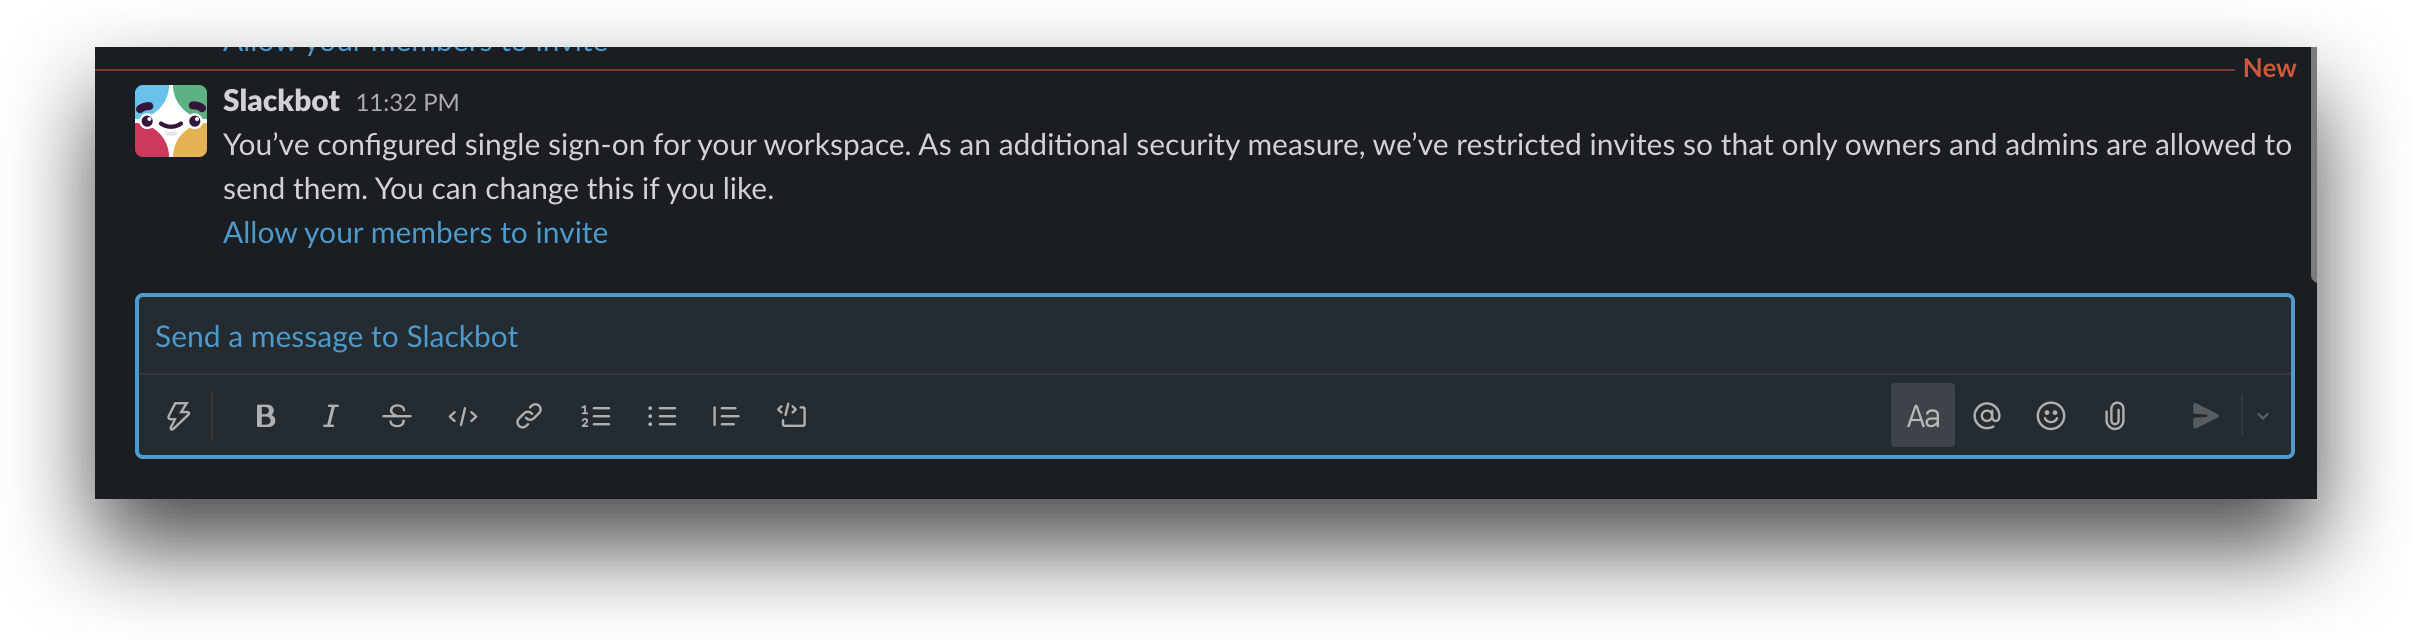
- Click Save Configuration. You will be redirected to the BlockID and then back to Slack. The Your new authentication settings have been verified and enabled. message is displayed on the top of the Settings & Permissions screen. You will receive a message about SAML SSO configured with BlockID from the Slackbot.
-
Test the SAML Single Sign-On Connection section
- In your browser, enter your organization’s application (Slack) URL
https://yourdomain.slack.com. For example,https://shinobiwarfairy.slack.com. The Sign in screen for Slack is displayed.
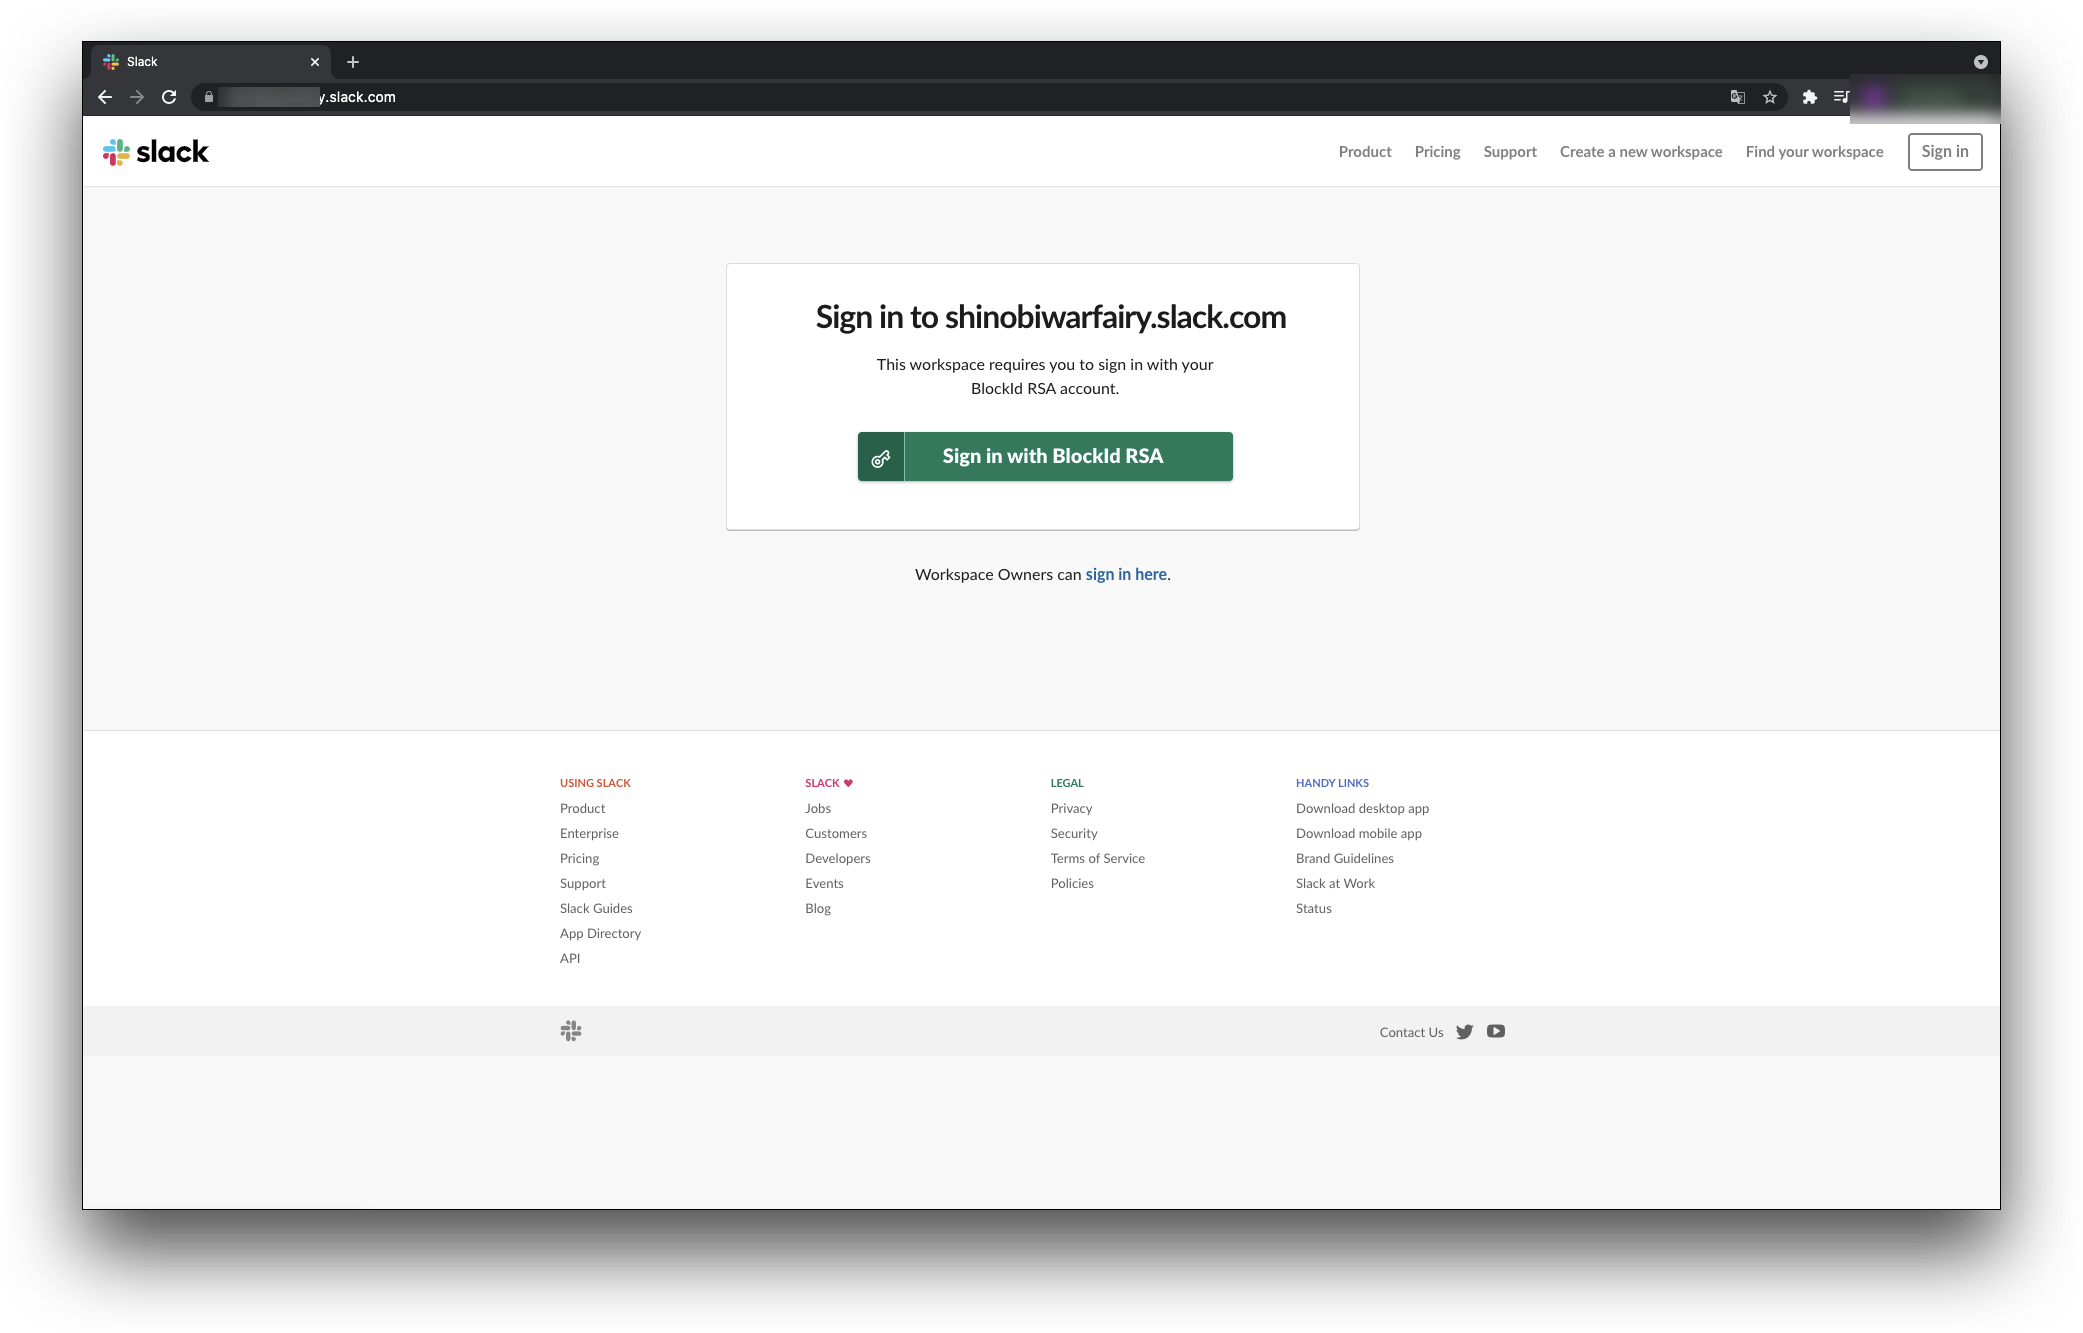
- Click on the Sign in with labelname button. You will be redirected to the AdminX portal login screen with the QR code to be scanned from your 1Kosmos mobile app.
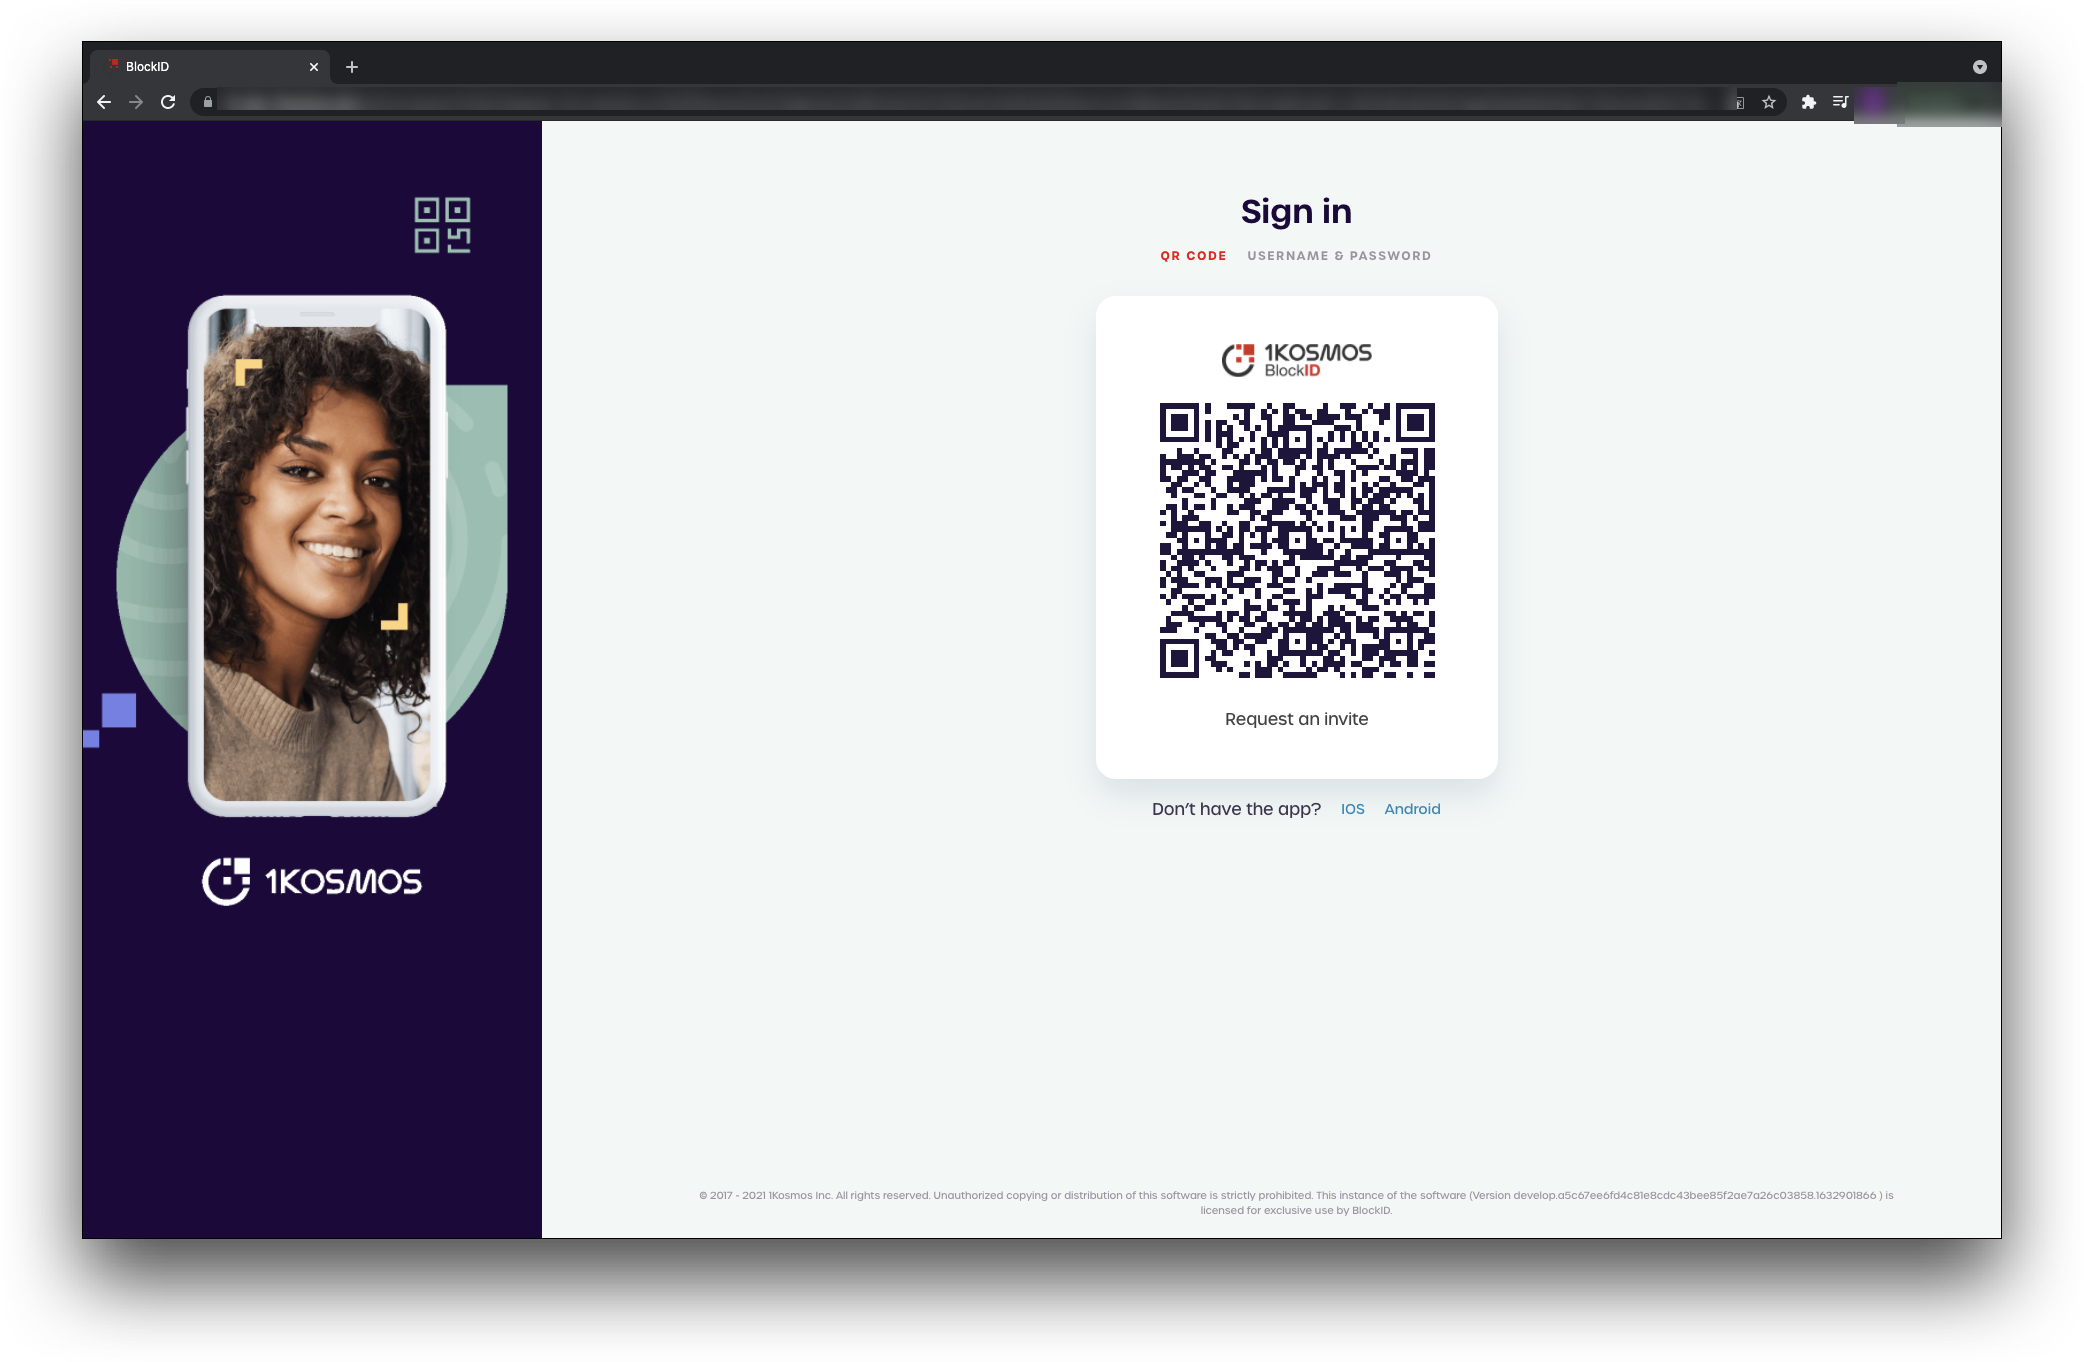
- On the 1Kosmos mobile application’s Home screen, click
Scan QR. - Scan the QR code. The confirmation pop-up window is displayed asking to
Allow BlockID to access this device’s location?. - In the confirmation pop-up window, select
Allow only while using the app. The Authentication screen is displayed with thePlease authenticate using <Biometric_option> from 1kosmosmessage. - Click Authenticate and perform the appropriate authentication method. The pop-up window is displayed with
Thank you! You have successfully authenticated to Log Inmessage upon successful authentication. - You will be logged in to your organization’s Slack application.